Is there a space in your classroom that is constantly messy? Perhaps it’s the craft supplies area, or the maths manipulatives and games area, maybe it’s a storage room? Well, we have some super easy tips that will hopefully ignite the desire to completely re-organise THAT space… and if it’s your whole classroom, no judgment here whatsoever!
We’ve been inspired to write this blog off the back of watching Get Organised with The Home Edit, currently streaming on Netflix. The Home Edit ladies are known for their meticulous attention to detail and carefully considered organisational systems.
If you haven’t yet had your life changed by this show, take a look…
Get Organised with The Home Edit – Classroom Style
When thinking about how their tips and suggestions could very easily transfer into the classroom, it actually reminded me a lot of the Montessori philosophy. It’s about re-organising the space to suit everyone’s needs, but also creating a space that is easy for your students to take ownership of and help to maintain. Having a well-organised classoom sends a clear message to your students that the room is created for them, with their specific needs in mind.
With a carefully considered organsational system, any classroom, even a super small classroom can feel comfortable and functional.
When re-organising a space, the three main steps the ladies go through are:
- Edit – get everything out of the space
- Categorise – group the items
- Containment – put the items in containers and place them back in the space
From Editing to Categorising All of the Stuff
Once the edit phase has hit, this is usually when panic sets in… you will start to think…. what have I done!?!? But, you’ve started and there is no looking back – I promise it will be worth it. Here are some little tips for when you are starting to categorise.
Tip 1: Pare Down
You need to work out if you really need something, do you use it or do you think you may use it, if the answer is no – ditch or donate!
Tip 2: Have Containers or Rubbish Bags Handy
Have some large containers and even a large rubbish bag handy. These will help you when you start to put things into piles and start to categorise.
Putting Items in Containers (Containment)
Once you’ve sorted, pared down, and categorised all the items, it’s time for the fun and most important step! And, don’t think colour-coding or making it look pretty is a waste of time…
Functional + aesthetically pleasing is possible. You are more likely to keep it up…
Putting things into containers not only keeps the space easier to keep tidy but also makes it easy to remove only what you need from a shelf or cabinet and return it when they are done.
Tip 3: Labels
Labelling your containers with what is inside them is another crucial element. We absolutely adore how @eyfs_fun_missd has really catered to her students with photos of the supplies that should be in each of these containers. She’s really trying to aide independent tidying in her early years classroom with this setup.
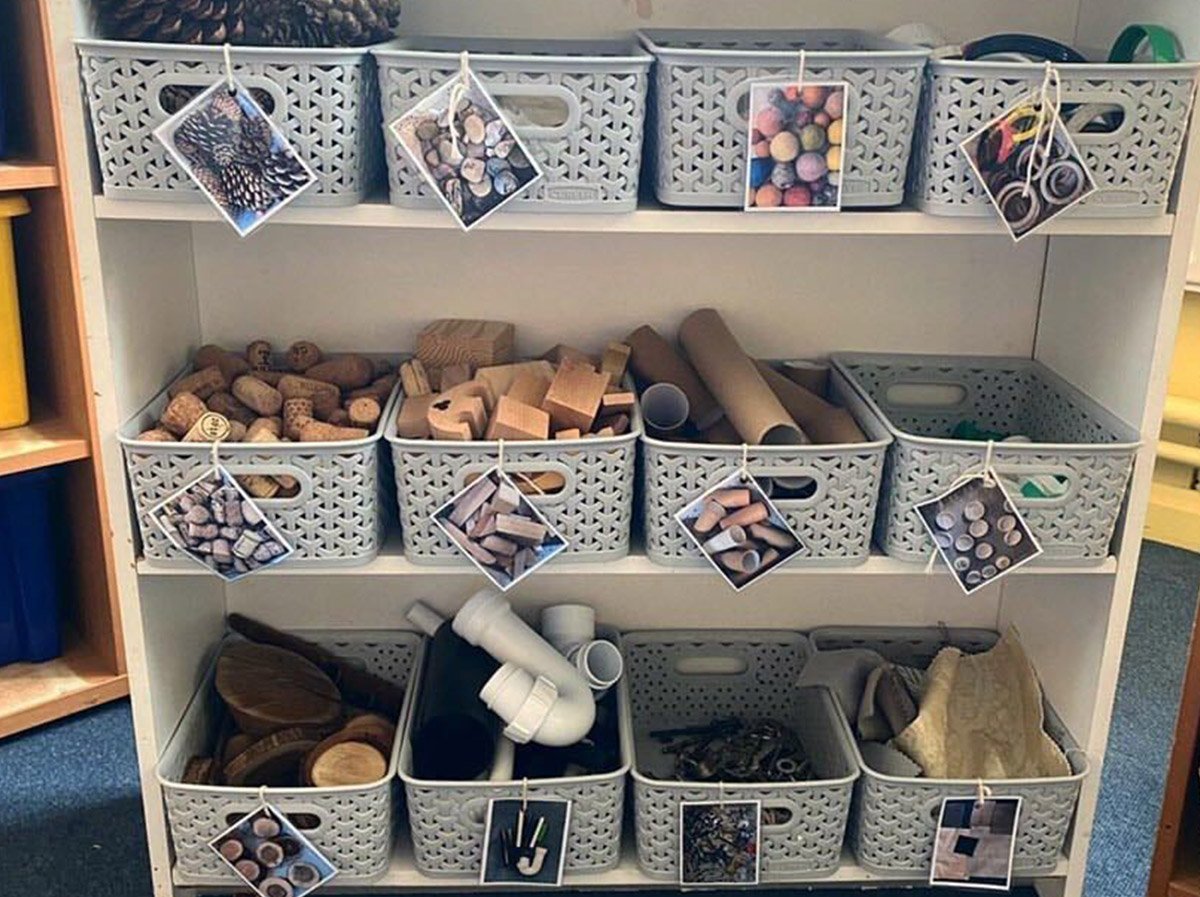
We have a huge range of editable tray labels that you can use for consistency and aesthetics! Here are a few of my favourites:
[resource:4544674][resource:4536097][resource:4372204][resource:3877750]
[resource:3175022][resource:2130014][resource:1937246][resource:2182254]
Tip 4: Clear Containers for the Win
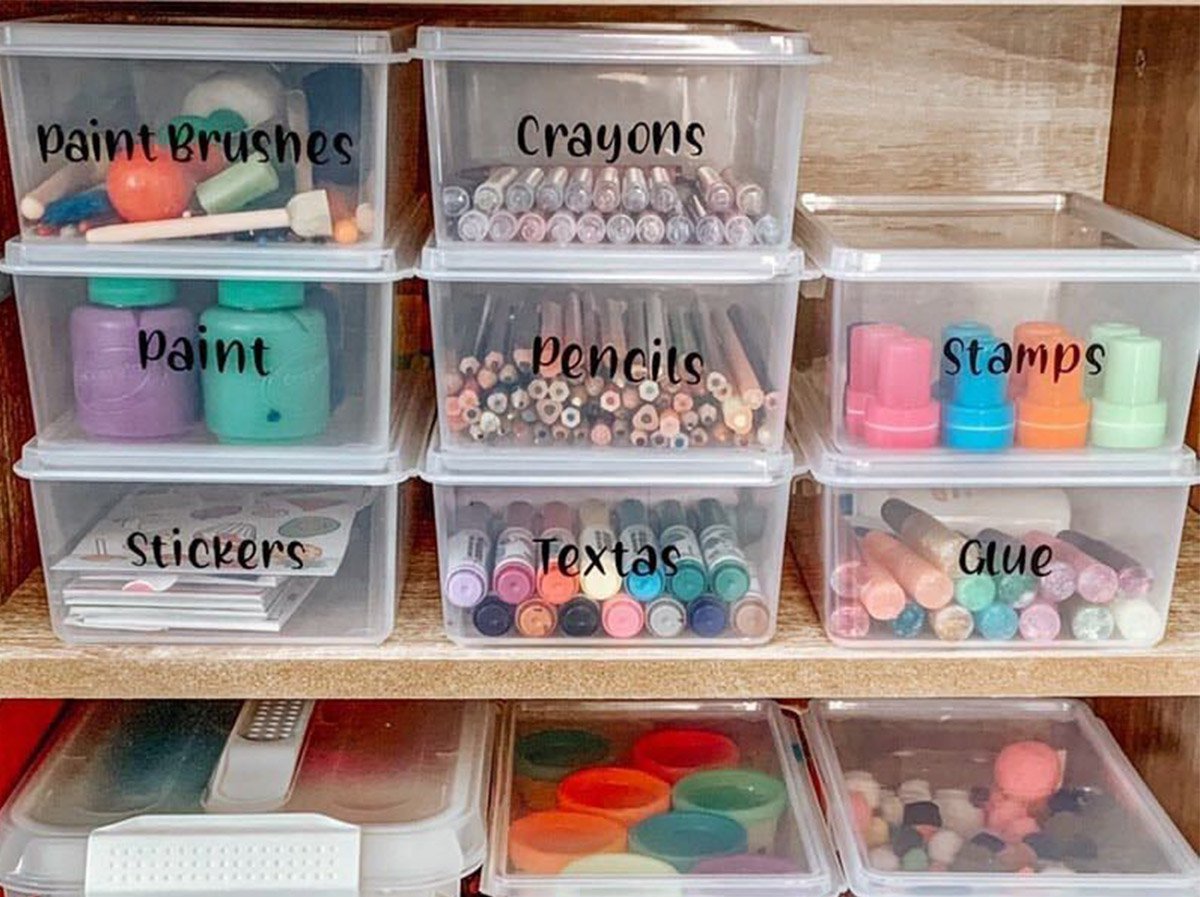
You can pick up some clear containers really cheaply from The Reject Shop and other cheap shops. Clear containers are the perfect solution, particularly when it comes to classroom supplies. You can easily see what is inside them and it’s a quick and easy way to check stock levels. Plus, you can finally see where all the glue sticks have gone…
Here’s a great example of clear container usage by @cleanorganisedmumma. She has used containers from The Reject Shop for this setup.
Tip 5: Rainbow Organisation
Okay… this is something that I absolutely adore the idea of… a real reason to colour code!! We’ve written about how colour coding can help with learning, but, what about colour coding when it comes to storage? Not only does it look pretty, but it can help kids when it comes to finding supplies. They know exactly where to go when they need a blue marker. Equally, they know exactly where that blue marker belongs when they are finished with it – it’s a plug-and-play method.
Get Organised with The Home Edit often talk about ROYGBIV, which stands for Red, Orange, Yellow, Green, Blue, Indigo, Violet – aka the rainbow.
Arrange the classroom library, art supplies, classroom games by colour, and you will not only have a pretty classroom, but your kids will automatically know where everything is stored.
The rainbow system has the extra bonus of turning clean-up into a colour sorting activity, making it into a fun game. It’s a win/win for you and the kids!
Tip 6: Cheap Options
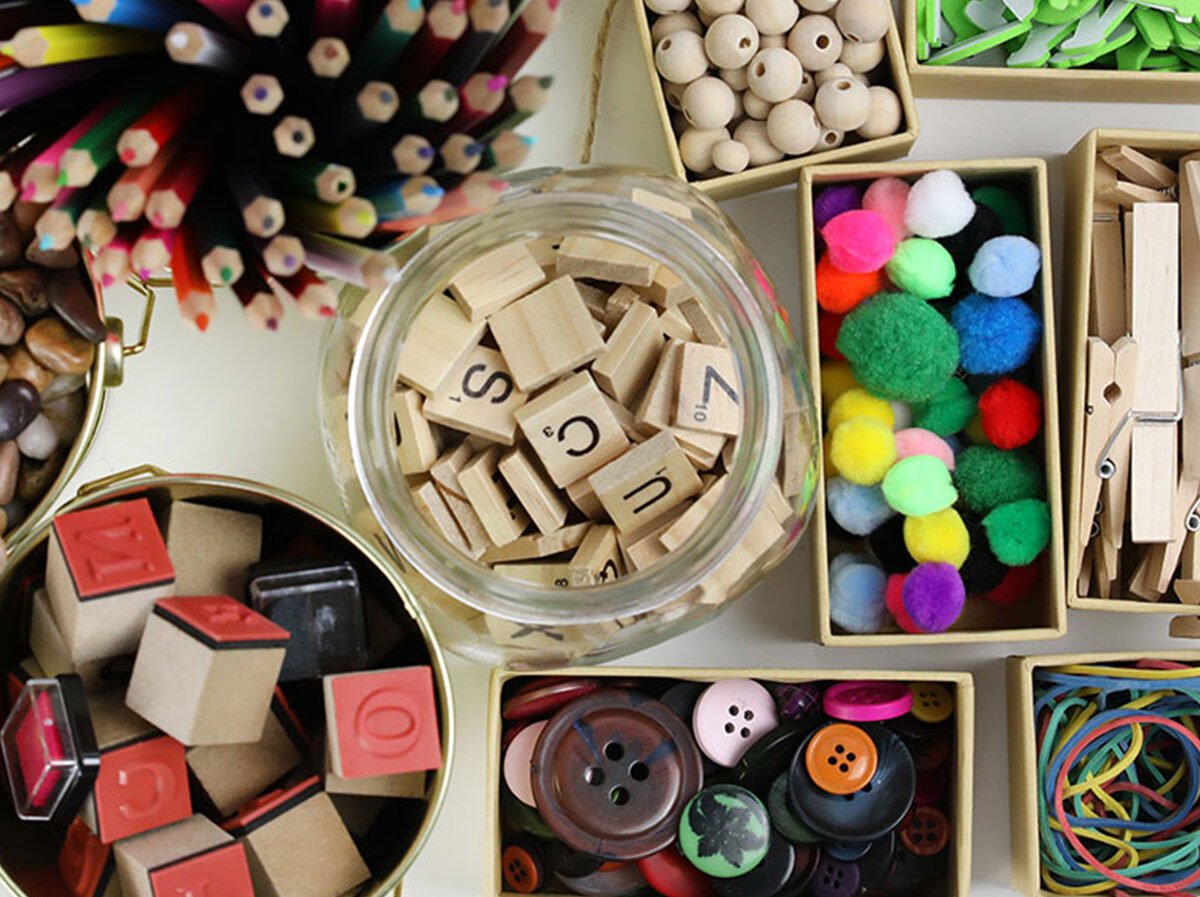
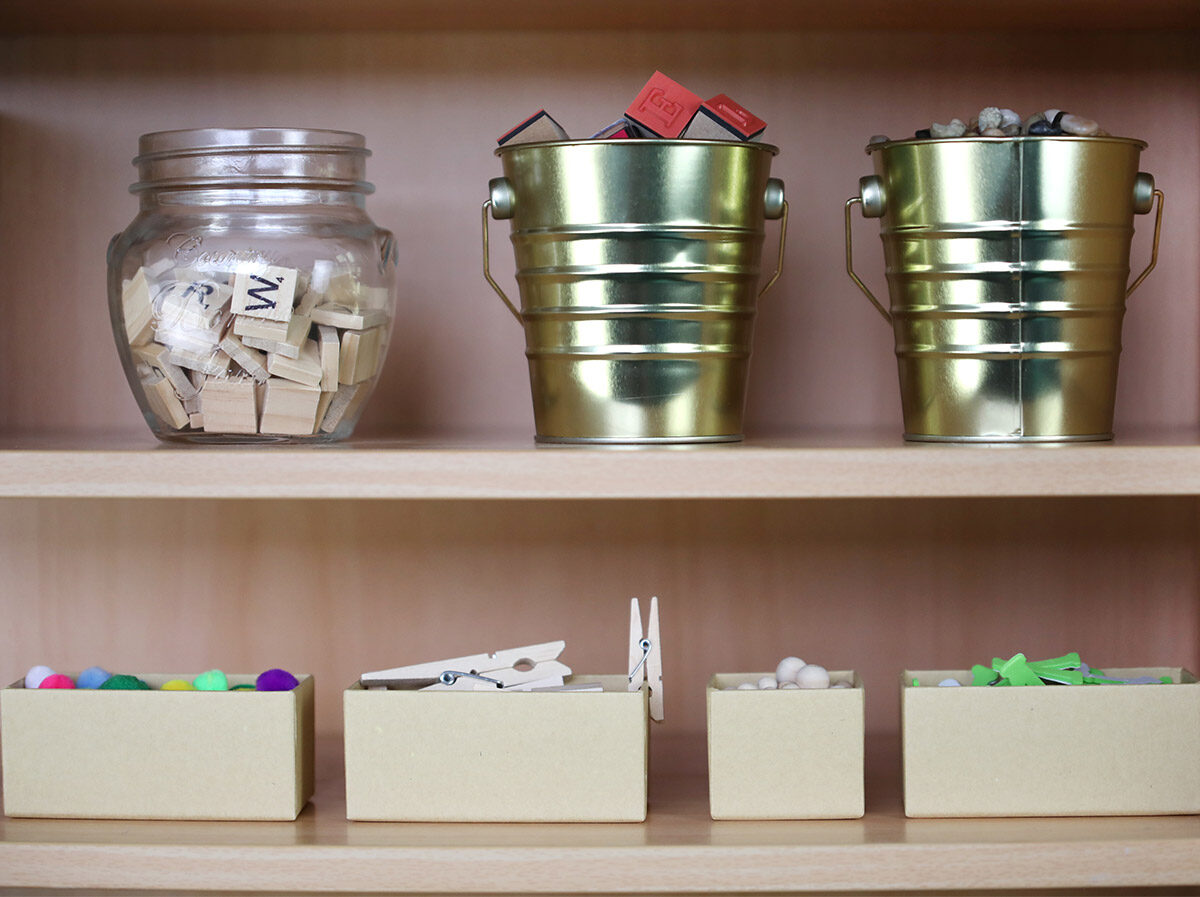
It doesn’t need to cost you a heap to re-organise space in your classroom. Use what you have available to you. I used to ask the office to keep all of the photocopy paper boxes! They were perfect for storing craft supplies in my storeroom. I’d pop a label on them and we were sorted. I often got comments about how organised my storeroom was – but I really put it down to having the right system in place. Also, use containers that you already have – no need to go and buy any more.





Comments