Are you looking for a slightly different activity to do with your students this Christmas? Make this the year you introduce Christmas origami to the classroom!
The Teach Starter teacher team knows the end of the year is a busy one for teachers, and you don’t have a lot of time to come up with new Christmas craft. That’s what makes origami perfect for this time of the school year.
Not only is this art of folding paper something appropriate for a variety of year levels, but origami helps students build hand-to-eye coordination, and using the hands in this way has been proven to stimulate the brain to help them develop short-term memory. It really is the perfect Christmas craft!
Psst … skip directly to our origami teaching resource collection for printables!
Christmas Origami Ideas
Not sure where to begin? We’ve got you covered with instructions for an easy Christmas origami bonbon, origami rings your students can take home to gift to siblings, and printable origami instruction sheets for students to take home to make their own origami animals over the holidays!
Origami Bonbons
These super adorable origami bonbons are surprisingly easy to do. Once your students get the hang of it, they can keep making them for all their friends and family. So, without further ado, here is how to make an origami bonbon.
Teacher warning: the music on this video will have you bopping in your seat…
The best part about this activity is you can really use whatever you have in the classroom. If you don’t have any origami paper, you can easily cut up some coloured paper. You can even use white paper, and your students can decorate it themselves! Winning!
Materials:
- wool or ribbon (or something you can use to tie the ends)
- origami paper (or just white paper cut up!)
- Teach Starter’s Christmas Jokes for Kids
- other little surprises your students can add to their bonbons
You can, of course, use the video above and pause in between each of the steps to show to your students. We have also included some visuals and detailed descriptions below for each of the main steps of your origami!
Step 1
Grab a piece of paper, either an origami square or even some coloured paper cut up (can be rectangle too). The beauty of this origami activity is it will work with any sized piece of paper!
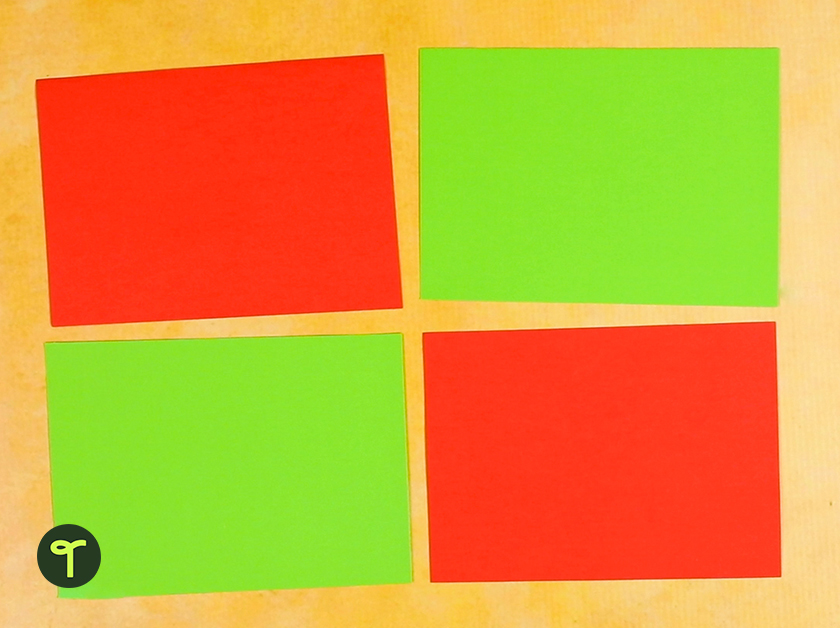
If you are using proper origami paper, you’ll need to cut off a little section. In the video, we cut off a 10cm wide piece and used the smaller leftover piece to write a nice message that will end up going in the bonbon at the end!
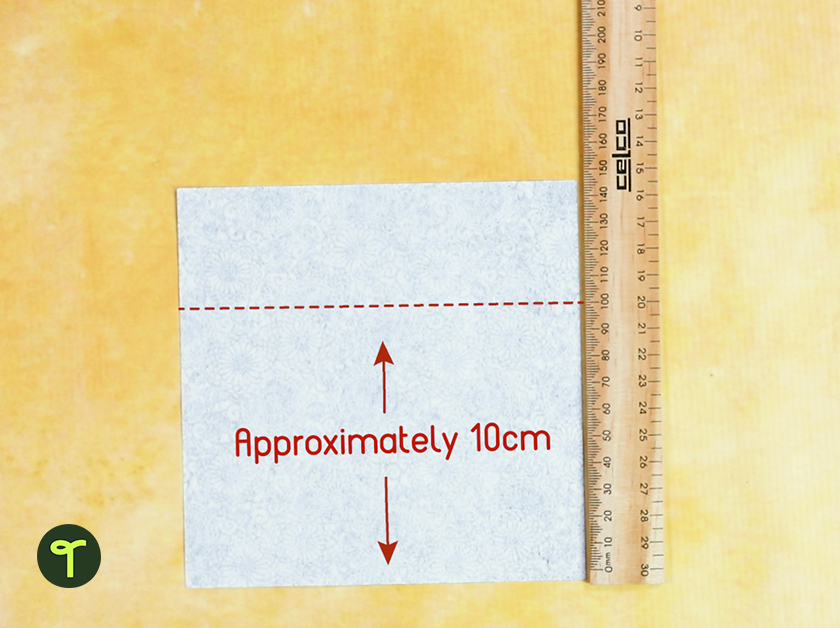
Step 2
With the larger bit of origami paper, fold over one edge approximately 1 cm.

Step 3
Pop some glue on the folded piece of paper, and stick that edge to the opposite edge.
Step 4
Fold your paper in half again. This time, you will not use any glue.
Step 5
Now, fold your paper in half the other way to make a crease that will help you in the next step.
Step 6
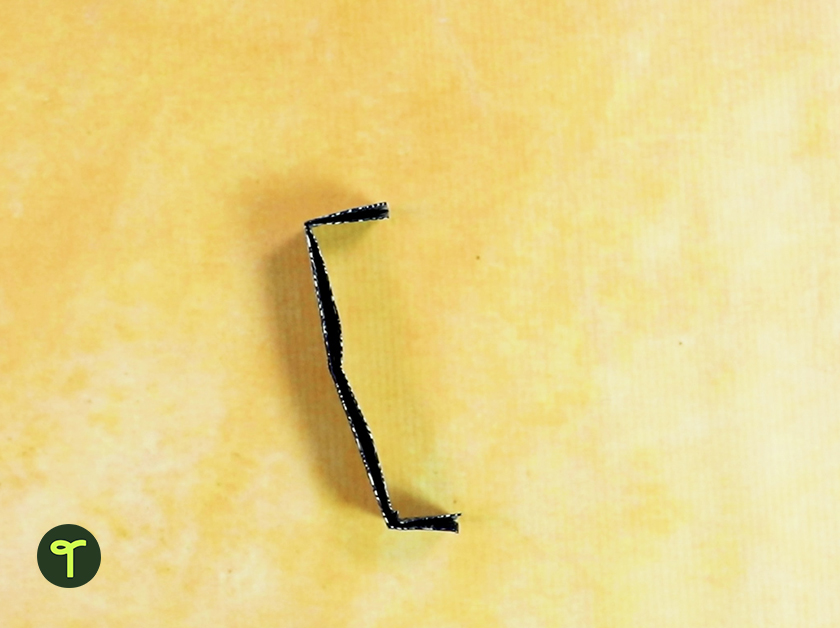
You need to fold the ends of your origami now. The crease in the middle will help you with how far you need to fold them. The edge of each end will need to be approximately halfway up to the middle crease. Once you have folded the ends, pop your origami on its side and it should look like the photo below.
Step 7
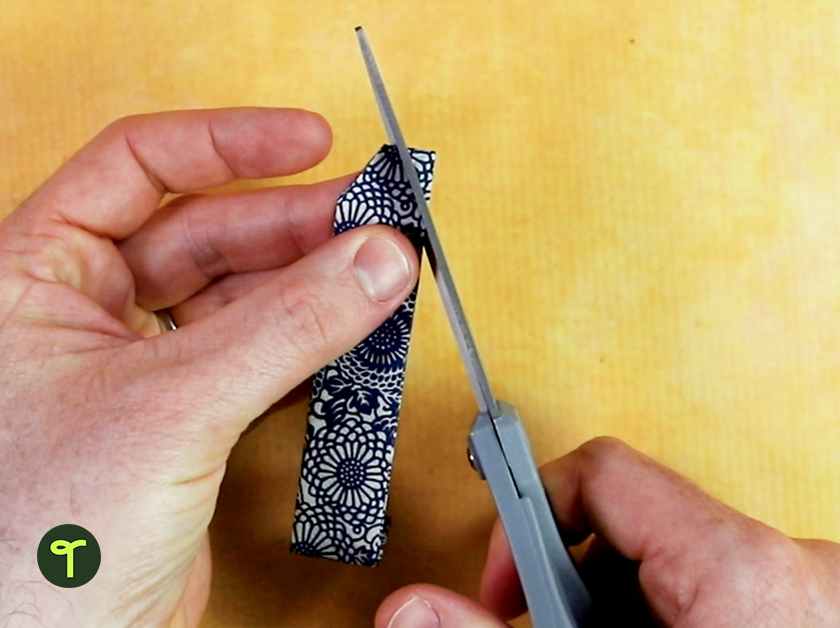
Now, with the edges folded still, you will need to cut the corners off each end of your origami bonbon to create a triangle shape. It is important that you only cut the corners so that the top bit is still connected. Do this to both ends.
Step 8
Unfold the ends of your almost done origami, and cut a triangle shape into each of the ends. Yes, we said you are almost done — there are not too many more steps left!
Step 9
Unfold your creation! Now it’s time to tie the ends. Find some wool or ribbon and cut two equal lengths.
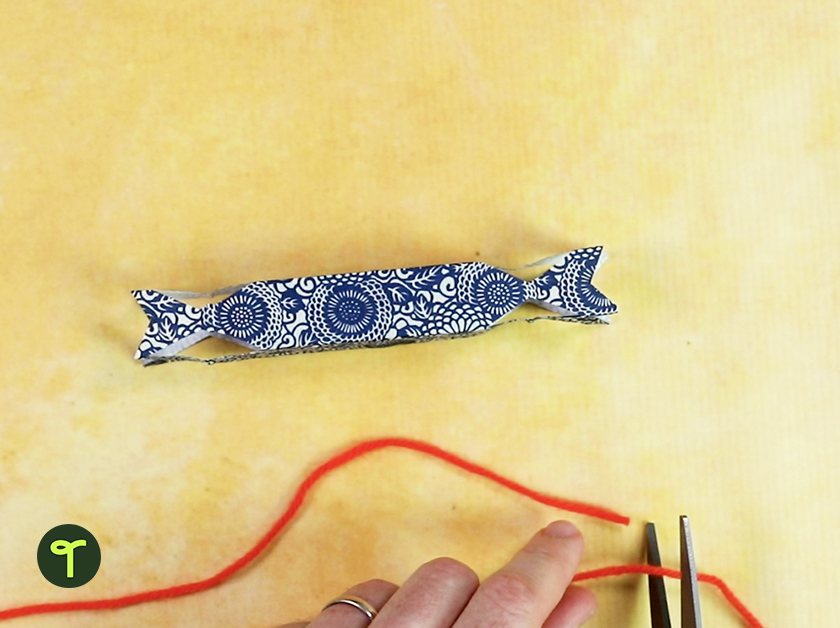
Step 11
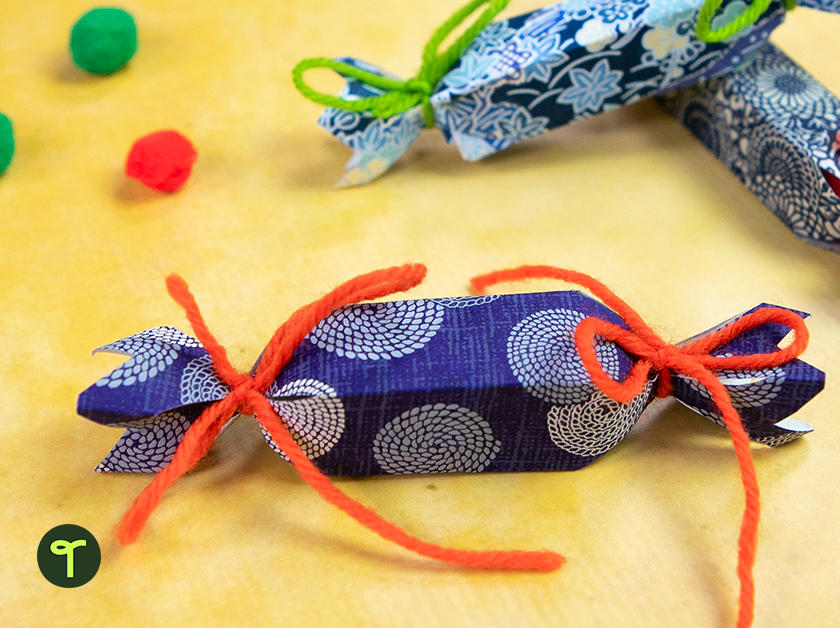
Tie one end and then pop in the nice message you wrote on the other piece of paper, a Christmas joke, some colourful pompoms, or anything you can find really. Then tie the other end. That’s it. You’re done with your Christmas origami bonbon, and ready to hand it off to a student!
Origami Animal Rings
Bonbons are a Christmas classic, but you don’t have to stick to a Christmas theme just because it’s Christmas. Do your students like to make gifts for their friends at the holidays? We have the perfect thing to do in the classroom — make origami gifts that they will use all year round!
When we first shared these origami rings, teachers — and students — fell in love, so we knew we would need to share them again for Christmas. These make perfect gifts for students to hand out to their friends or even to siblings for the holiday!
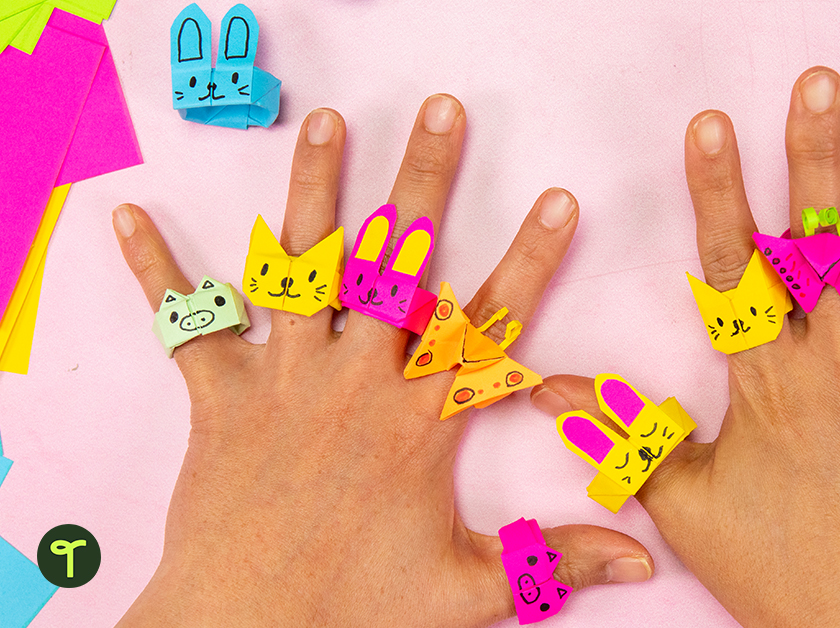
You can watch videos and gather step-by-step instructions on making origami cat, pig, butterfly, and bunny rabbit animal rings for Christmas. You may like to print a beautiful First Nations-themed Christmas gift box template for students to put together to box up their rings for their loved ones.
Alternatively, they may want to create another Christmas craft — an exploding Christmas gift box — to hold their special creations.
Origami Wishing Stars
It is almost the new year, and what better time to make some wishes for what is ahead? Your students might like to make some wishes for next school year, even, and what they hope to accomplish.
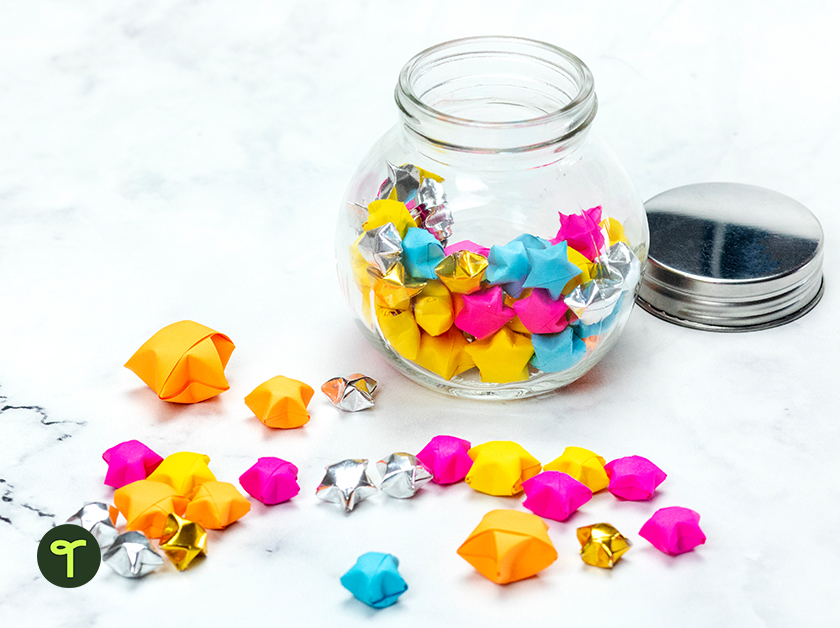
But what’s a wish without a wishing star — an origami wishing star, that is? This is another origami tutorial that our teacher team loves, and so do our students! Review the instructions with your students, and watch the origami creation video.
These would also make lovely gifts for a parent or carer if students decided to write messages on each strip of paper instead of their wishes!
Origami Animals
We already covered origami animal rings, but there are dozens more origami animals for holiday fun in the classroom! Visit our collection of tutorials for origami in the classroom, or printables students can take home to do on the holidays. Choose from a penguin, giraffe, frog, and more.



Comments