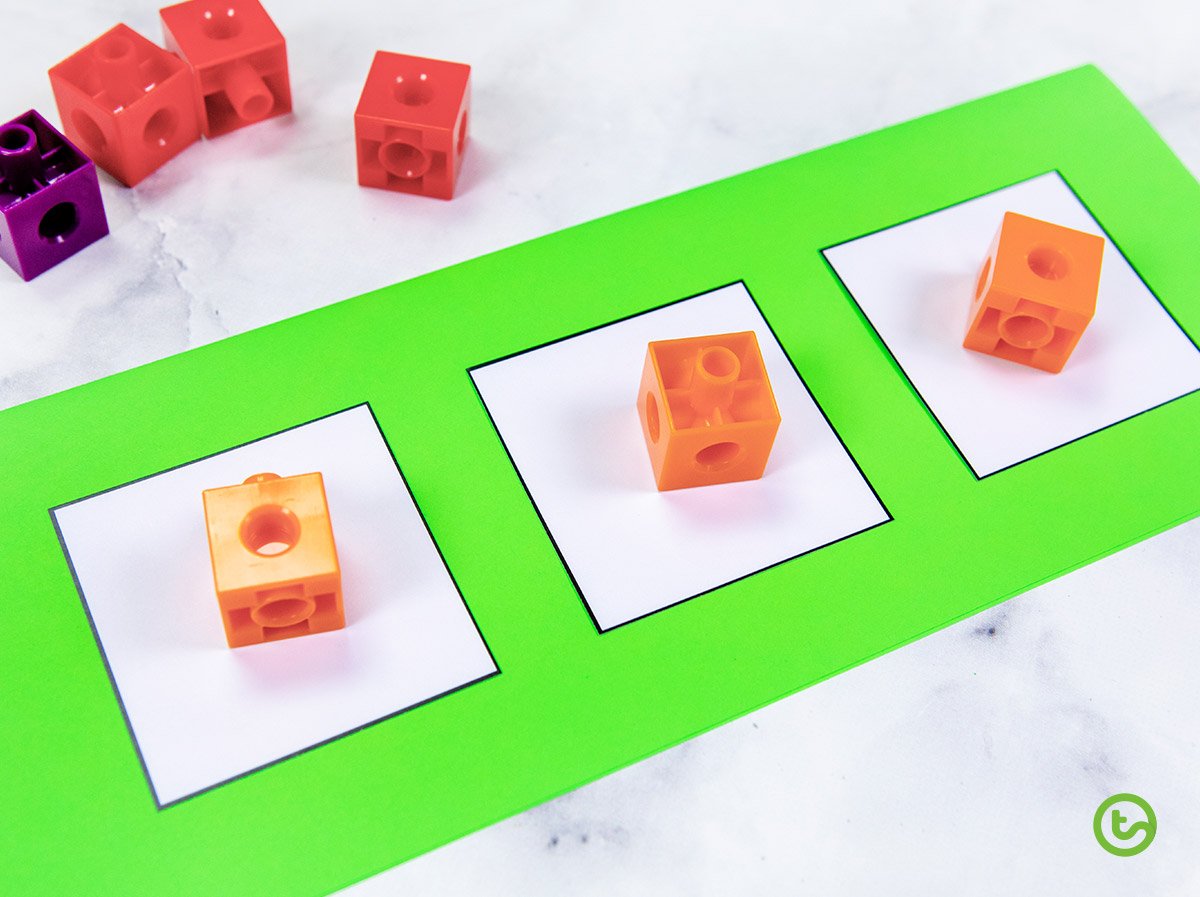
Elkonin boxes (aka sound boxes) help students build phonemic awareness. They are a simple set of boxes that are the same shape and size where each box represents a phoneme. To begin with, sound boxes are great as auditory activities to build phonemic awareness, but they are also a great teaching tool to support students’ orthographic mapping development. Orthographic mapping is the process of forming connections between letters and sounds to store words in the brain, so eventually, children can recognise words instantly by sight.
But, what about Word Shape Boxes I hear you say? Word shape boxes or letter shape boxes are different to sound boxes in that the boxes are different sizes depending on the word, like the example below. Word shape boxes were used in the classroom to help children to recognise the shape of words, typically high-frequency words. I used them in my classroom a lot! The problem with this style of teaching is that many words have very similar shapes. Along with this, much research has been conducted to prove that supporting a child’s orthographic mapping skills rather than memorising words by their shape is much more beneficial.
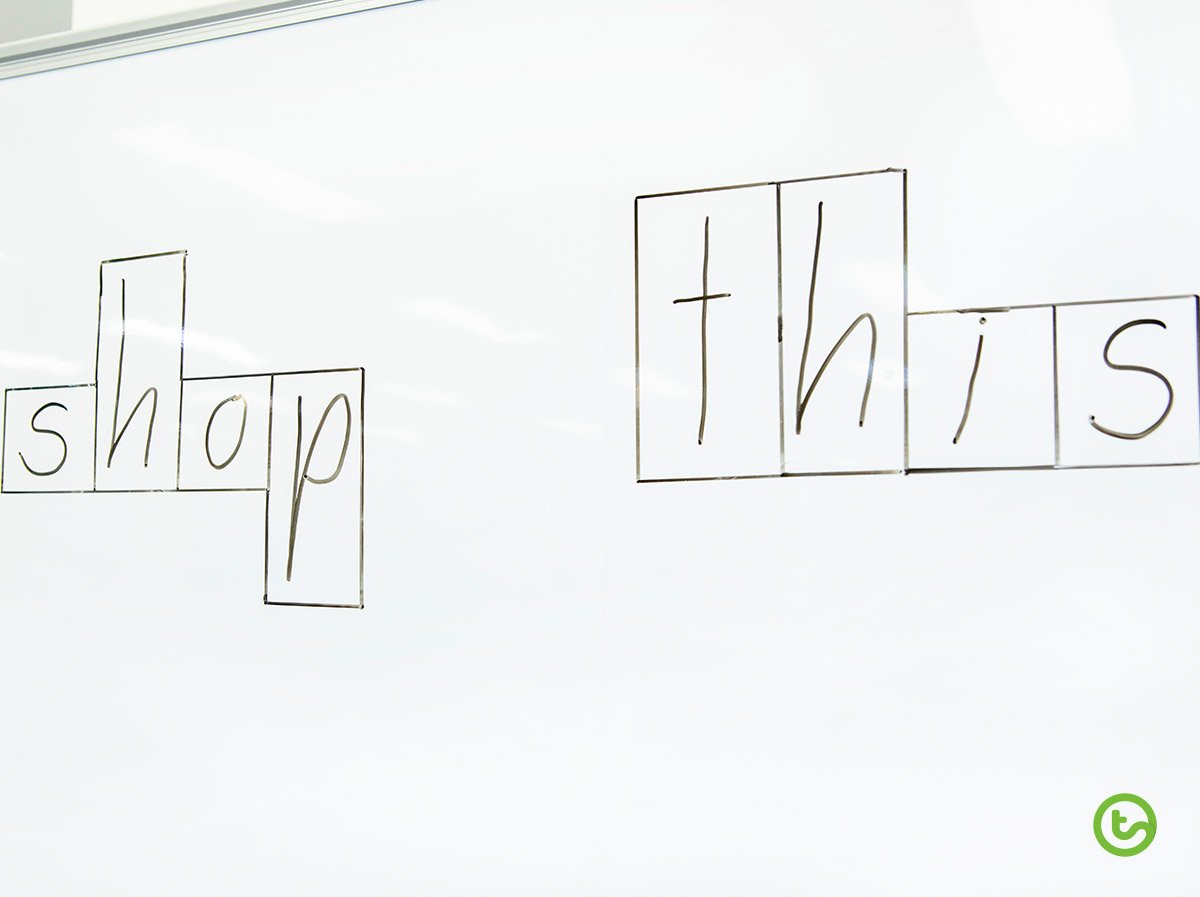
This is certainly not to say that some students may in fact benefit from word shapes. But, the majority of students will benefit a lot more from using sound boxes and developing their orthographic mapping.
How to use Sound Boxes in the Classroom
Initially, sound boxes help students hear the phonemes in words in sequence by connecting the slow verbal stretching of a word’s sounds to pushing tokens into the boxes. You can do this with the whole class or as a one-on-one activity.
- Say the word you’re using slowly. Like ‘sun’.
- Have the student/students repeat the word back to you.
- Then, count the phonemes they hear in the word, eg. sun would have 3 s/u/n.
- Then you can either draw three sound boxes or use a template.
- Students then slide one manipulative into an individual square as they say the word slowly. So they would move one counter into the first box for ‘s’ then another for ‘u’ and then another for ‘n’.
In the beginning, you’ll want to use words that contain three phonemes and have a continuous initial consonant sound such as /s/ or /f/ or /m/. A continuous sound is when they can make the sound go for as long as they need. Then you can progress to stop consonants such as /d/ or /k/ or /t/ – these are more difficult to stretch out when sounding them out. Next, move on to more difficult words to segment such as those that may contain a blend.
Sound Boxes (Elkonin Boxes) Activity with Sticky Notes
We love coming up with new and fresh ways to incorporate evidence-based activities in the classroom. We all know that to keep our little cherubs interested in learning we need to spice it up! In this activity idea, we are just replacing the boxes and using sticky notes. I know, simple, but kids love it!
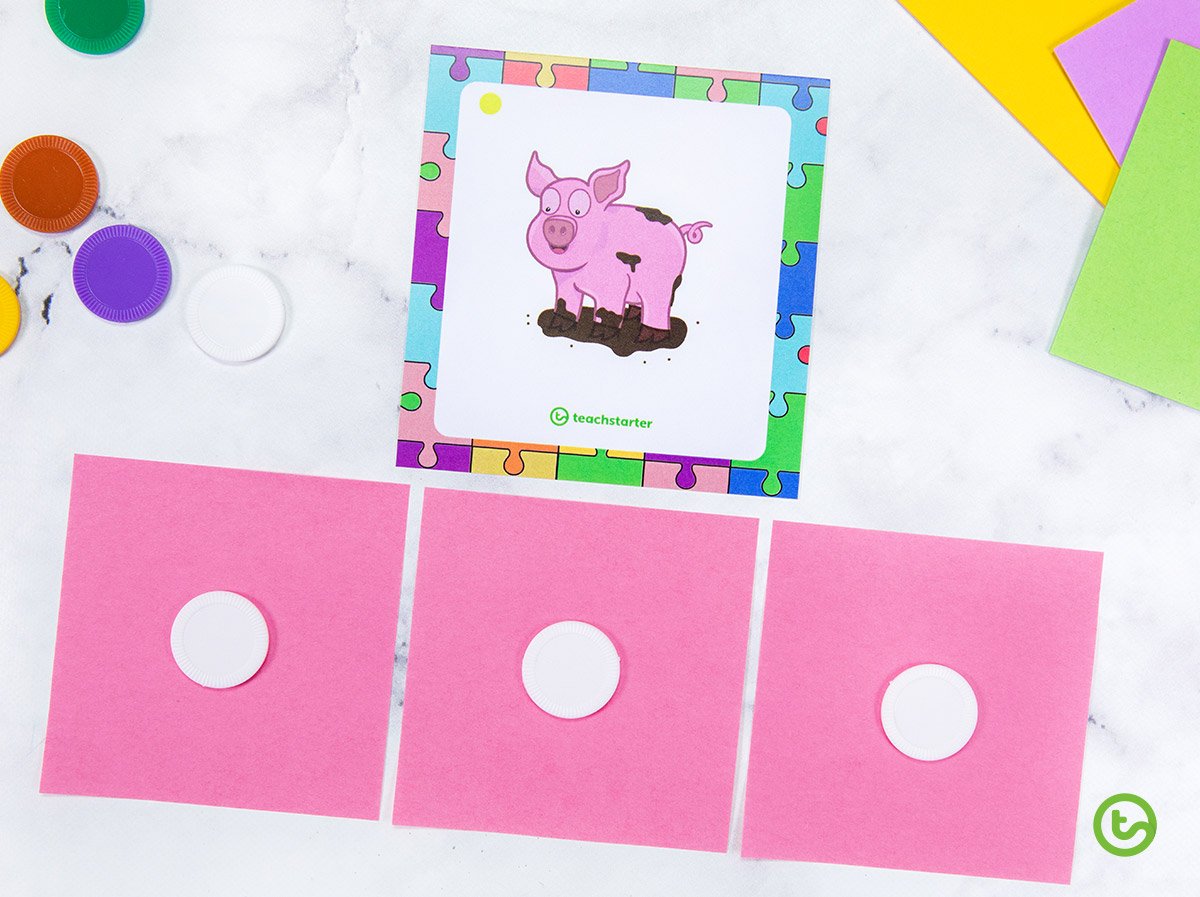
Pick an image and ask the student to say what they see… pig. Then get them to count how many phonemes they hear… 3. They need to place three sticky notes down in front of them and point to each sticky note as they say the phonemes… /p/ /i/ /g/. Then they repeat by placing the counters on each of the sticky notes.
How to Use Sound Boxes to Help Older Students
As I mentioned in the introduction of this blog, sound boxes can be used to support and build a stronger knowledge of spelling with children. They are also super helpful for older children who may need some phonics intervention. Here is how you can use sound boxes to help with spelling:
- Start by writing the word on a piece of paper, let’s say it is ‘beach’.
- The student says the word slowly.
- The students say the word again but as they say the word they move a counter into each of the boxes as they segment the word into phonemes.
- Then they can move their finger along the baseline of the boxes to blend the word together.




Comments