What is a Makerspace?
A Makerspace is a designated area of your classroom or school in which your students learn to use materials and tools to create something unique.
How gorgeous is this display by Ashley who shared her photos over on the Astrobrights Colorize Your Classroom.
Having a Makerspace in a classroom is a fast growing trend in education. Some people refer to this trend as the Maker Movement.
There are lots of different ways to define a Makerspace. Essentially a Makerspace is a space designed and dedicated to hands-on learning and creativity. Maker movement activities usually include the use of digital technology and involve designing and constructing real or virtual things.
However, Makerspaces don’t have to include digital technology.
Makerspaces come in all different shapes and sizes. A Makerspace might include the following:
- craft station
- electrical circuits station
- construction and design station
- robotics Station
- animation & storytelling station
- digital station
- LEGO Station.
Why Should You Create a Makerspace in Your Classroom?
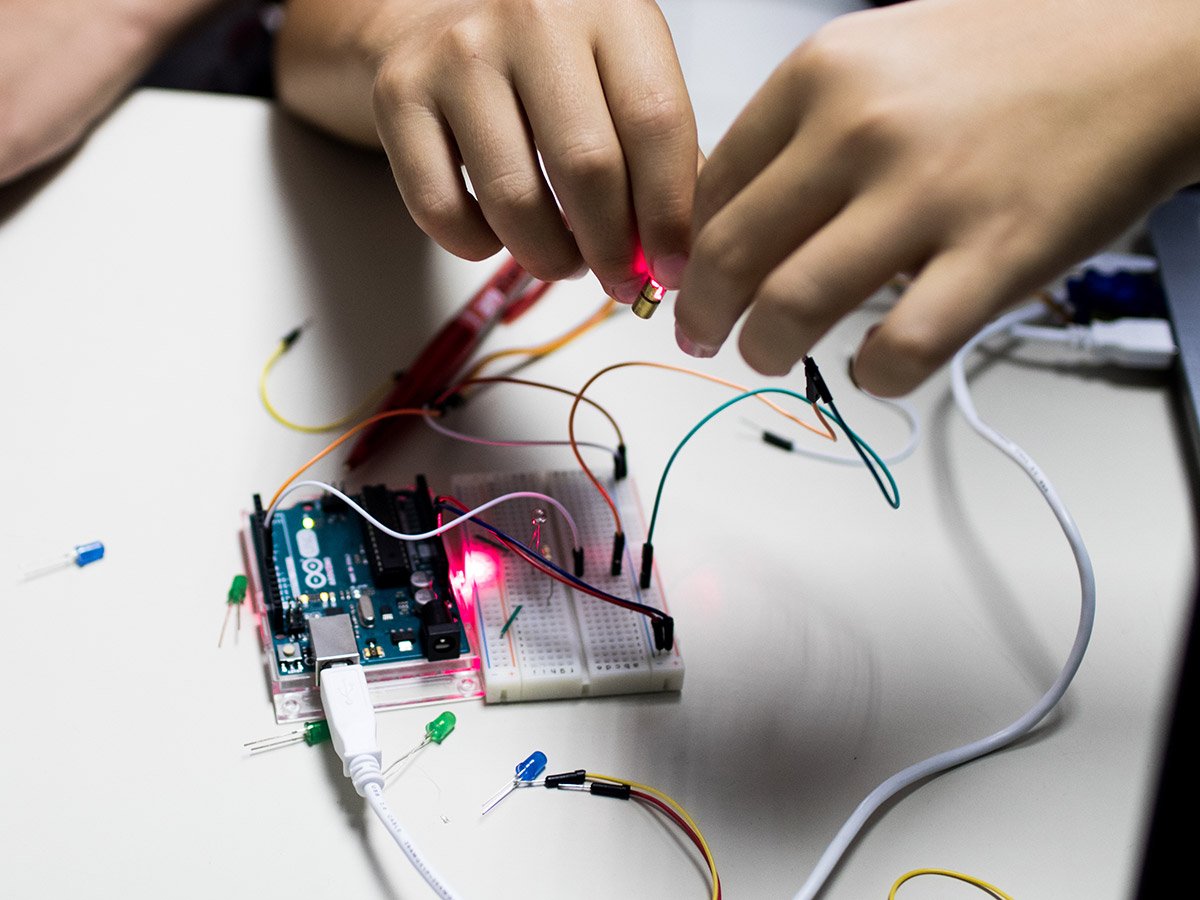
The benefits of having a Makerspace in your classroom are off the charts!
“Research has shown that Makerspaces are highly effective at developing children’s creativity, critical thinking, design thinking and digital skills.” – Macquarie University’s Department of Educational Studies
A Makerspace will also encourage:
- high levels of student engagement
- increased student confidence
- development of creativity
- development of problem-solving skills
- increased collaborative learning
- hands-on experience with design
- experimentation and construction
- connections between home and school
- learning through play for lower years.
Where Should You Create a Makerspace?
The truth is, you can set up a Makerspace almost anywhere.
Before you get started, you need to find the right place for your Makerspace. When setting up and initiating a Makerspace, you should ask yourself:
- Who will be using this area?
- What type of space would best suit their needs?
- What is the purpose of this space?
If you decide to set up a Makerspace in your classroom, choose an area that is easily accessible for your students and won’t impact your daily routine. It can be challenging to keep the area tidy so it’s a good idea to choose a space that is to one side or in a corner of the room.
Consider the possibility that your Makerspace could be used by more than one class and the wider school community. Perhaps you could repurpose an unused room or set up a shared space between two or more classrooms?
What Do You Need to Create a Makerspace?
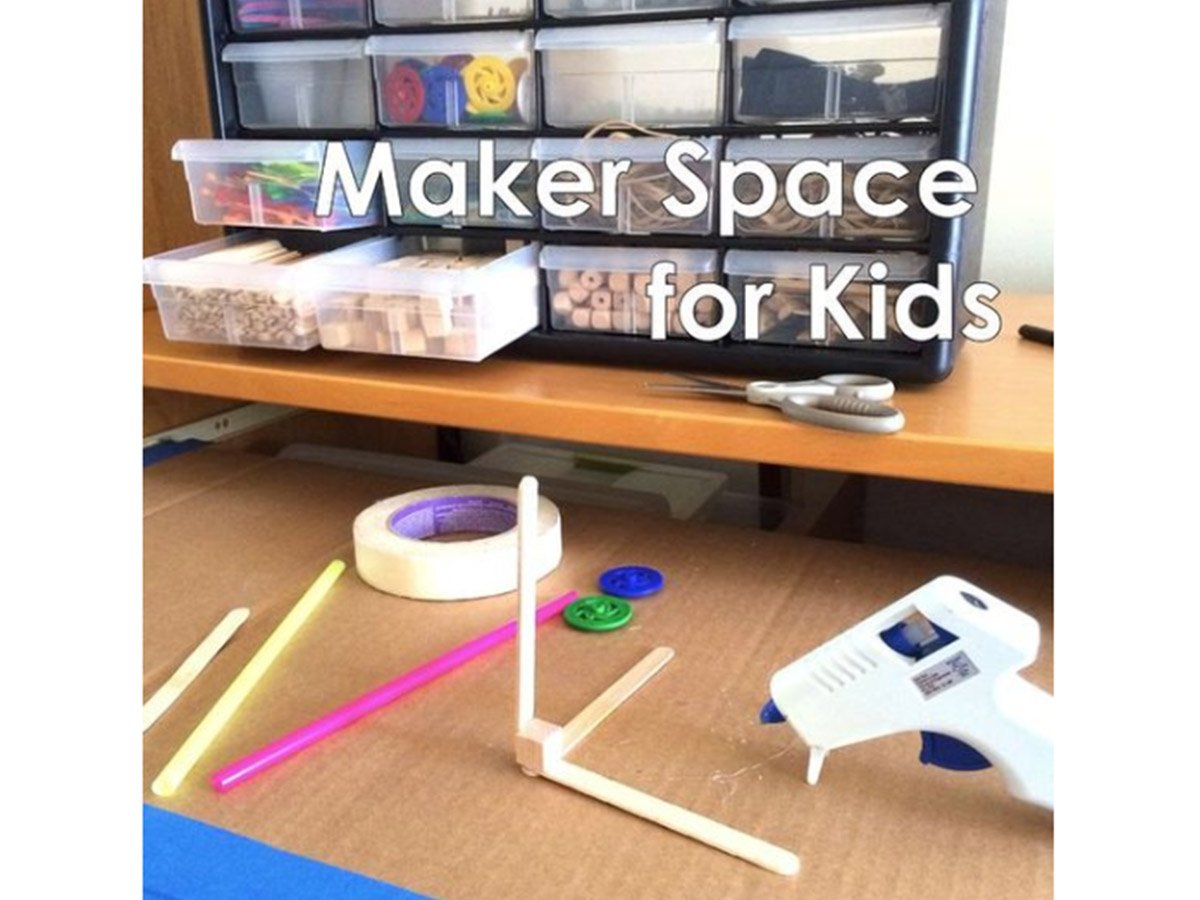
This storage idea and materials are just perfection, found on the Instructables blog.
You’re going to need materials and construction tools. The materials that you need will depend entirely on the focus of your Makerspace.
Don’t be afraid to ask your school community and parents for help in providing materials and tools.
You could create a list of materials and include it in a class newsletter or tack the list up in a local cafe or even post it on social media. Chances are, you’ll get most of the materials and tools that you need for free.
A list of materials might include:
- general craft materials
- cardboard board boxes
- old toys to deconstruct
- batteries
- containers
- glue
- tape
- wire
- string
You’ll also need lots of clearly labelled storage containers and recycling/waste bins.
What Tools Do You Need?
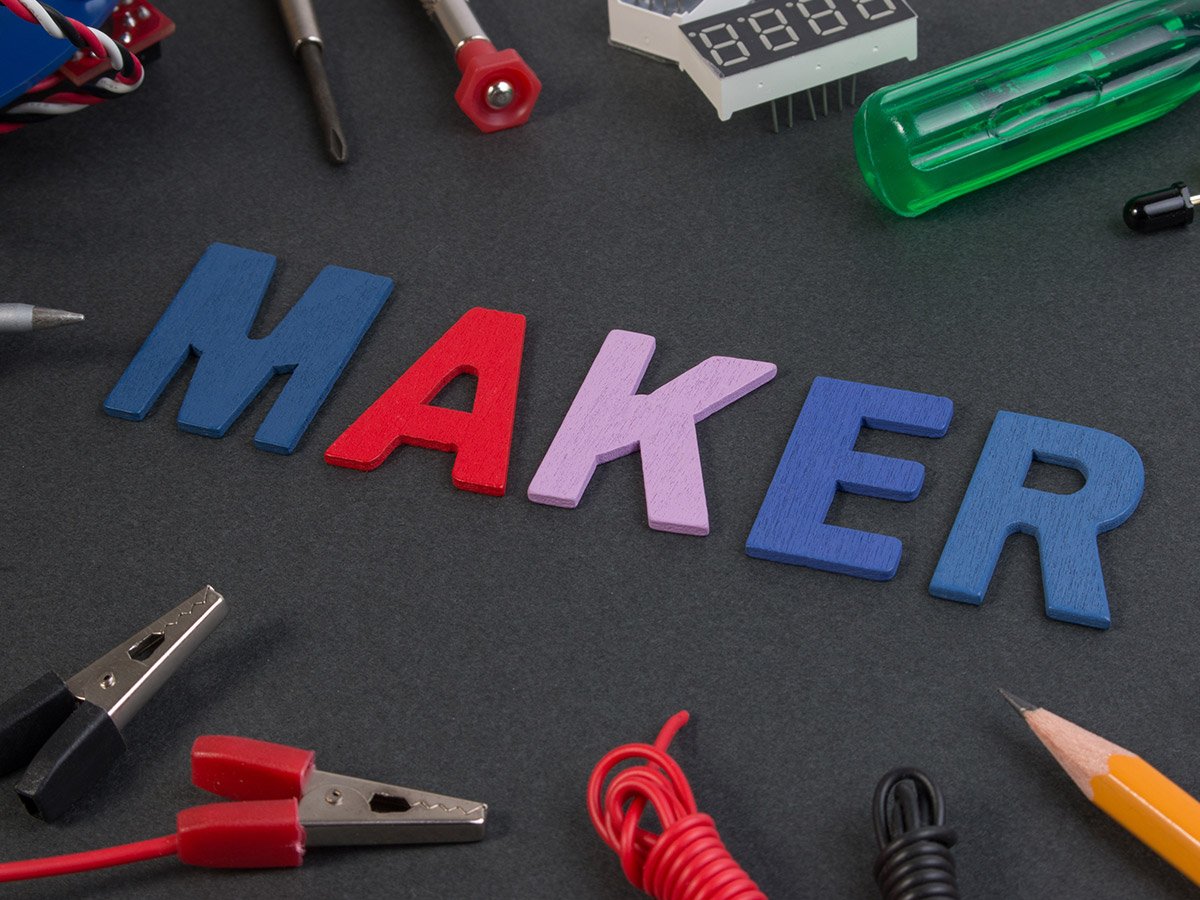
When it comes to construction tools, it’s safety first! Safety is an extremely important consideration in any Makerspace program and it’s up to you to make sure that your maker program is safe for you and your students. While a Makerspace is suitable for most year levels, ensure that the tools and the materials that you make available are age appropriate.
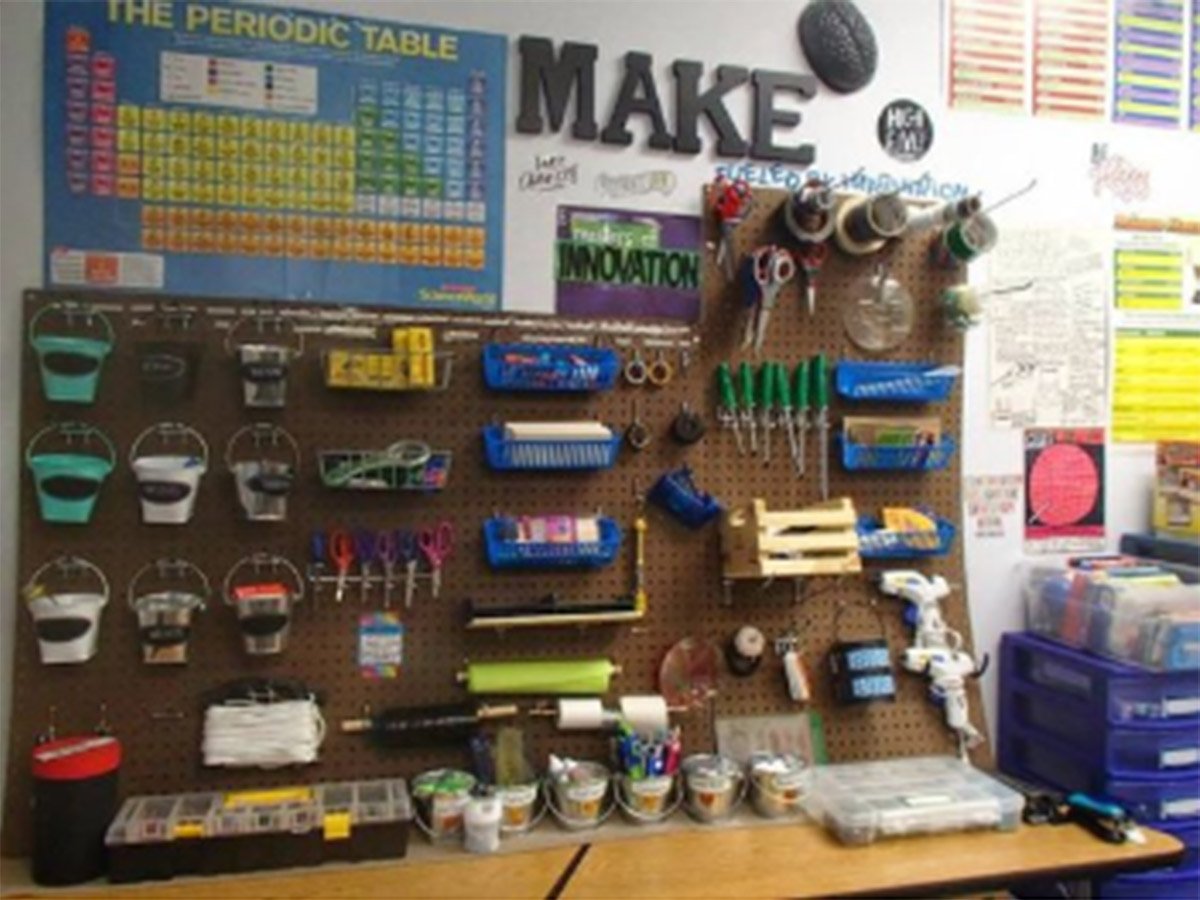
For upper years students Makerspace tools might include pliers, scissors, screwdrivers, hammers, sandpaper, tape, glue a glue gun and safety glasses and gloves.
For inspiration, check out this totally amazing Makerspace setup by Victoria over at the love5thgrade blog.
Make sure that you have a class discussion about how and when to use tools in a safe and responsible way.
How Do You Set Up an Electrical Circuits Makerspace?
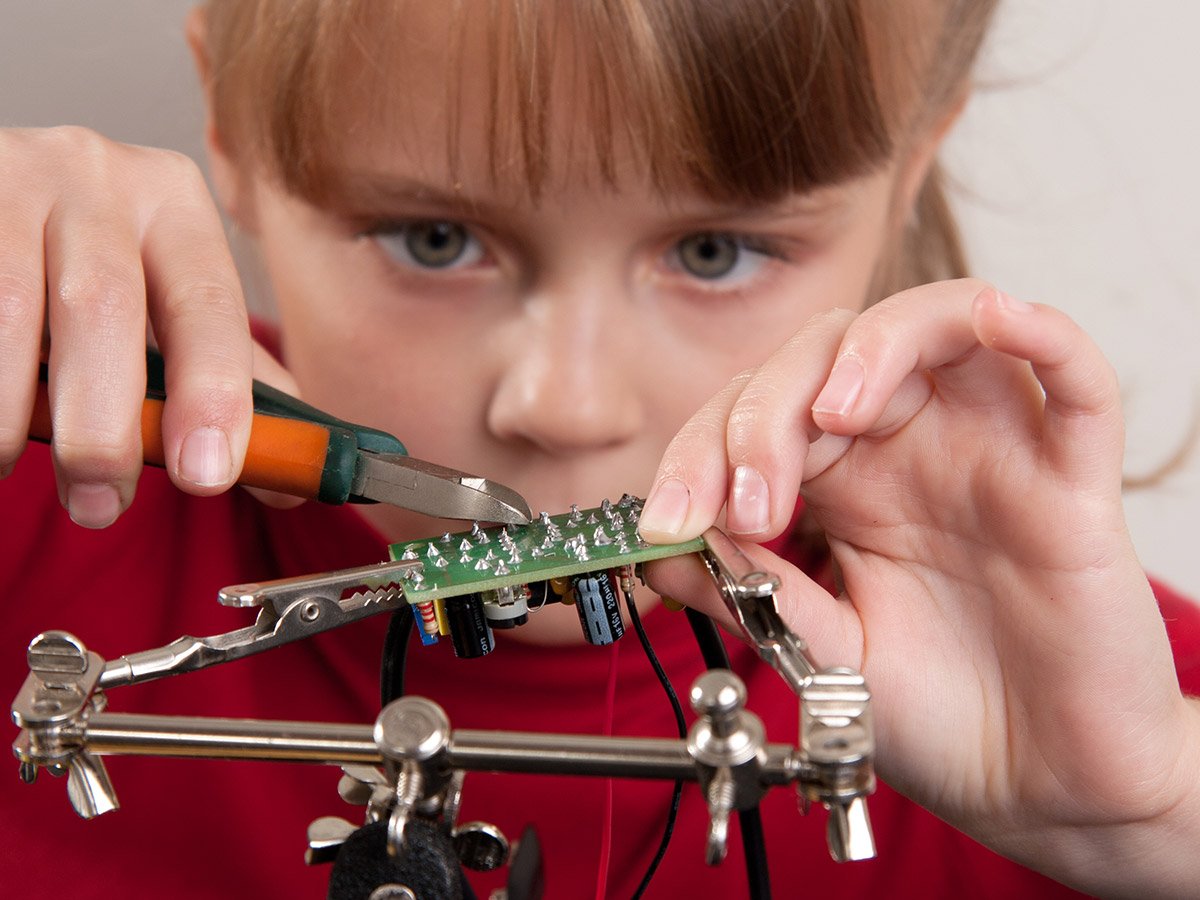
To create a Makerspace to explore electricity and create their own circuits you’ll need to do a bit of schmoozing with your Science coordinator.
If this doesn’t prove successful, your next step is to check out the basic electricity kits available at Kesco Educational Supplies For School & Early Childhood and to put in a request for a new school resource. They even provide ready to go Makerspace Kits!
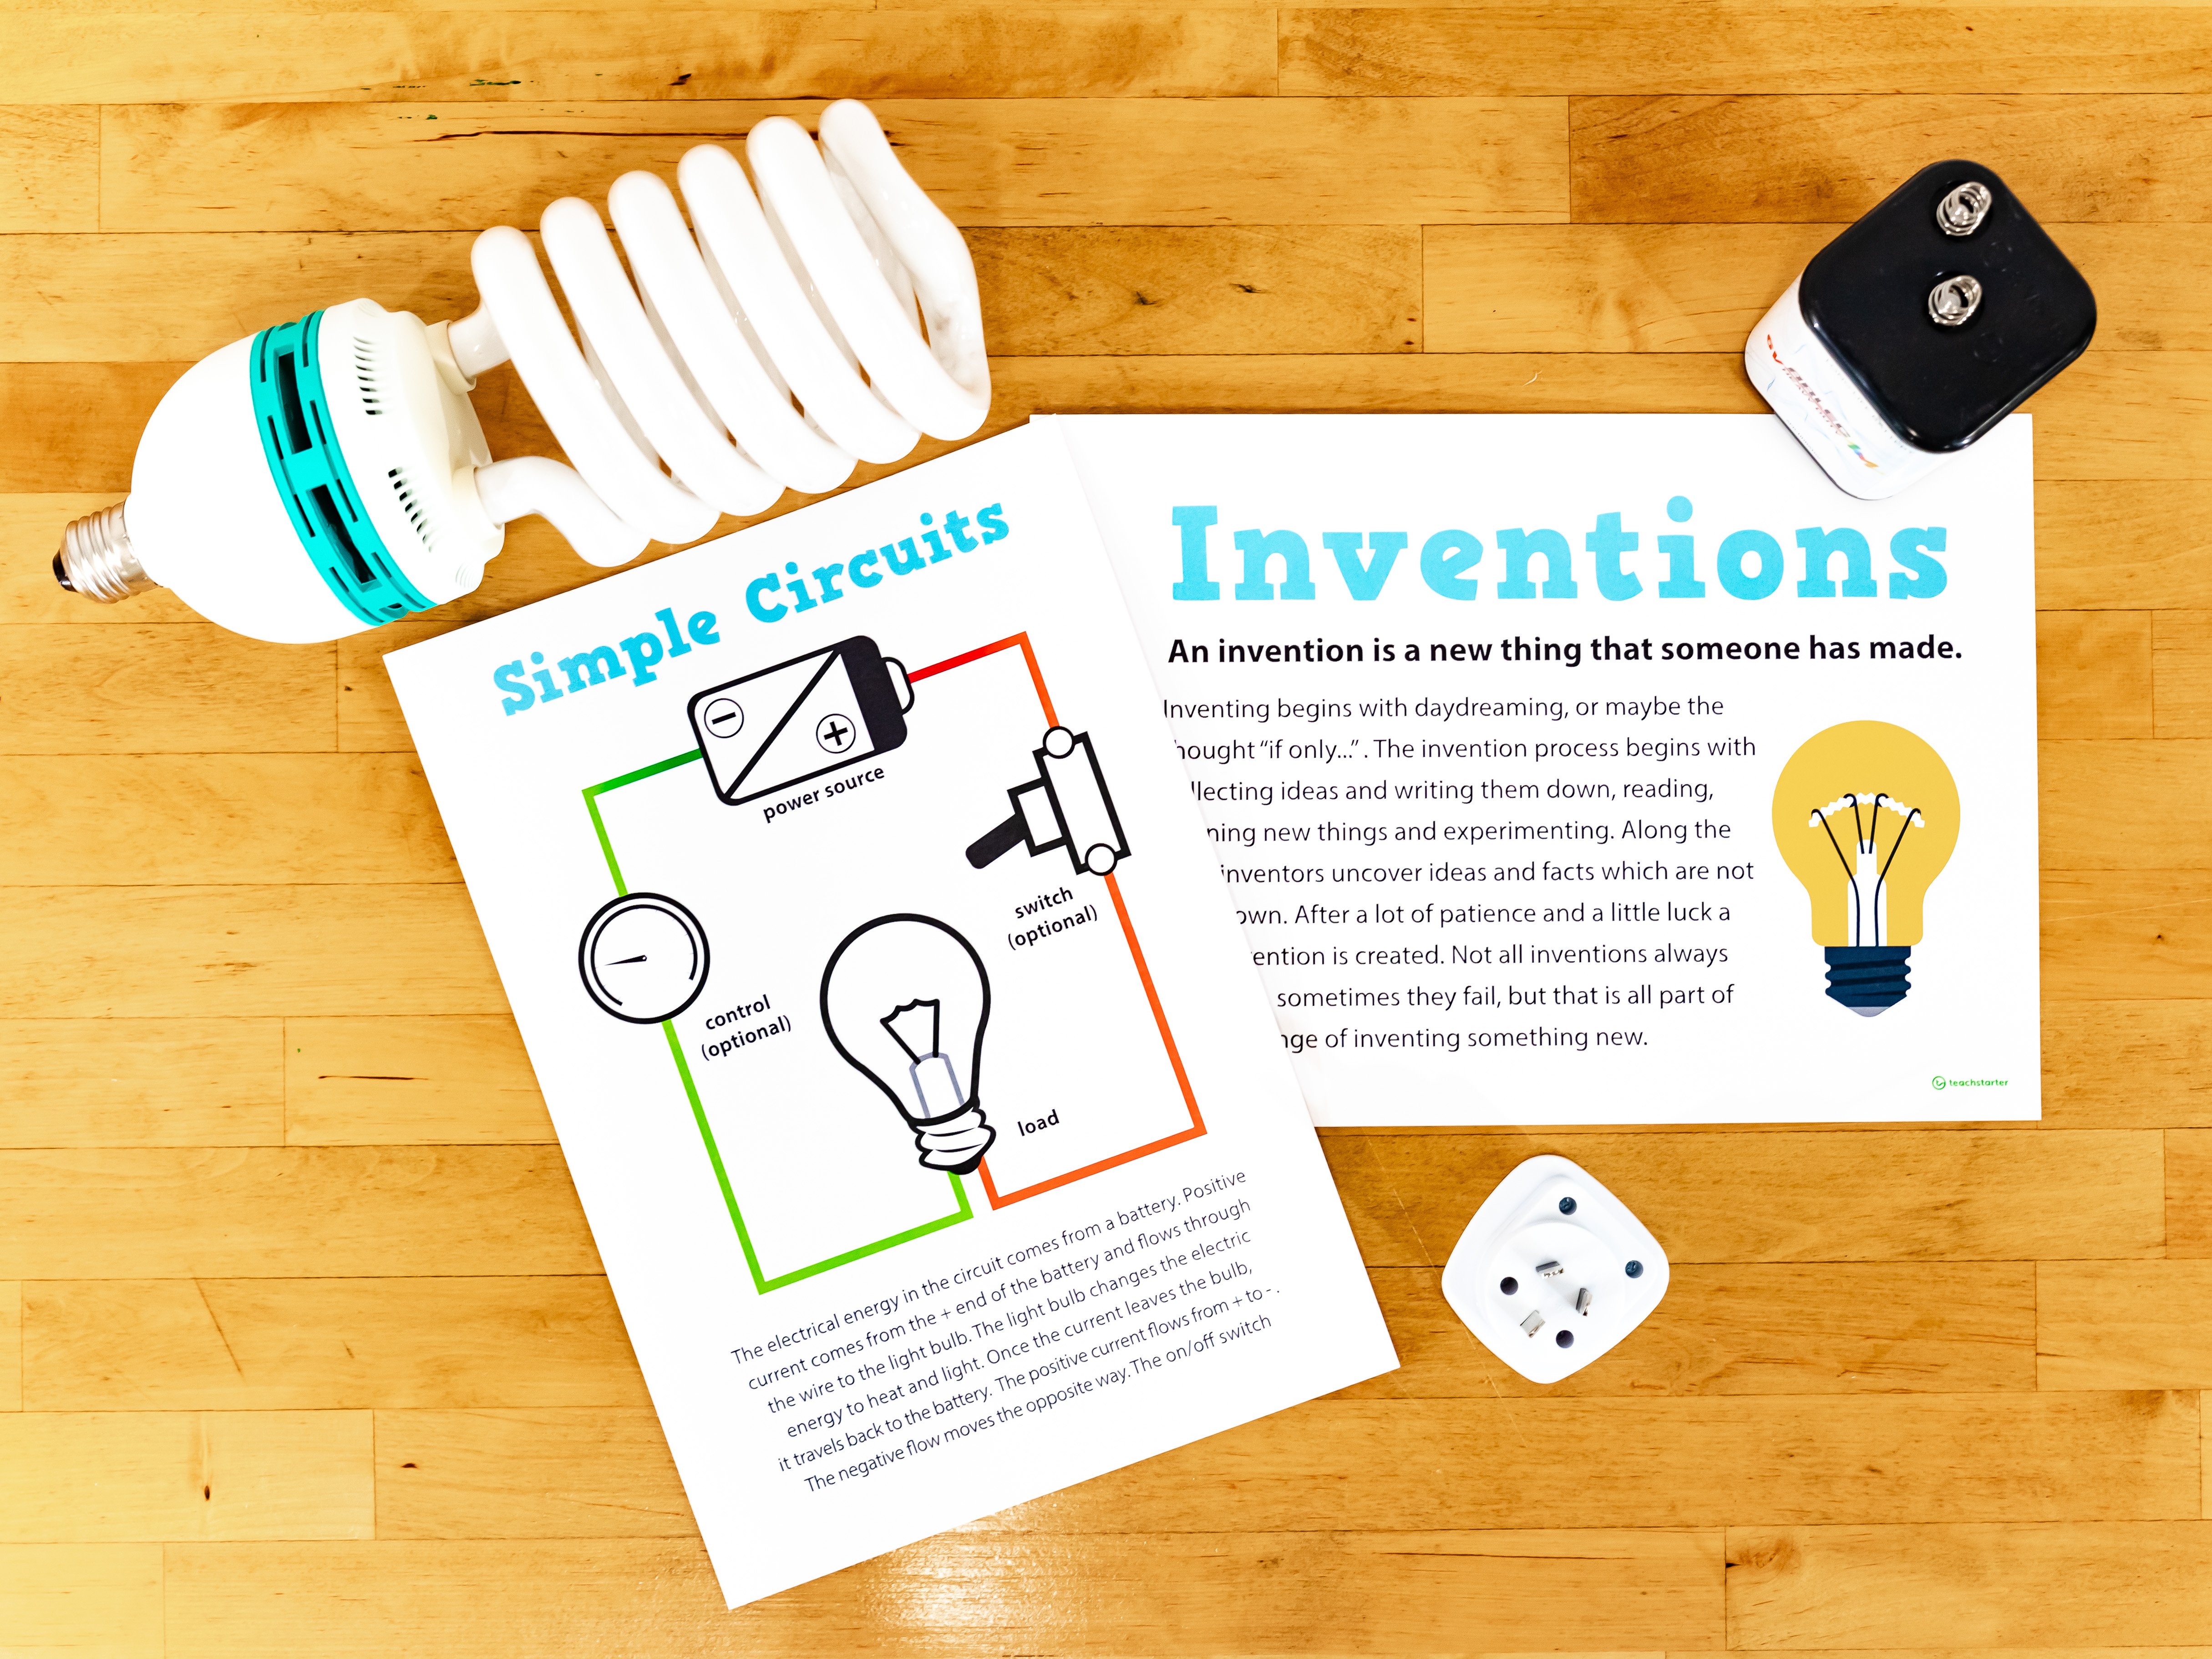
Check out our Electricity Teaching Resource Pack that includes a [FREE] download Inventions Poster and a Simple Circuits Poster.
It’s a good idea to reach out to parents and guardians to help out in the classroom during Makerspace time, especially if you are exploring electrical circuits.
Don’t miss out on out hot off the press It’s Electric Unit Plan. This brilliant Physical Sciences unit addresses the principles of electricity. It explores what electricity is, how it is transferred and how energy is transformed to create it.
What About the Mess and the Waste?
The most important thing to remember here is that it’s not your job to keep the Makerspace tidy or to deal with the waste. Instead it’s the shared responsibility of the class.
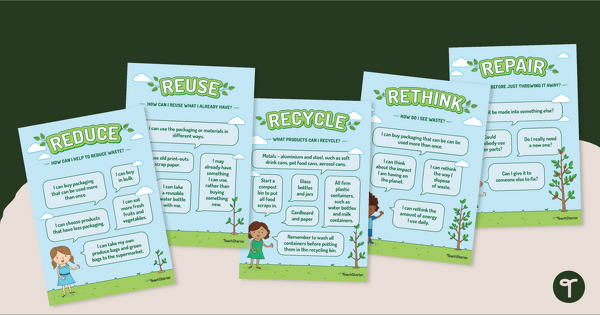
Remind your students about the importance of reducing, reusing and recycling waste. Use our Reduce, Reuse, Recycle, Rethink and Repair Posters to include in your Makerspace classroom display.
teaching resource
Reduce, Reuse, Recycle, Rethink and Repair Posters
Explain the concepts behind reducing, reusing, recycling, rethinking and repairing waste with a set of printable sustainability posters.
teaching resource
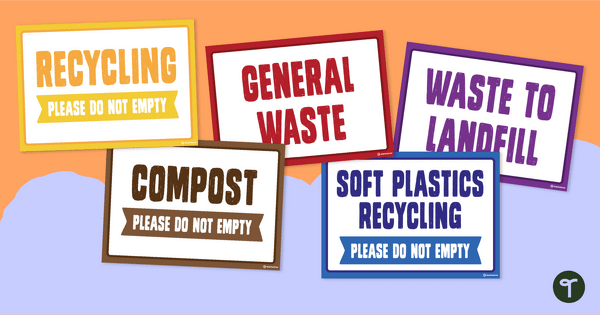
Recycling Posters -Signs for Recycle Bins
Teach your students how to recycle in the classroom with signs for recycle bins.

teaching resource
Garbage Bin Posters - Rubbish, Recycling and Compost
Posters outlining what can be put in the different types of bins.
teaching resource
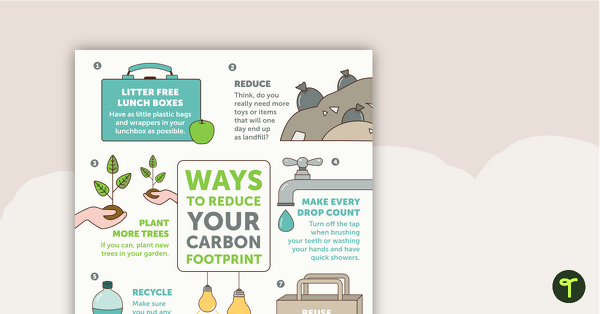
Ways to Reduce Your Carbon Footprint – Poster and Worksheet
Explore how to reduce your carbon footprint with this poster and accompanying comprehension worksheet.
Don’t forget the importance of reducing waste, reusing and recycling materials.
The Makerspace Link with STEM
Makerspaces are a hands-on method for STEM learning, giving students space to explore science, technology, engineering and mathematics.
A STEM design challenge is a great way to motivate your students and to get your first Makerspace activity off to a flying start.
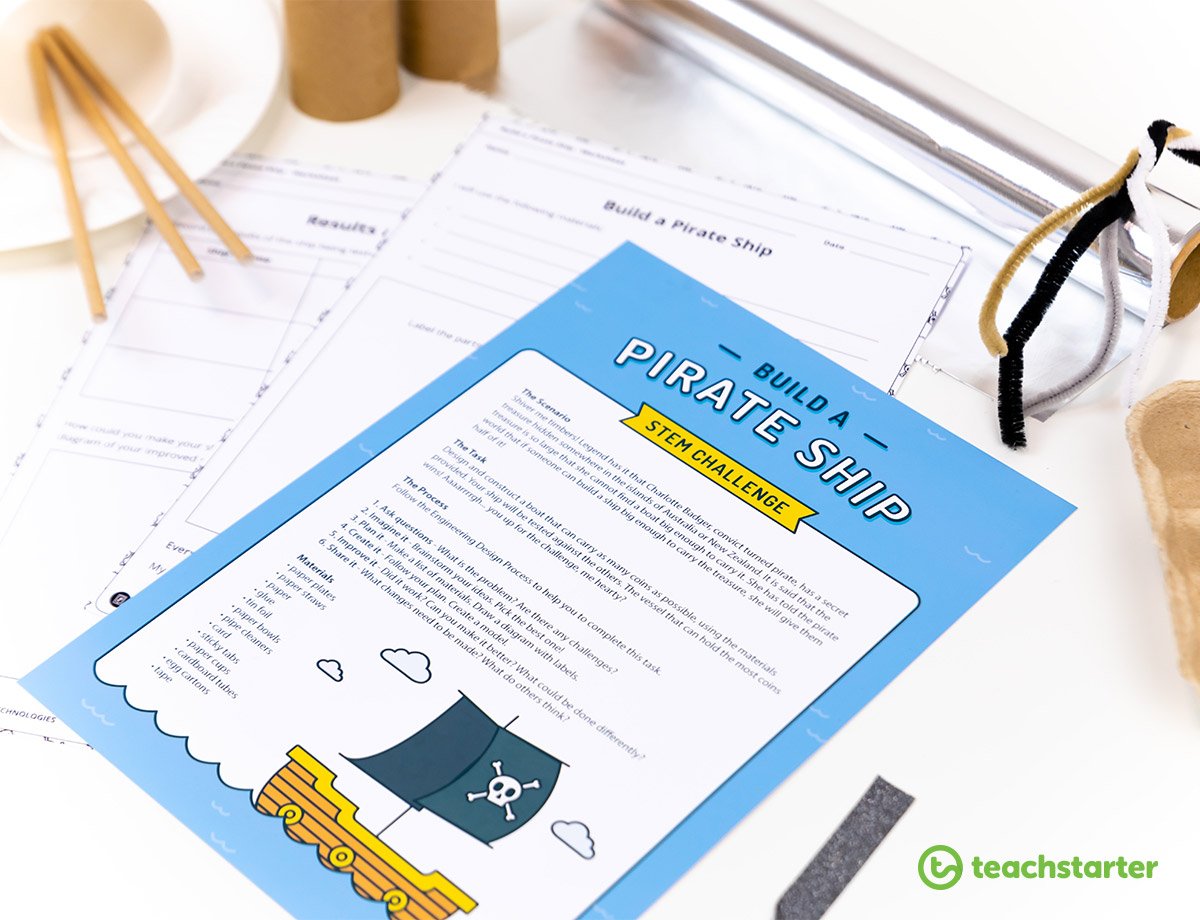
Don’t miss our Build a Pirate Ship STEM Challenge this is ideal to use as a Makerspace activity. Plus there are challenges for upper, middle and lower years!
Upper years students design and construct a pirate ship that can remain afloat whilst holding as many coins as possible. The boat that can hold the most coins wins! The materials needed are relatively easy to get your hands on so it’s a Makerspace winner.
For more design challenge ideas for your Makerspace check out our collection of STEM Teaching Resources.
Teach the STEM Engineering Process
Don’t forget that while a Makerspace is all about having the freedom to create something unique, it’s super important to teach the STEM engineering process.
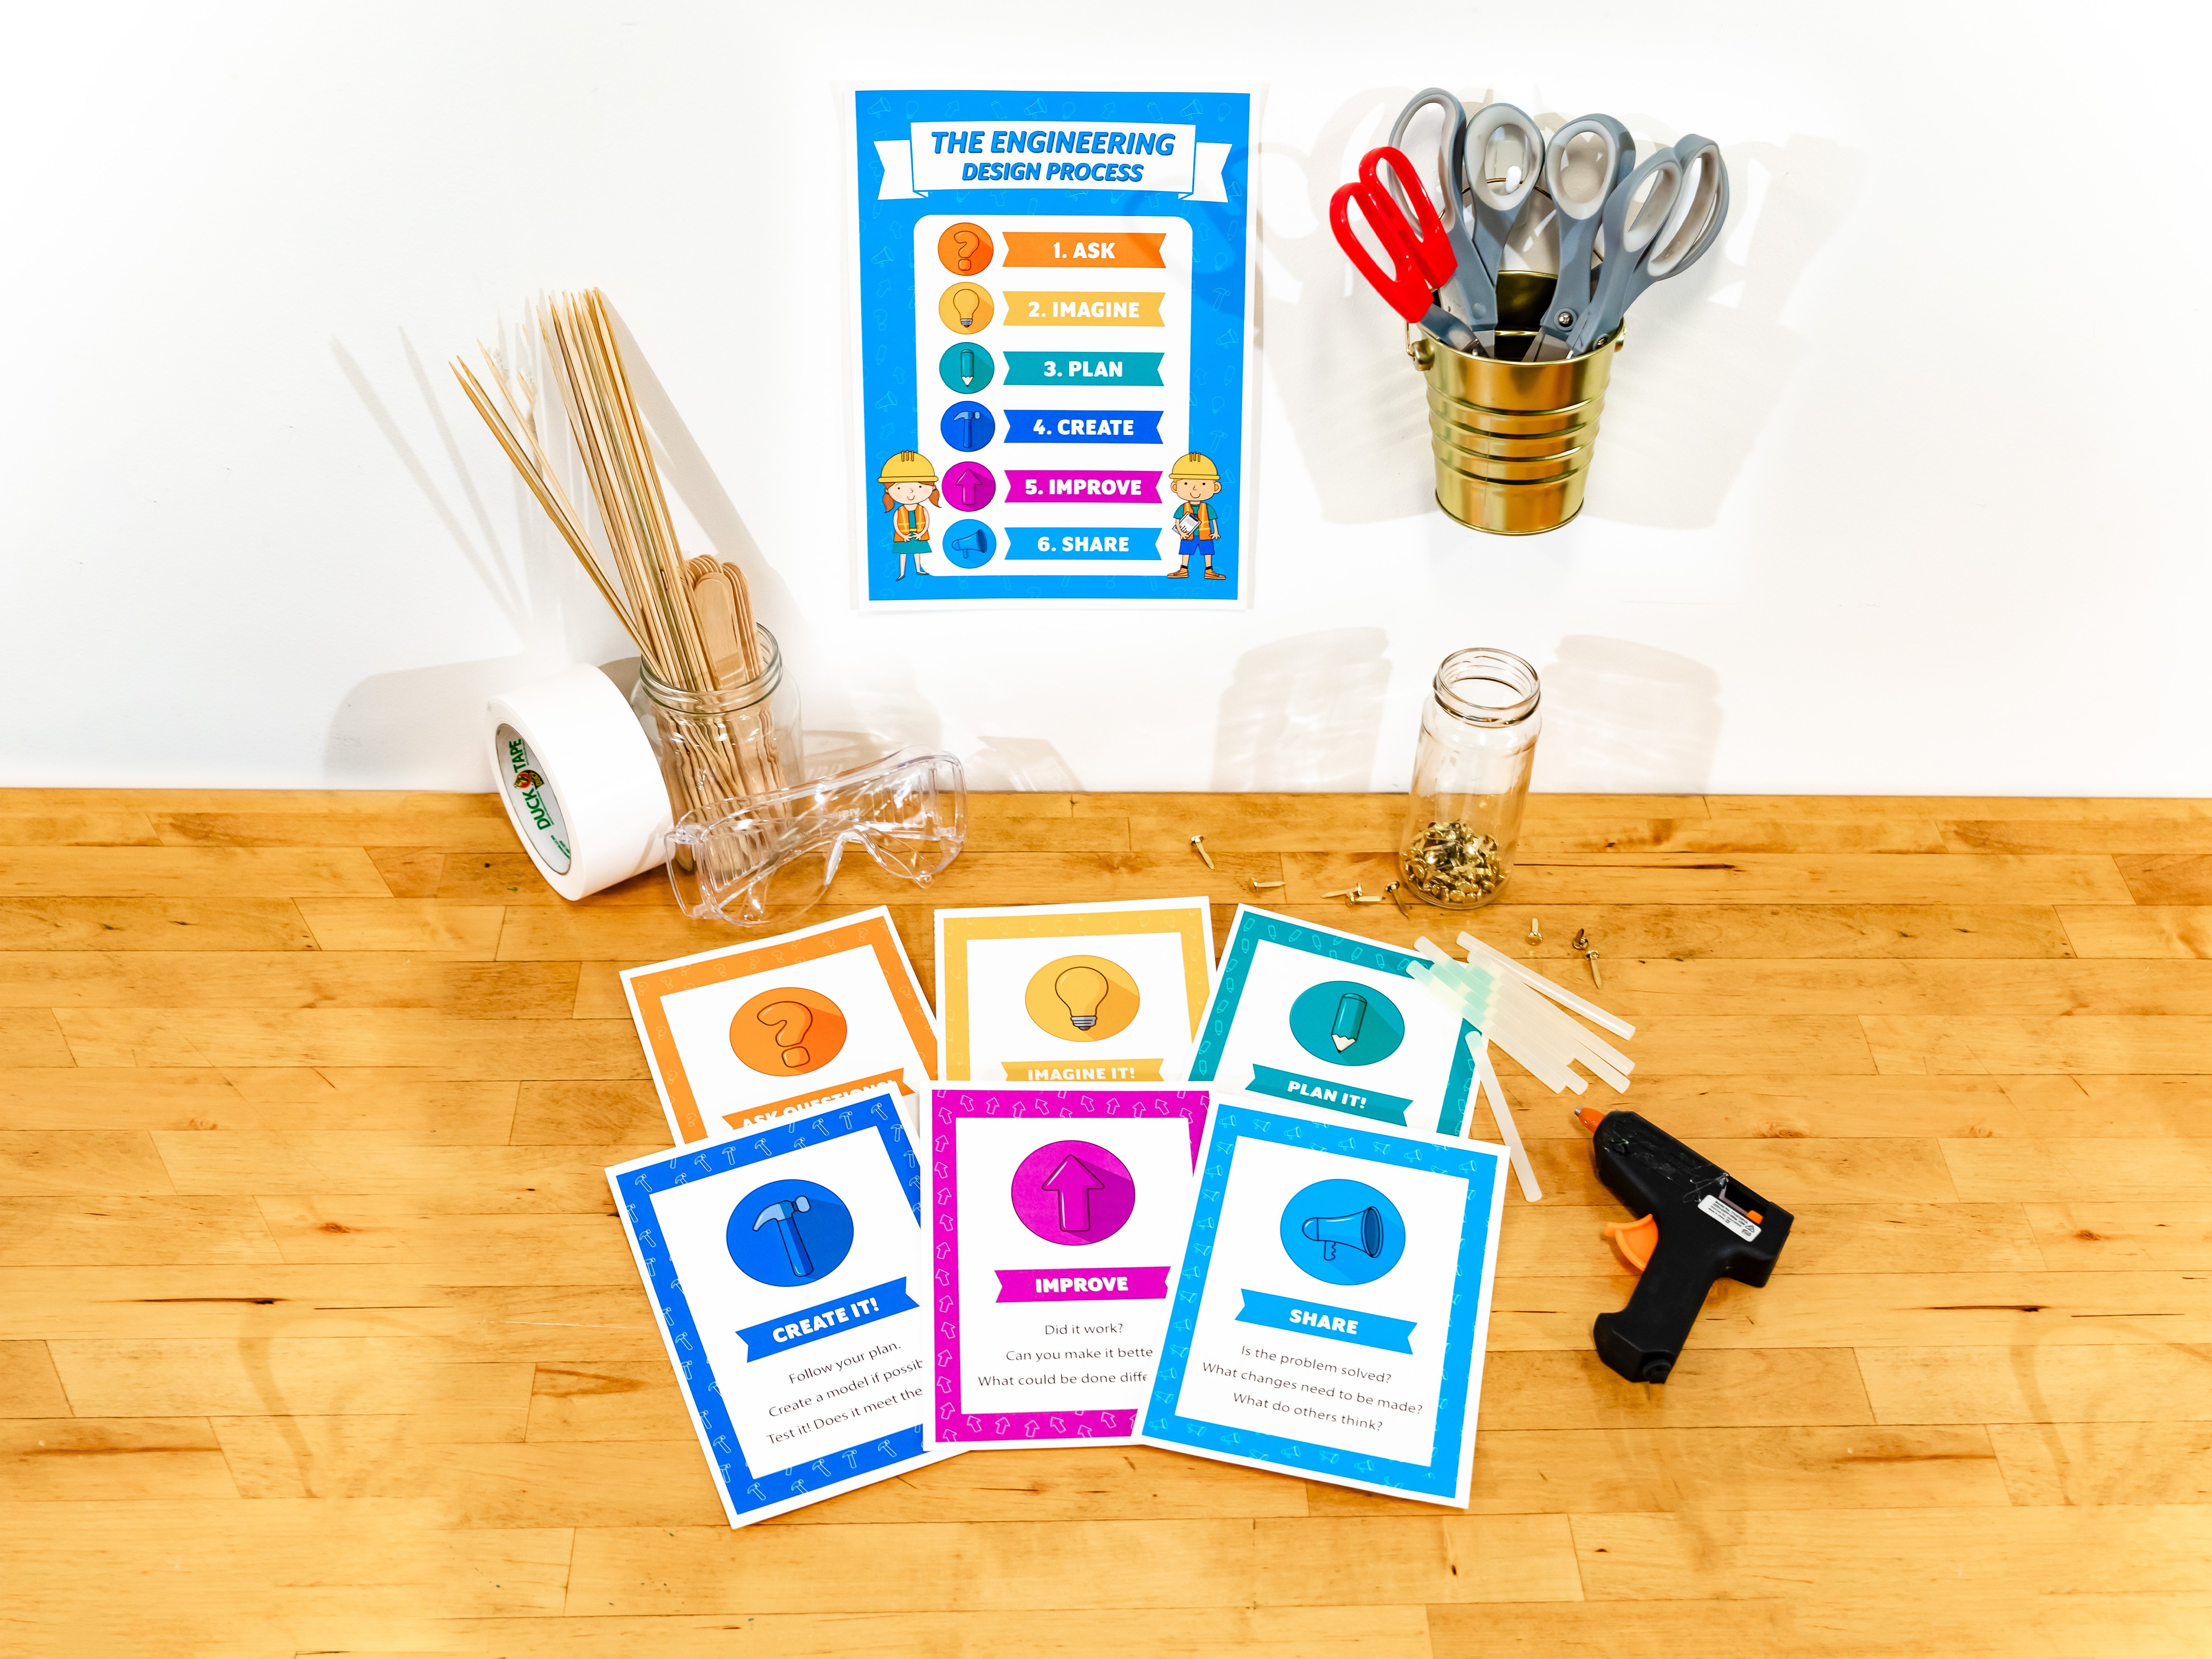
Download our STEM – Engineering Process Poster Pack and create an awesome display as part of your Makerspace to remind your students to:
- Ask
- Imagine
- Plan
- Create
- Improve
- Share
From Little Things, Big Things Grow

If you feel overwhelmed and unsure where to begin, start small and see whether the concept grows.
Create a Makerspace where students have the freedom, materials, support and time to create.
The most important thing to remember when setting up a Makerspace is that the space should reflect the needs and desires of your students. It’s good to have ideas for what you want to achieve with your Makerspace, but at the same time, it’s important to be flexible and able to adapt to the needs and wants of your learners. The Makerspace should be easily accessible to all of your students and should cater for different interests, skills and strengths.
Makerspaces don’t have to be about spending a lot of money to create a fully kitted out, specially designed lab. Every classroom has the possibility to include a Makerspace dedicated to hands-on learning and creativity.







Such great ideas here, if only I had enough space in my room to be able to do it! It might just have to be tubs that the kids pull out
Hi Emma, Thank you for your lovely comment. I am so glad you are enjoying our resources.