Bunting Flags for Teachers
Print bunting flags that fit your classroom theme, and explore printable bunting for classroom events and holidays, as well as flags designed around the core academic topics.
This printables collection is full of colourful and engaging classroom decor created by the Teach Starter graphic design team with students and their needs in mind!
If your brain goes directly to babies or songbirds rather than classroom decor when you hear the term bunting, you may be curious about what these flags are, how to make them and how to hang your bunting. Read on for a primer from our teacher team!
What Is a Bunting Flag?
A bunting flag is a type of decorative flag that's typically made of triangular or rectangular pieces of fabric sewn or attached to a string or rope. Together they form a series of flags and add a festive touch to decor.
Bunting don't have to be fabric — in fact you'll see them made from plastic, wood and, of course, paper (like these printable options!) — and they often feature vibrant colours, patterns or designs.

Bunting flags can be decorated by students too — like these 'all about me' flags that kids have filled in on the first day of school.
Here's a bit of information for the etymologists out there — the term bunting initially referred to a lightweight woven fabric used for making flags, but the term later expanded to encompass the decorative flags themselves.
Bunting flags gained popularity during the Victorian era in Britain — where they were used extensively for celebrations, patriotic events and street decorations — before coming to Australia.
How to Make Bunting Flags
Printable bunting flags can save you time as you decorate your classroom, but how do you make actual bunting from your pile of pretty printables? Follow our simple step-by-step guide!
Materials
- A PDF of your chosen bunting flags from Teach Starter
- Paper or thick card
- Scissors
- Hole punch
- String or ribbon
- Adhesive (optional)
Instructions
- Print the bunting flags — Download the PDF and print the flags from Teach Starter. Make sure to adjust the print settings according to the size and type of paper or card you are using.
- Cut out the flags — Carefully cut out each bunting flag along the provided outline.
- Punch holes — Rather than cutting out little holes at the top with scissors, save time by using a hole punch to create holes near the top corners of each flag. This is where you will thread the string or ribbon through to hang the flags.
- Arrange the flags — Determine the order and spacing of the bunting flags. You can arrange them in a specific pattern or alternate different colours or designs. It's easiest to lay them out on the floor or a table in the right sequence before hanging them!
- Thread the flags — Take a length of string or ribbon, and thread it through the holes or along the top edge of each bunting flag. Leave a small gap between each flag to allow them to hang freely. You can tie knots or use adhesive to secure the string or ribbon to the flags if necessary.
- Hang the bunting — Once all the flags are threaded onto the string or ribbon it's time to hang your bunting! You can use adhesive hooks, tape or pins to attach the bunting to walls, windows or across the classroom.
How Far Apart Should Bunting Flags Be?
Wondering just how far apart your flags should be? The good news is there's no hard and fast rule.
The bigger question is how much space you have in the classroom vs. how many flags you want to hang! What's important is simply to have even spacing between each flag so your string of bunting looks visually pleasing.
- Plus Plan

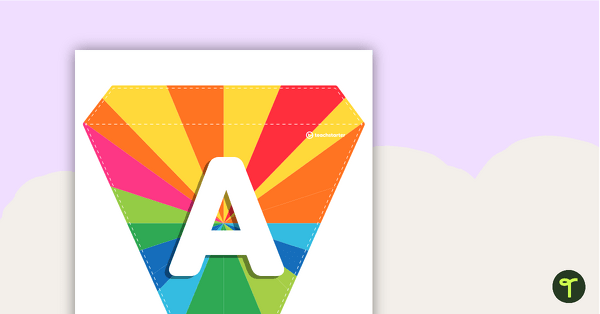
Rainbow Starburst - Letters and Numbers Bunting
Rainbow starburst themed letters and numbers bunting.
- Plus Plan

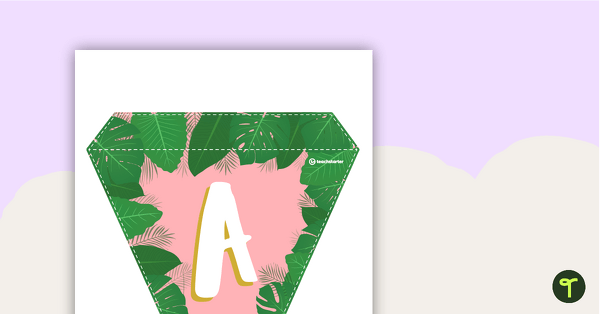
Lush Leaves Pink - Letters and Numbers Bunting
Lush leaves themed letters and numbers bunting.
- Plus Plan

Crayons - Letters and Numbers Bunting
Crayon themed letters and numbers bunting.