Learn how to make a Christmas-themed explosion gift box with your students, plus download the printable templates!
Make Your Own Explosion Gift Box with Printable Note Templates
We all struggle with finding the perfect gift for the “person who has everything.” It’s even harder for kids to decide how to make (or pay for) gifts for their loved ones. That’s where our DIY Explosion box template comes in! A Christmas explosion box (also known as an exploding box or an exploding memory box) is a cheap, simple, and heartwarming way to gift a loved one during the Christmas season. The simple concept of an exploding box full of memories is the perfect gift for everyone on your students’ lists!
What Are Explosion Boxes?
The explosion box is an origami box that pops open and ‘explodes’ as soon as the recipient takes the top off, revealing pictures, messages, and even gifts inside.
The box lid can be decorated before giving it to loved ones. Your pupils could even write a sweet love note or draw a picture! This is a great way to surprise someone with something they never expected!
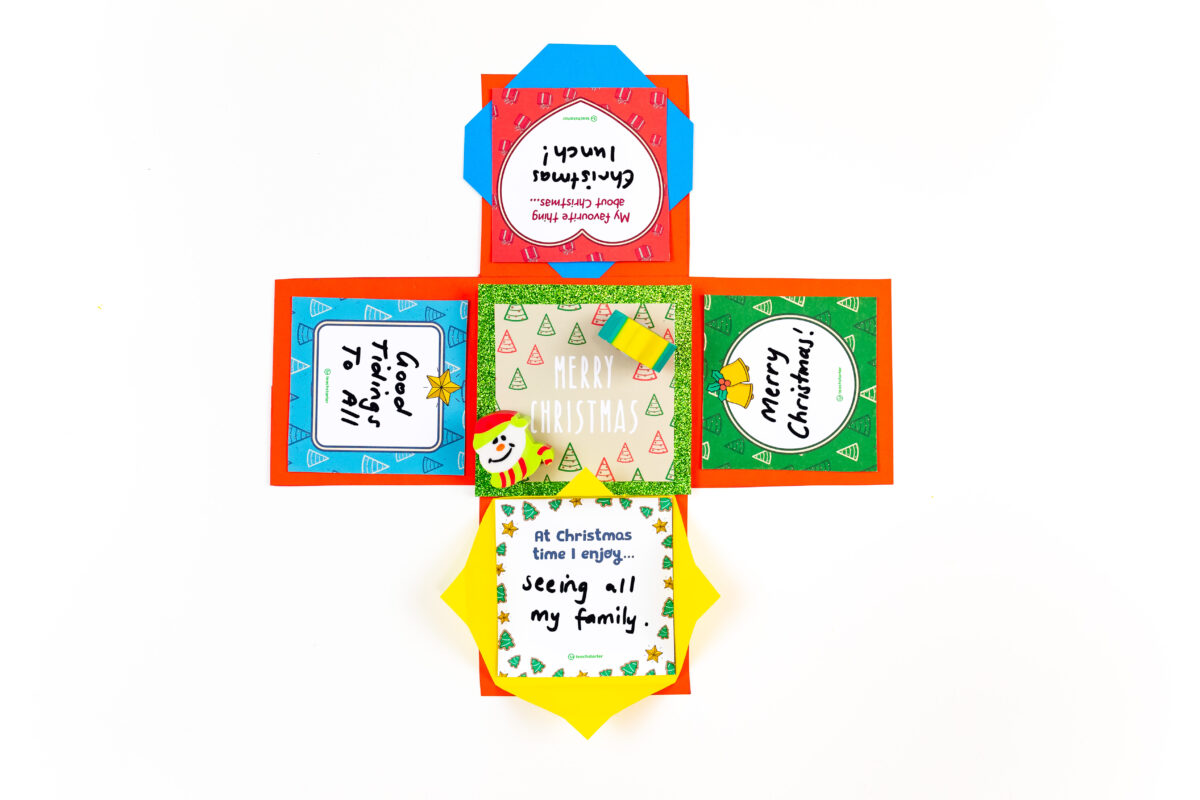
How to Make a DIY Christmas Gift Box
You’ll need to download and print out this template to DIY this Christmas gift box. Once it is printed, gather your scissors, glue, and other craft materials.
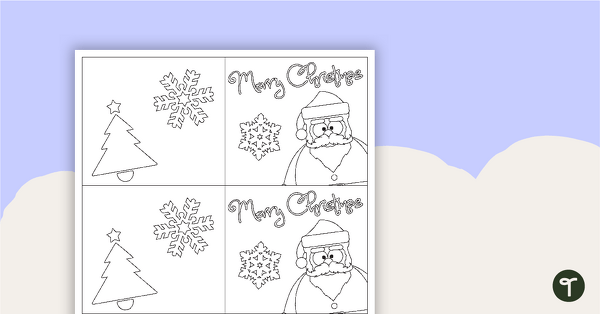
This printable template includes a variety of plain frames and sentence starters. Students can choose which they want to use in their exploding gift box.
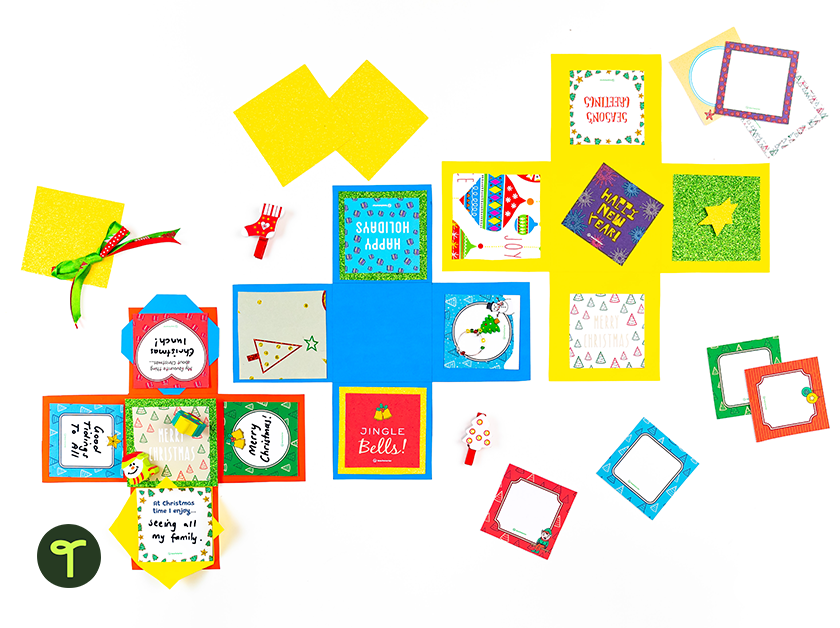
Step 1: The First Layer
To create the first layer:
- cut out a square that measures 30 cm²
- using a ruler, divide the larger square to create a grid with smaller squares measuring 10 cm².
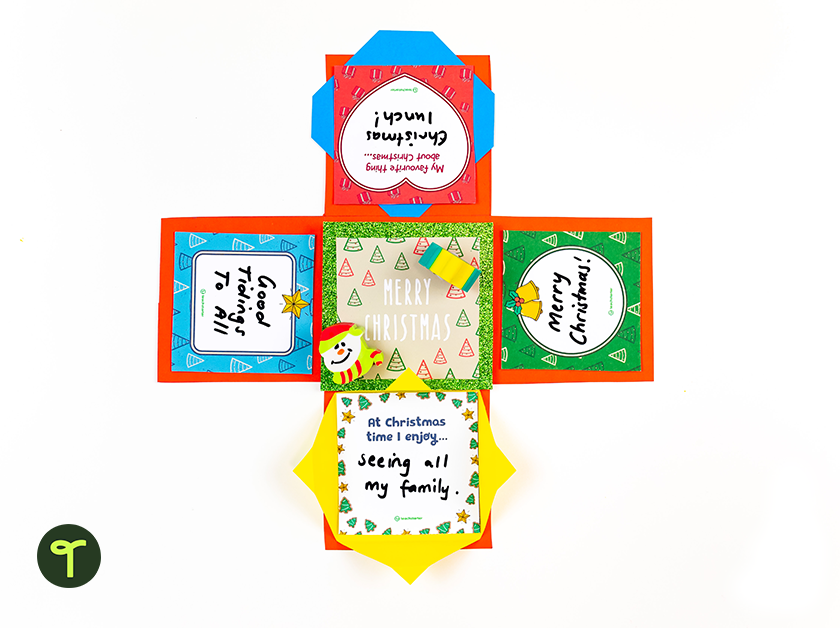
- cut out each corner square to create a plus sign (like the image below)
- decorate each of the squares, excluding the middle square.
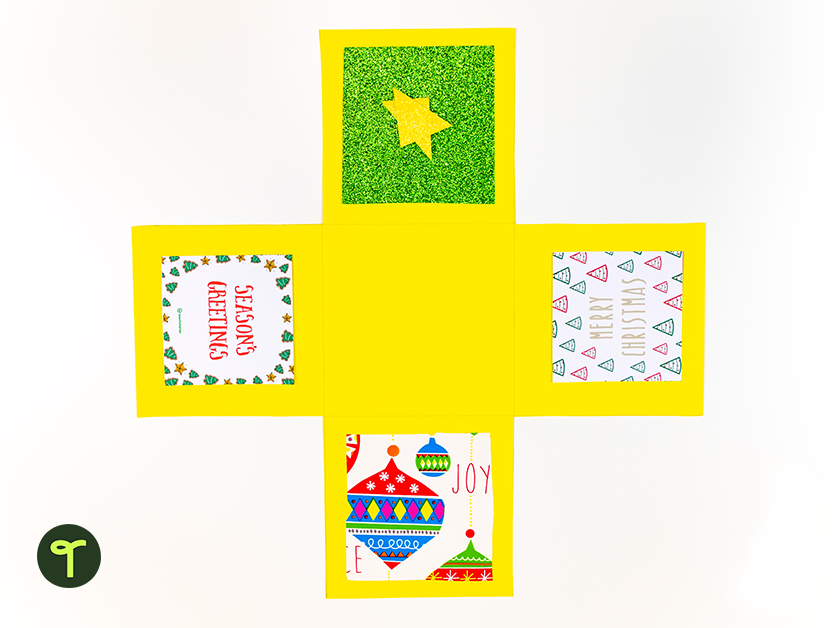
We used leftover Christmas wrapping paper and some pretty sparkly paper. You can also pick up some Christmas scrapbooking paper that would work perfectly, too! Or, why not re-use old Christmas cards? It’s a good way to show your students how to recycle items and live more sustainably.
The beauty of this craft is that once the templates have been measured and cut, you can let your students’ creative juices flow!
Step 2: The Second Layer
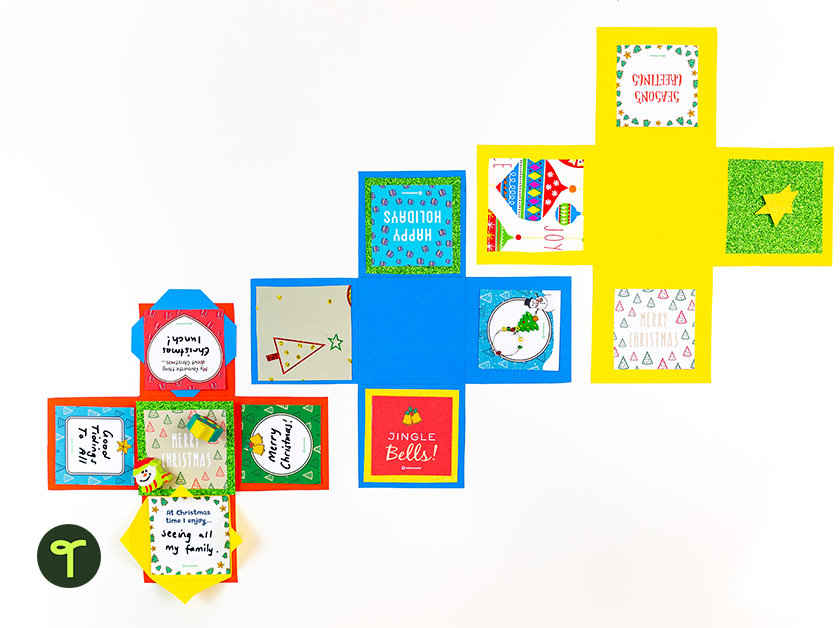
For the second layer, we have added a bit more detail.
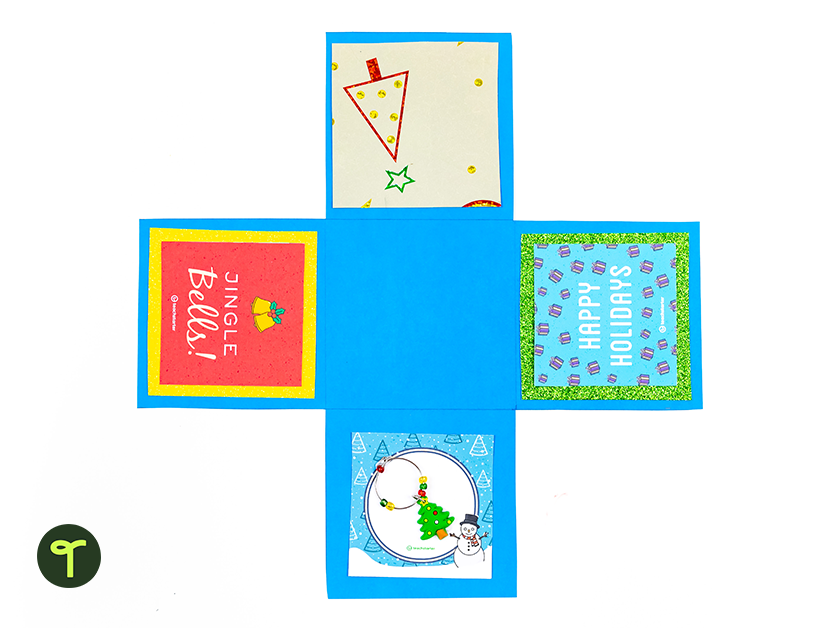
Measurements for the second layer are:
- 27 cm² for the large square
- 9 cm² for the smaller squares.
We first glued some sparkly glitter paper on some of the squares and then our Holiday Decorative Square Templates. This creates a really fun, decorative effect!
Step 3: The Third Layer
This is the fun layer where your students can add fun layers and effects!
For the third layer of the exploding gift box, we used two strips of paper rather than a square piece of paper. (This is also an alternative to using large square pieces of card for each layer!)
To create the third layer,
- Cut two strips of paper measuring 8 cm x 24 cm.
- Use a ruler to divide each strip into three 8 cm² squares.
- Glue together the middle square of each strip.
This creates the smallest plus sign for the final layer of this fun project.
This is the top layer, so you need something in the middle square. You can add height to this one, as it will be in the middle of the box!
Add a small gift for someone special in the middle as well.
Step 4: Constructing the Box
Now that you have three completed plus sign-shaped layers, it’s time to piece them together! Make sure the decorative side is facing up. You may like to check out the video below for extra support in explaining this step.
- Place the first (largest) layer face up on the table and fold up the outside squares.
- Stick strips of double-sided tape around the edges of the centre square.
- Place the centre square of the second (middle) layer on top of the double-sided tape, ensuring the strips line up (so it still resembles a plus sign).
- Repeat steps 1 to 3 for the next layer until the box has been built!
Step 5: The Exploding Gift Box Lid
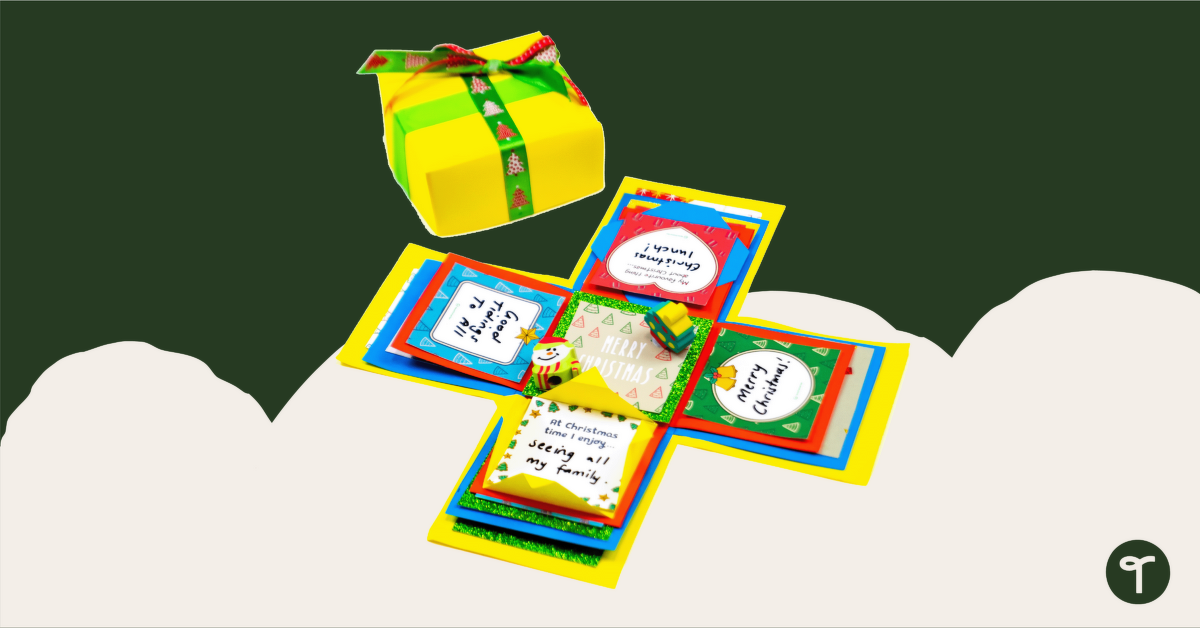
To ensure that the receiver of this craft gets a lovely surprise upon opening this exploding gift box, a lid needs to be made. We’re almost there…
- Cut a square piece of paper that is 20.5 cm²
- Using a ruler, divide the square into a grid, with the middle square measuring 10.25 cm².
- Now, instead of cutting the whole corner squares out as we did for the layers, you only need to cut one line from the edge of the paper to each of the corners in the middle square. This will create four tabs!
- Fold all of the ruled lines.
- Put glue on the smaller square ‘tabs’ created by the cuts and folds.
- Tuck the tabs into the long rectangular sides of the lid.
- Decorate!


Where is the template for the box?
Hi Janice, the dimensions for the cross shapes can be found in this blog - https://www.teachstarter.com/au/blog/ultimate-mothers-day-craft-idea-exploding-gift-box/.