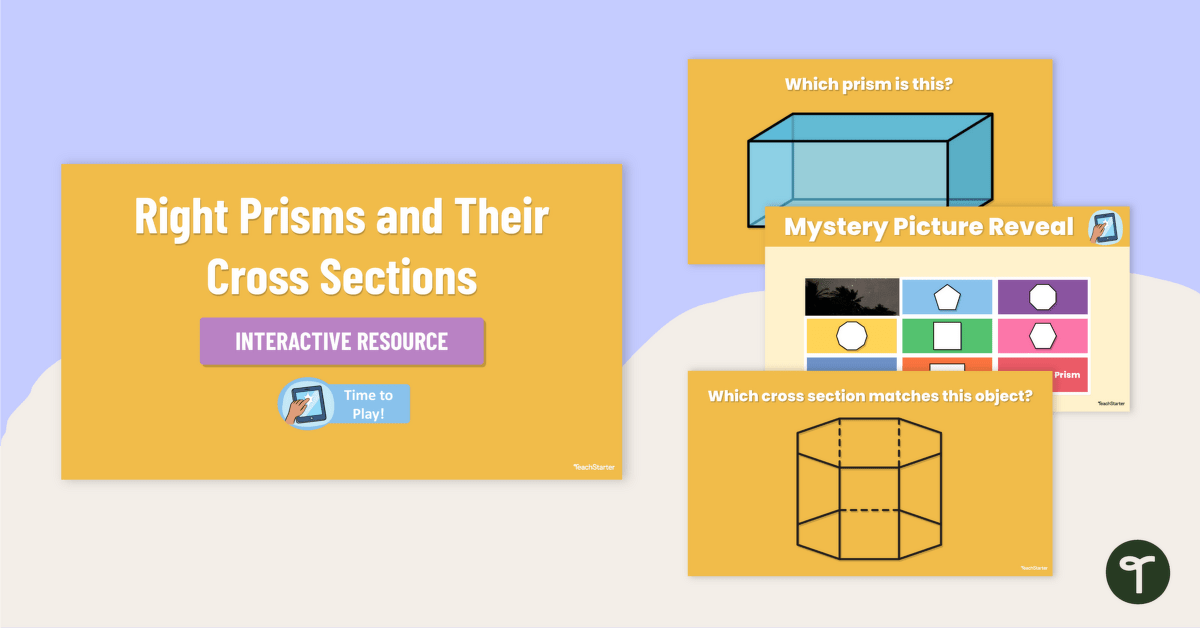
Learn about right prisms and their cross-sections with this digital ‘mystery picture’ game.
What Are Right Prisms?
A right prism is a 3D object with two congruent, parallel faces. All other faces are rectangles. Cubes, triangular prisms and rectangular prisms are all examples of right prisms.
Right prisms have cross-sections. A cross-section is the 2D shape that results from cutting straight through the 3D object, parallel to the two congruent faces.
For example, if you were to cut through a triangular prism in a direction parallel to the two congruent triangular faces, the resulting cross-section would be a triangle.
A Digital Game for Right Prisms and Their Cross-Sections
This engaging interactive activity has been designed to support your students in identifying right prisms and their cross-sections. It contains 9 question slides covering a range of three-dimensional objects.
The following objects are included in the resource:
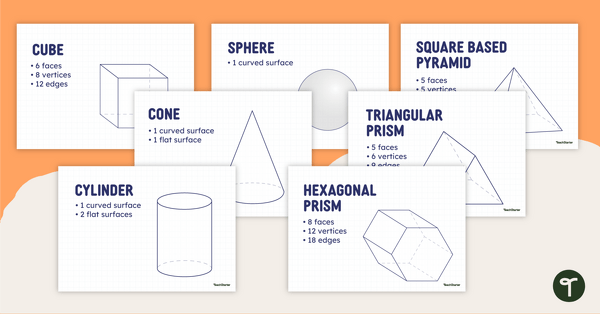
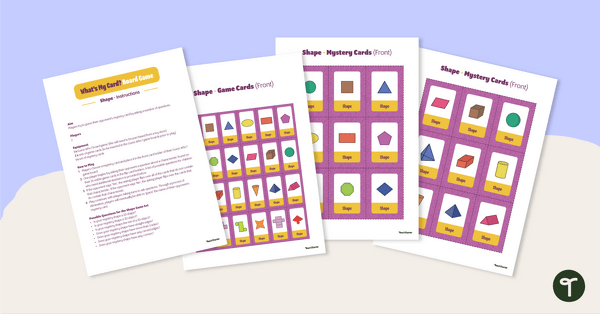
Rectangular prism, triangular prism, octagonal prism, decagonal prism, pentagonal prism, hexagonal prism, cube.
How to Play This ‘Mystery Picture’ Game
Follow these simple instructions to play this interactive activity!
- Read the statement at the top of the question slide.
- Proceed to the picture grid slide and choose one of the responses inside the table. If the response is incorrect, a ‘Try Again’ slide will appear and students will be redirected so they can choose a different response. If the response is correct, a ‘You Got It’ slide will appear and students can progress to the next question.
- Continue answering the questions in turn. Each time the mystery picture grid appears, the previous answer box will no longer appear and a portion of the mystery picture will have been revealed.
- This process repeats until all answers are completed and the mystery picture is fully revealed!
Tips for Extension and Scaffolding
Catering for a diverse range of learners in your classroom? We hear you! Check out these great ideas to maximise the impact of this activity for learners of all abilities:
- Challenge High-Flying Students – Why not set a timer to challenge your more-capable students? Students could compete against each other or against previous times to see how quickly they can recall the roles and their definitions.
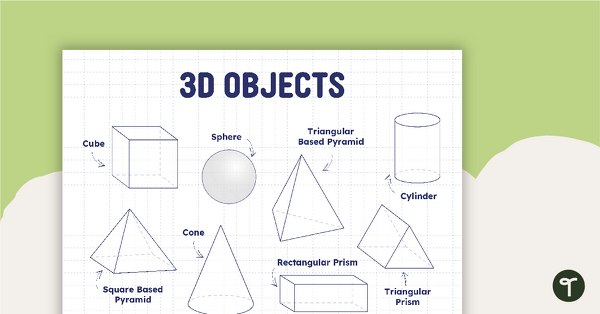
- Support Less-Confident Students – Allow less-confident students to access a visual aid, such as a classroom poster, to remind them of the names of each 3D object.
Download This Paperless Activity in Your Preferred Format
This interactive activity downloads as either a Microsoft PowerPoint file or a Google Slides file. Use the dropdown menu next to the Download button to select your preferred format.
In order to activate the interactive features, be sure to use this presentation in Slideshow mode.
This resource was created by Amy Adam, a Teach Starter collaborator.
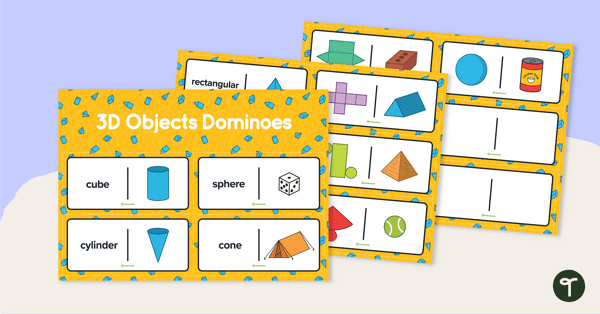
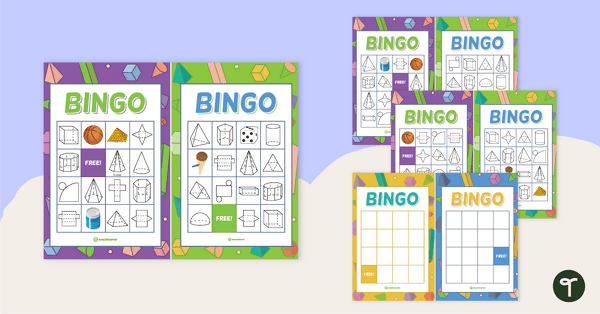
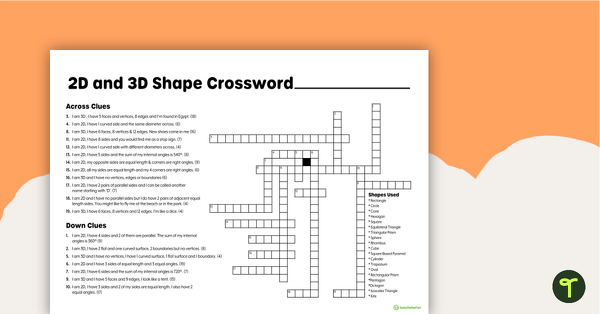
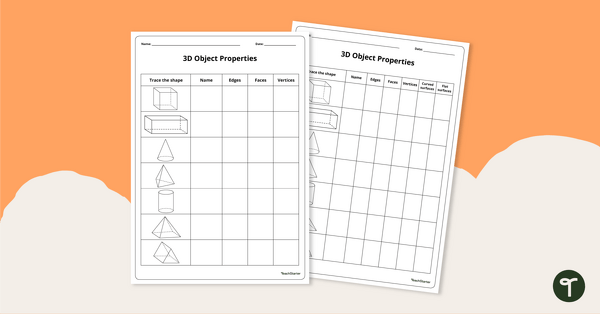
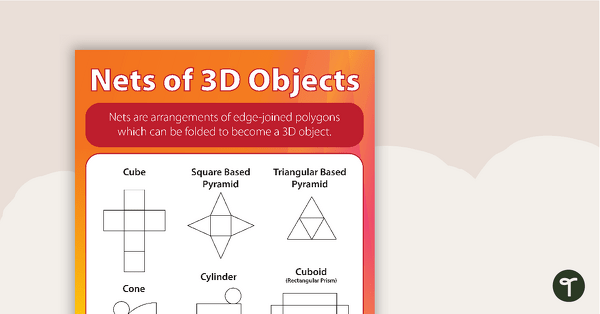
Looking for more time-saving resources to use when teaching 3D shape to your students? Check out the suggestions below!
[resource:4983069] [resource:4977616] [resource:4960340]


4 Comments
Write a review to help other teachers and parents like yourself. If you'd like to request a change to this resource, or report an error, select the corresponding tab above.
No comments yet.