Print this sundial template, and follow the instructions to make a sundial with your students when exploring concepts of time.
How to Make a Sundial for Kids
What kid doesn’t get excited by the infinite possibilities of the universe? Luckily for our students, we don’t need to charter a space shuttle to experience some real-world learning about how parts of our solar system work. The simple act of making a sundial provides us with the means to examine the Earth’s rotation on its axis. Through this activity, students can begin to understand this key concept of space science.
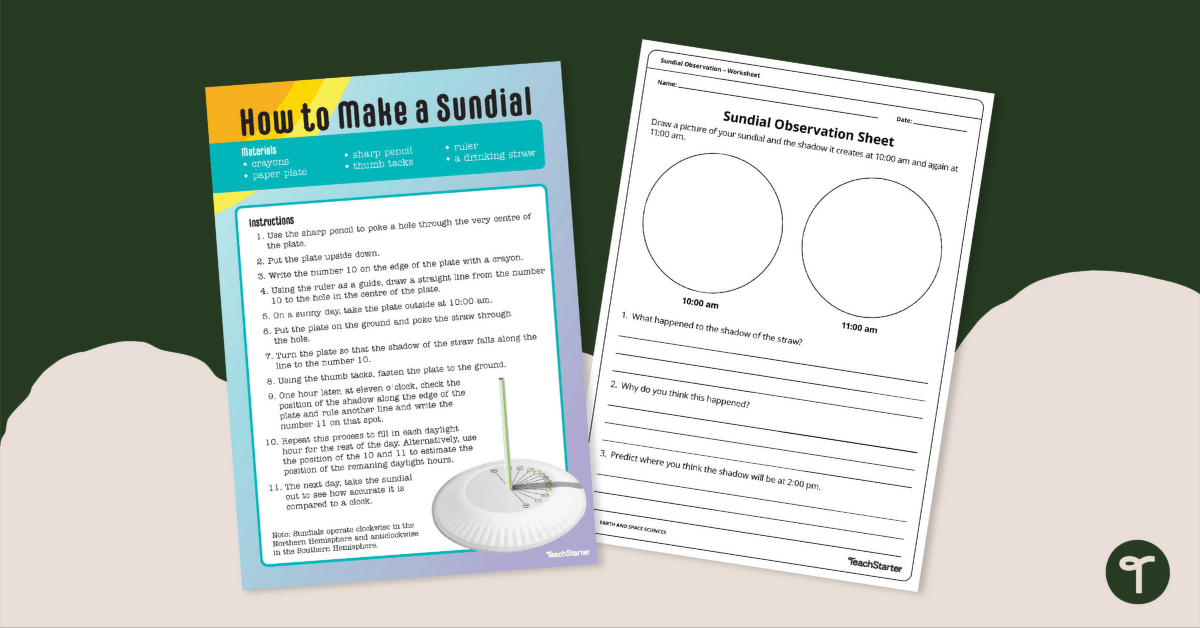
Making a sundial is a fun and educational project that can be done with a few simple materials. Teach Starter has created this printable worksheet and activity that you can do with your students to help them explore how to tell time with the help of the sun and shadows. All you need for this science activity are:
- crayons
- paper plate
- sharp pencil
- thumb tacks
- ruler
- straw.
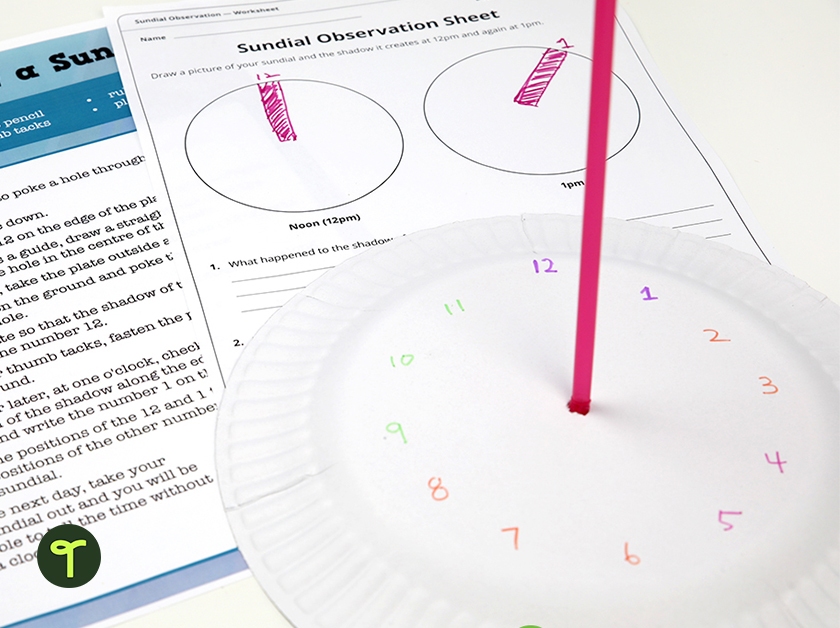
Instructions:
- Download and print the ‘How to Make a Sundial’ teaching resource.
- Follow the instructions to assemble the sundial.
- At midday, position your sundial as directed and secure it to the ground. You may want to use sticky tack to hold the paper plate sundial down on the ground, rather than thumbtacks.
- Mark the position of the shadow.
- One hour later, return to your sundial to see where the shadow lays at the edge of the plate.
- Mark this spot with the number 1.
- Carefully remove your sundial from the ground, and use the positions of 12 and 1 to predict the positions of the other numbers on the sundial.
What Is a Sundial? Explore The Concept With a Sundial Template
Your students may be exploring the concept of time, how to read a clock, and determine the amount of time that has passed. They probably are familiar with common instruments to tell time, such as an analog or digital clock. But do your students know about one of the earliest tools that were used to tell time? If not, they may be interested to learn a bit about an early mathematical tool, the sundial.
Sundials have been used for thousands of years to tell time. The earliest known sundials date back to ancient Egypt and were used as early as 1500 BC. These early sundials were simple devices consisting of a vertical stick placed in the ground with markings that indicated the hours of the day. Pretty cool, right?
Over time, sundials became more sophisticated, with the addition of hour lines, hour markers, and other features. In ancient Greece, the philosopher and mathematician Aristarchus is credited with developing the concept of a sundial that used a gnomon, or vertical rod, to cast a shadow on a flat surface.
Today, sundials are used as decorative outdoor devices and also used for educational and scientific purposes. They are found in many public spaces, parks, and gardens, and are still a popular way to tell time in a traditional and historical way.
You can teach these concepts and more with our printable sundial template!
Download and Print Your Sundial Project Template
This sundial project template is available in printable PDF format. To get your copy, click the dropdown arrow on the download button and grab your resource today!
More Resources to Pair With Your Printable Sundial Template PDF
Looking for more hands-on science lessons? We’ve got you covered! Make sure you pair this printable sundial template PDF with the following Teach Starter Teaching Resources!
[resource:4957870] [resource:1772] [resource:1974042]


7 Comments
Write a review to help other teachers and parents like yourself. If you'd like to request a change to this resource, or report an error, select the corresponding tab above.
No comments yet.