Explore the water retention capabilities of sand, silt, loam and clay with this science experiment for kids.
Looking for a Water Retention in Soil Experiment?
Are your students learning about the different properties of soil, such as colour, texture, filtration and structure? If you are looking for a hands-on science investigation to explore the water retention of different soils, you have come to the right place!
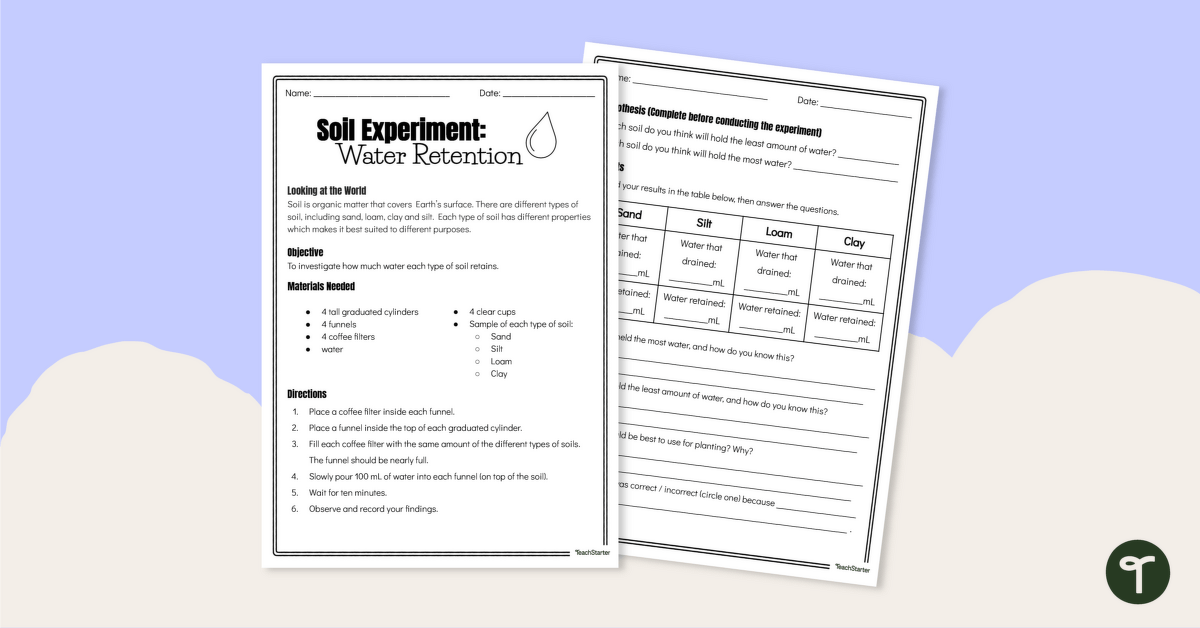
Water retention is exactly what it sounds like: a soil’s ability to retain water. Due to their smaller particle size, some soils retain water very successfully. Other soils with larger particles do not retain very much water at all. By completing this experiment, students will investigate how much water each type of soil (sand, silt, loam and clay) retains.
How to Conduct this Water Retention Experiment
To complete this experiment, each group of students will need:
- 4 tall graduated cylinders
- 4 funnels
- 4 coffee filters
- Water
- 4 clear cups
- Samples of each type of soil
Students will need to follow the following steps:
- Place a coffee filter inside each funnel.
- Place a funnel inside the top of each graduated cylinder.
- Fill each coffee filter with the same amount of the different types of soils.
- Slowly pour 100 mL of water into each funnel (on top of the soil).
- Wait for ten minutes.
- Observe and record findings.
Students will record their observations on a recording sheet and answer questions before and after conducting the experiment.
Tips for Differentiation + Scaffolding
If you have a mixture of above- and below-level learners (and we’re sure you do!), check out these suggestions for keeping students on track with the concepts:
Support Struggling Students
For students who may need additional support, consider limiting the number of soils tested in the experiment. Rather than using all four soils, consider only using two.
Challenge Fast Finishers
If there are students looking for a challenge, encourage them to carry out additional testing on the soils to determine more about each soil’s chemical makeup and overall structure.
Download, Print, Teach!
Use the dropdown icon on the Download button to choose between the PDF or editable Google Slides version of this resource.
For sustainability purposes, please consider printing this worksheet double-sided. Alternatively, project the worksheet onto your interactive screen and have the students record the experiment in their workbooks.
This resource was created by Kaitlyn Blevins, a Teach Starter collaborator.
Click below for more timing-saving resources to use when teaching soil properties to your students!
teaching resource
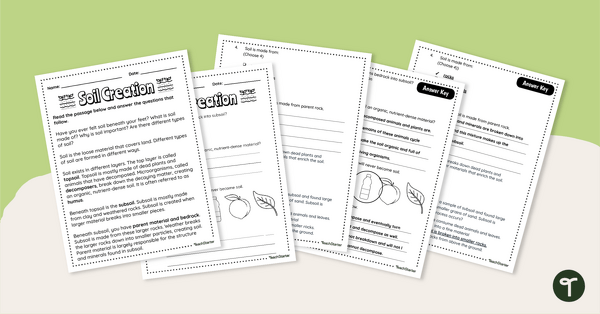
Soil Creation – Worksheet
Integrate reading and science with this 7-question comprehension worksheet about soil.
teaching resource
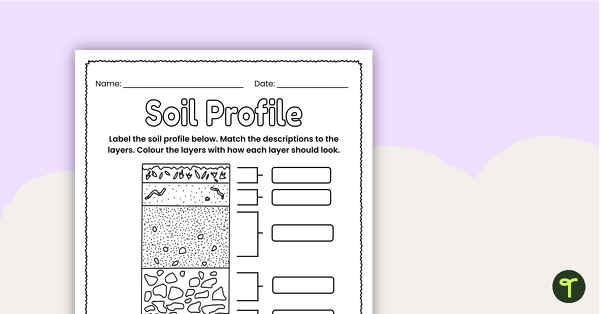
Label a Soil Profile – Worksheet
Identify and label different layers with this soil profile worksheet.
teaching resource
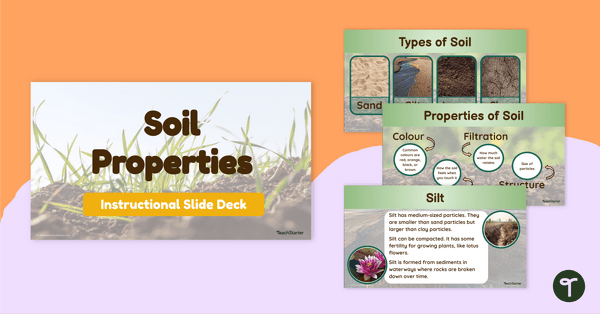
Properties of Soil Teaching Slides
Explore the properties of sand, silt, loam and clay with this comprehensive set of teaching slides.


0 Comments
Write a review to help other teachers and parents like yourself. If you'd like to request a change to this resource, or report an error, select the corresponding tab above.