During my time teaching in the early years, it was not unusual to have a number of students who would reverse, or confuse, letters and numbers during reading and writing activities. Of course, because of the common link between letter and sound reversal and dyslexia, parents were often very concerned when they saw their children reversing their letters and numbers.
As educators, we know it is a common developmental hurdle to deal with in the classroom, and with repetition and exposure, most children are able to settle their letter confusion. To read more about letter reversal and mirror writing, check out our blog – Why Students Reverse Letters – A Guide for Teachers (Mirror Writing).
This blog highlights a number of activities that you can do in your class to help students who may be getting common letters confused.
Tips and Activities to Help Correct Letter Confusion in Kids
Mouth Formation Trick
Common letters that get confused or reversed are ‘b’ and ‘d’ as well as ‘m’ and ‘w’ – for reasons why this is confusing for children, head over to our blog on why students reverse letters. One way to help students understand the difference is the mouth formation trick.
In this strategy, students are taught that when they make the /b/ sound, the crease between the upper and lower lip is straight, just like the line in the letter ‘b’. When making a /d/ sound, the tongue is curled just like the curl is first when writing the d.
You could also use this example for the letters m and w. When you make the /m/ sound your lips are closed just like the top of the letter m. When you make the /w/ sound, your mouth is open, just like the top of the letter w.
Use Visual Cues
Using visuals in the classroom to help children who are getting letters confused is another great way to develop their understanding of the formation of these letters.
With the reversal of letters ‘b’ and ‘d’ being the most common, I love this little trick! By putting both thumbs up and the rest of the fingers in a fist, it creates an instant visual cue to help students with which way the letter ‘b’ and ‘d’ go. It also kind of looks like a bed which is another great visual!

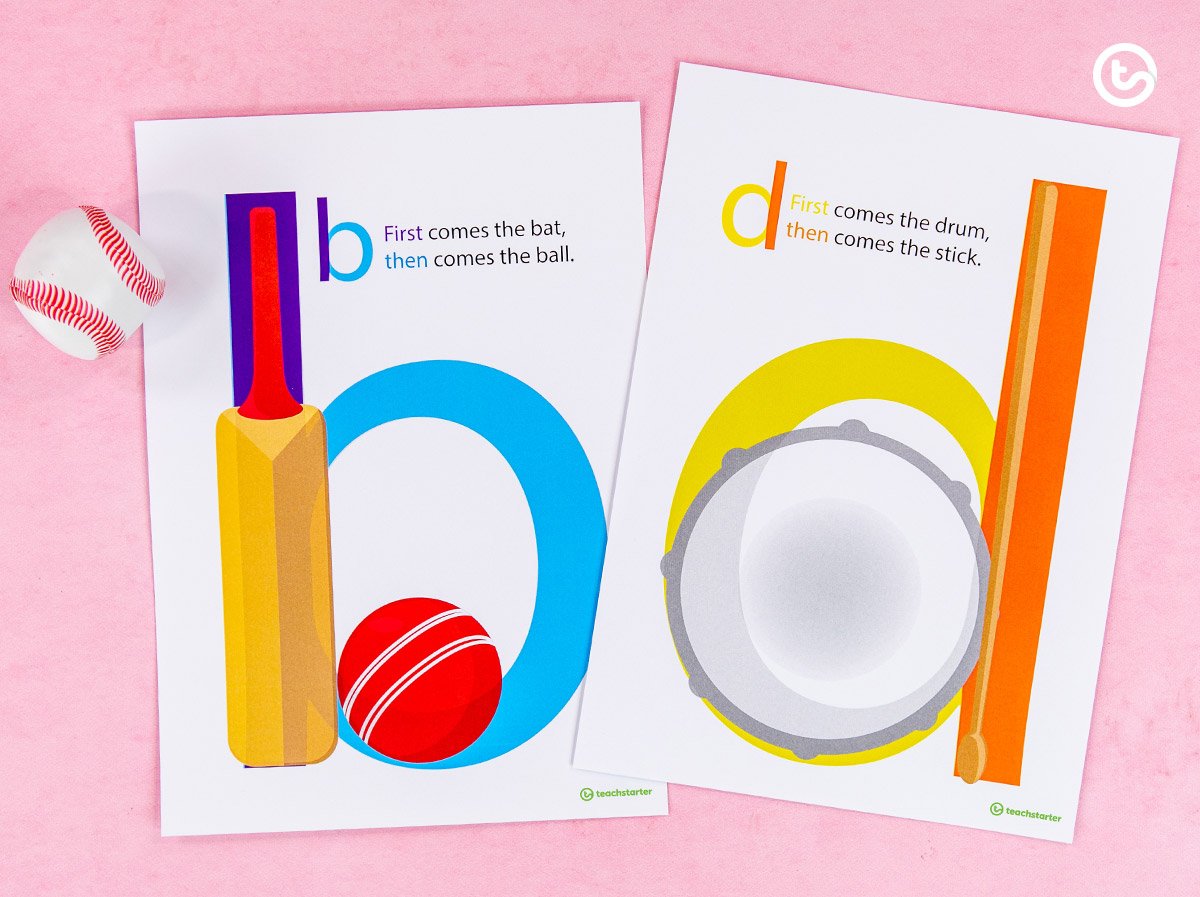
Our B and D Letter Confusion Posters are also another way to help your children visualise the difference between these letters. In these posters you teach the ‘b’ as a bat with a ball, first comes the bat, then comes the ball. This cues the students that the stick is formed first while writing the letter b.
The ‘d’ is a drum and stick, first comes the drum, then comes the stick.
Worksheets and Activities
After visual cues, repetition is the next big way to help students with their letter reversals. We have a number of worksheets and activity ideas that you could use.
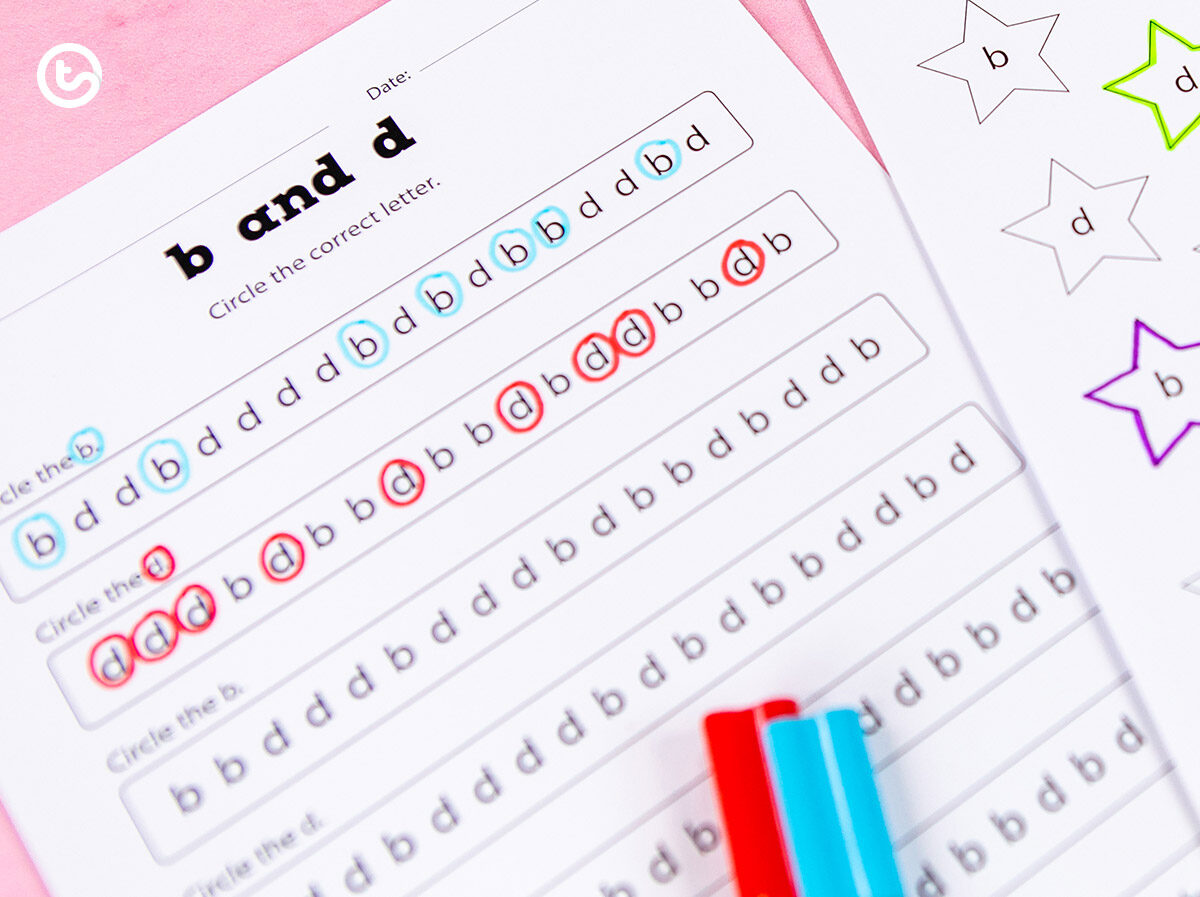
Many of the activities have come from our Letter Confusion Worksheets booklet. The below worksheet simply asks students to circle one of each of the letters. I would suggest colour coding this for young children to make it really visual for them.
Letters available – b and d, p and q, n and m, i and j, f and t.
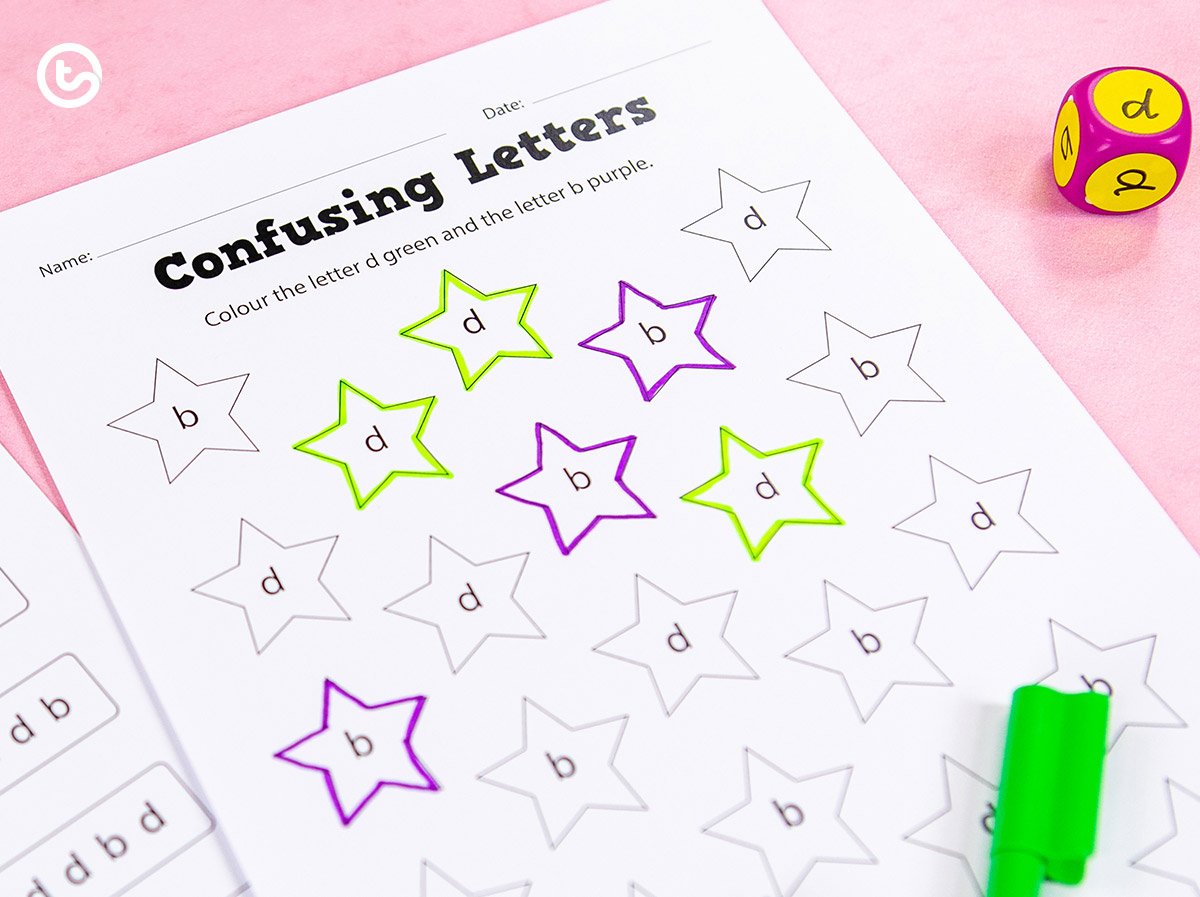
With the next worksheet, we have added another element of fun by including a dice and turning it into a game. Grab some sticky dots and choose the two letters you want your students to focus on. I have used the most common, ‘b’ and ‘d’. This would be a fantastic game played in pairs.
Here’s how to play:
- Each student has a different coloured pen.
- They take turns to roll the dice and then colour the corresponding star that has the letter that matches the letter on the dice!
- You can leave it at that, alternatively, you could say that to win they need to get three stars in a row.
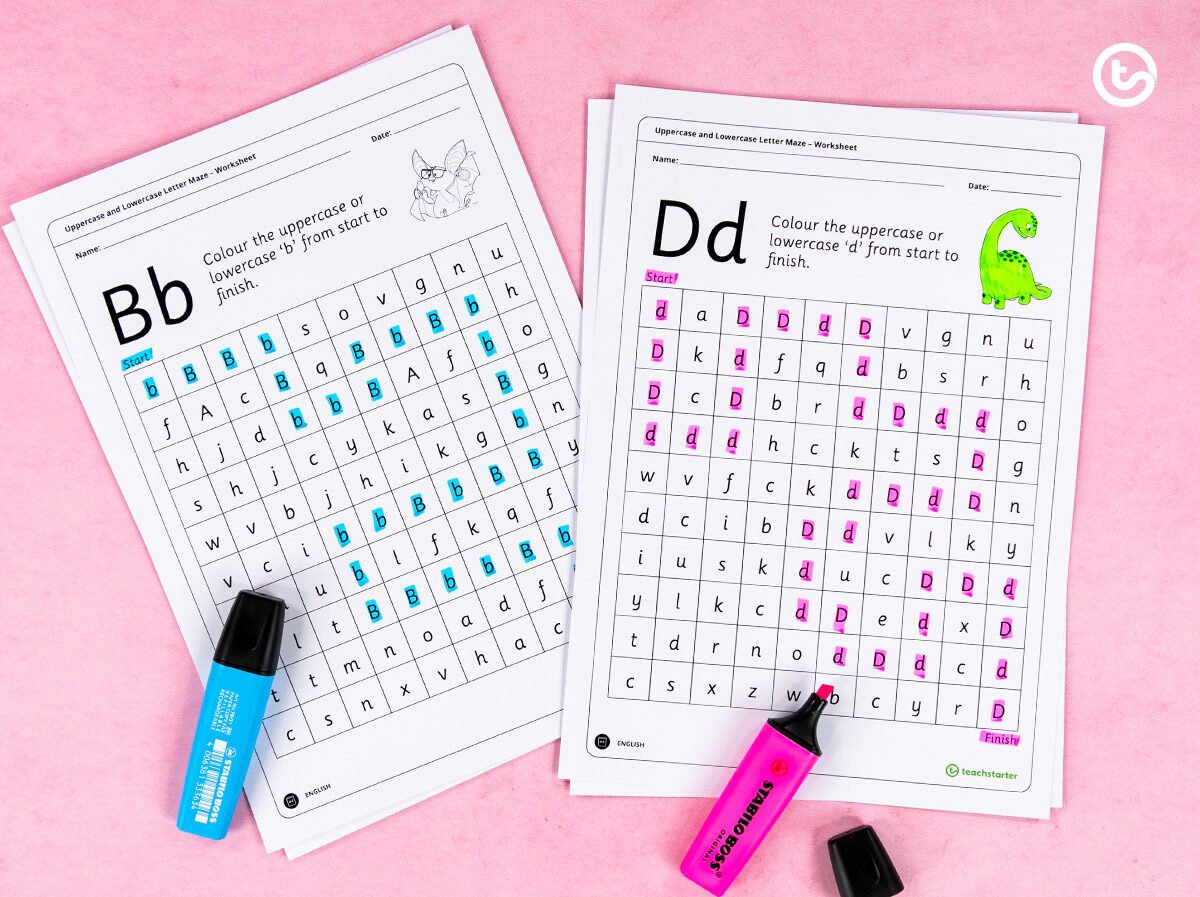
Our Uppercase and Lowercase Letter Maze worksheets are another great way to get your students to focus on the formation of the letters!
These engaging mazes allow students to follow the path of lowercase and uppercase letters from start to finish. Available for every letter of the alphabet so you can really differentiate what letters your students need extra assistance with.
Multi-Sensory Materials
Using multi-sensory materials is a great hands-on approach to get your children engaging with the formation of letters. For more awesome sensory tray activities for letter formation practise. Check out our blog – Fun Letter Formation Activities for Kids.
This activity is probably one of the cheapest and easiest activities featured in this blog – but, it’s probably the messiest! All you really need is a can of shaving foam and a desk or a tray to spray it on and you’re done!
Some kids may really struggle to differentiate the letters when they are side by side. Mix up letters that they are getting correct with letters they need extra assistance with.
Using craft sand in a tray is also a great sensory activity. Students need to form letters to reveal a colourful background!
Create Your Own Handwriting Sheets
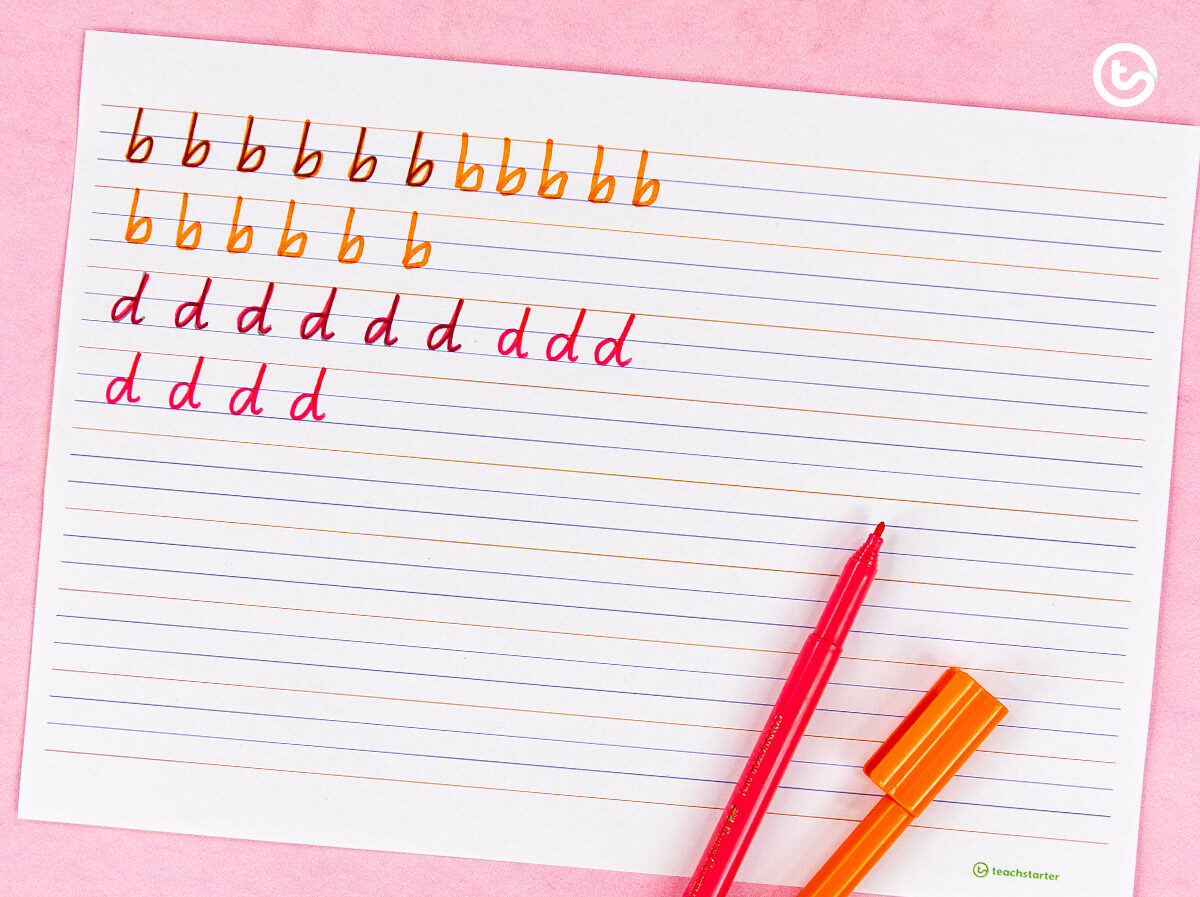
Using our Handwriting widget, create a worksheet that focuses just on the letters your students may be struggling with! Again, keep an eye on these students and assess if this is too confusing for them. In that case, mix up letters that they are comfortable with and those they need extra practise with.
Play Tic Tac Toe
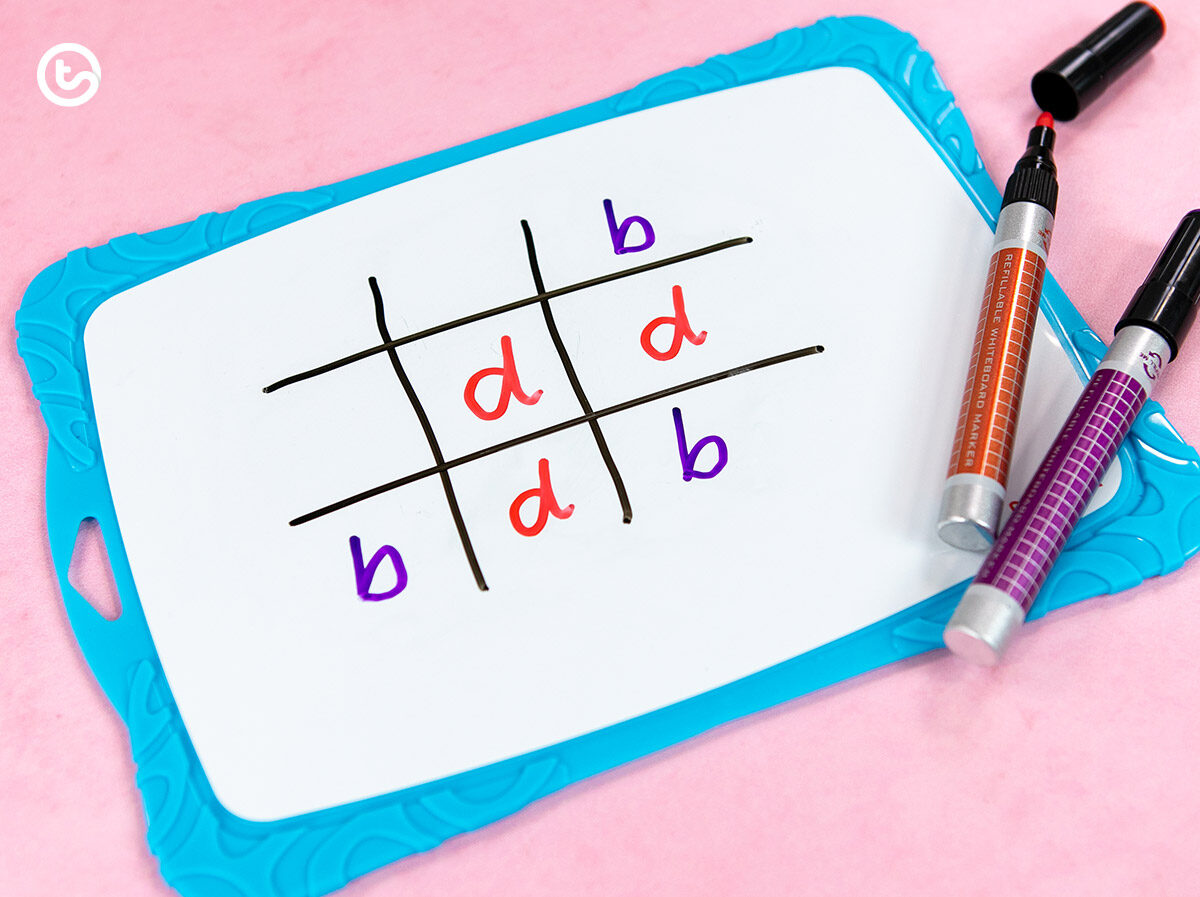
A fun little game to finish off the list of ideas! In pairs, children are given a particular letter, in this example, I have used ‘b’ and ‘d’.
Played just the same as naughts and crosses but with two letters! A fun little hands-on activity that can be played in the last five minutes of a lesson!







Its really good to learn
Hi Louise It's our pleasure to provide you with resources like this! So glad it is useful for you. Cheers Janeen