Are you looking for a slightly different activity to do with your students this Christmas? These super adorable origami bonbons are surprisingly easy to do. And, once your students get the hang of it, they can just keep on making them for all their friends and family. So, without further ado, introducing how to make an origami bonbon.
Viewer warning: the music on this video will have you bopping in your seat…
The Cutest Origami Christmas Activity
The best part about this activity is you can really use whatever you have in the classroom, if you don’t have any origami paper, you can easily cut up some coloured paper. Or, you can even use white paper and your students can decorate it themselves! Winning!
So, all you need for this Christmas craft activity is:
- wool (or something you can use to tie the ends)
- origami paper (or just white paper cut up!)
- Teach Starter’s Christmas Jokes for Kids
- other little surprises your students can add to their bonbons.
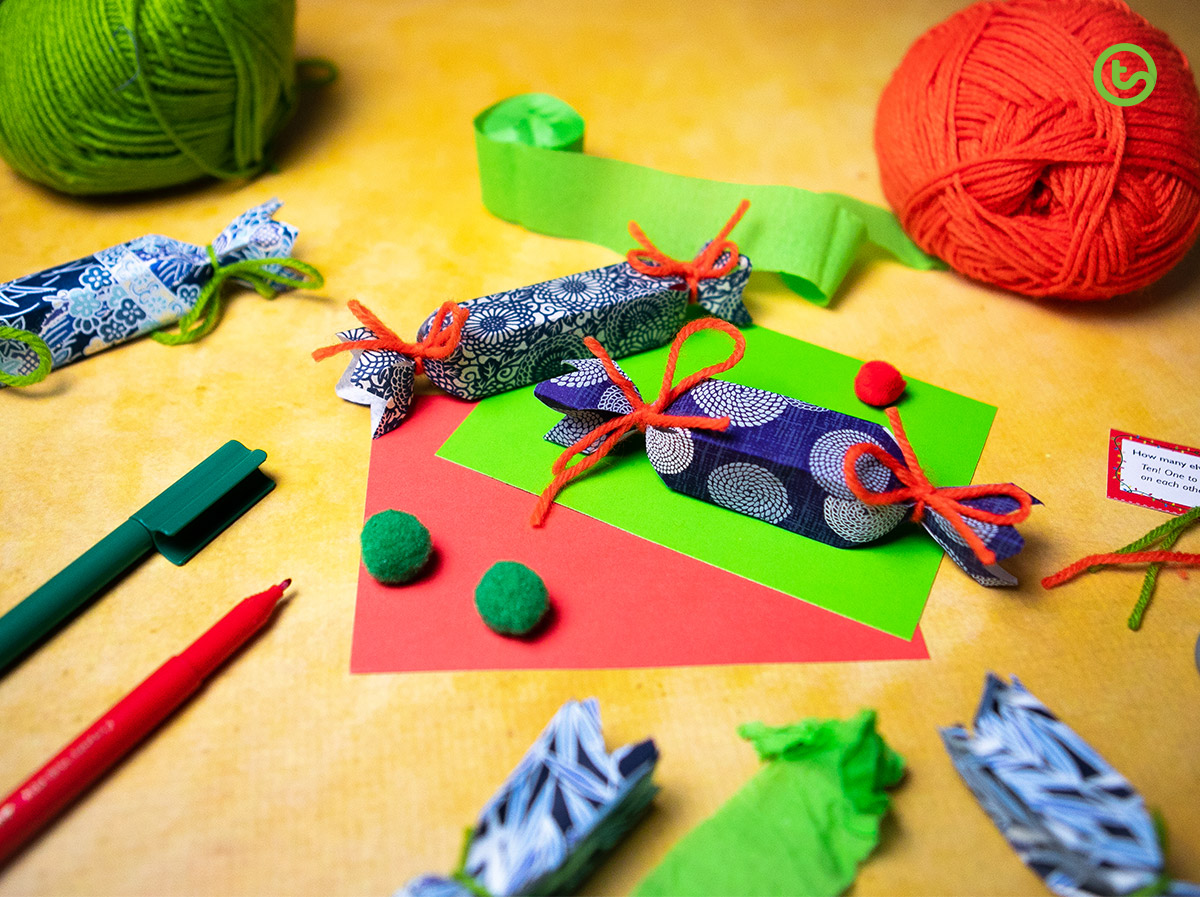
Step-By-Step Procedure for Making an Origami Bonbon
You can, of course, use the video above and pause in between each of the steps to show to your students. But, we have also included some visuals and detailed descriptions below for each of the main steps!
Step 1
Grab a piece of paper, either an origami square or even some coloured paper cut up (can be rectangle too).
The beauty about this origami activity is it will work with any sized piece of paper!

If you are using proper origami paper, you’ll need to cut off a little section. In the video, we cut off a 10cm wide piece and used the smaller left-over piece to write a nice message that will end up going in the bonbon at the end!

Step 2
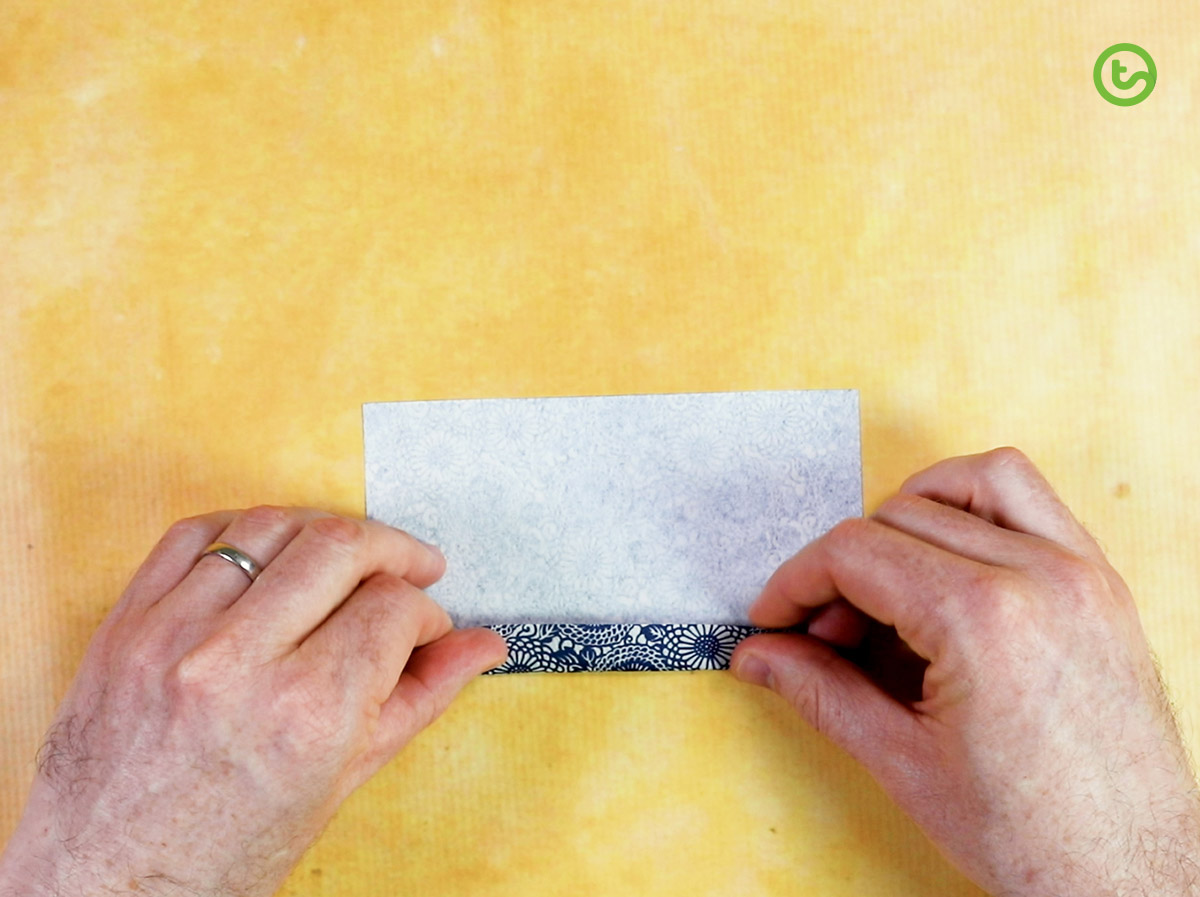
With the larger bit of paper fold-over one edge approximately 1 cm.
Step 3
Pop some glue on the folded piece of paper and stick that edge to the opposite edge.
Step 5
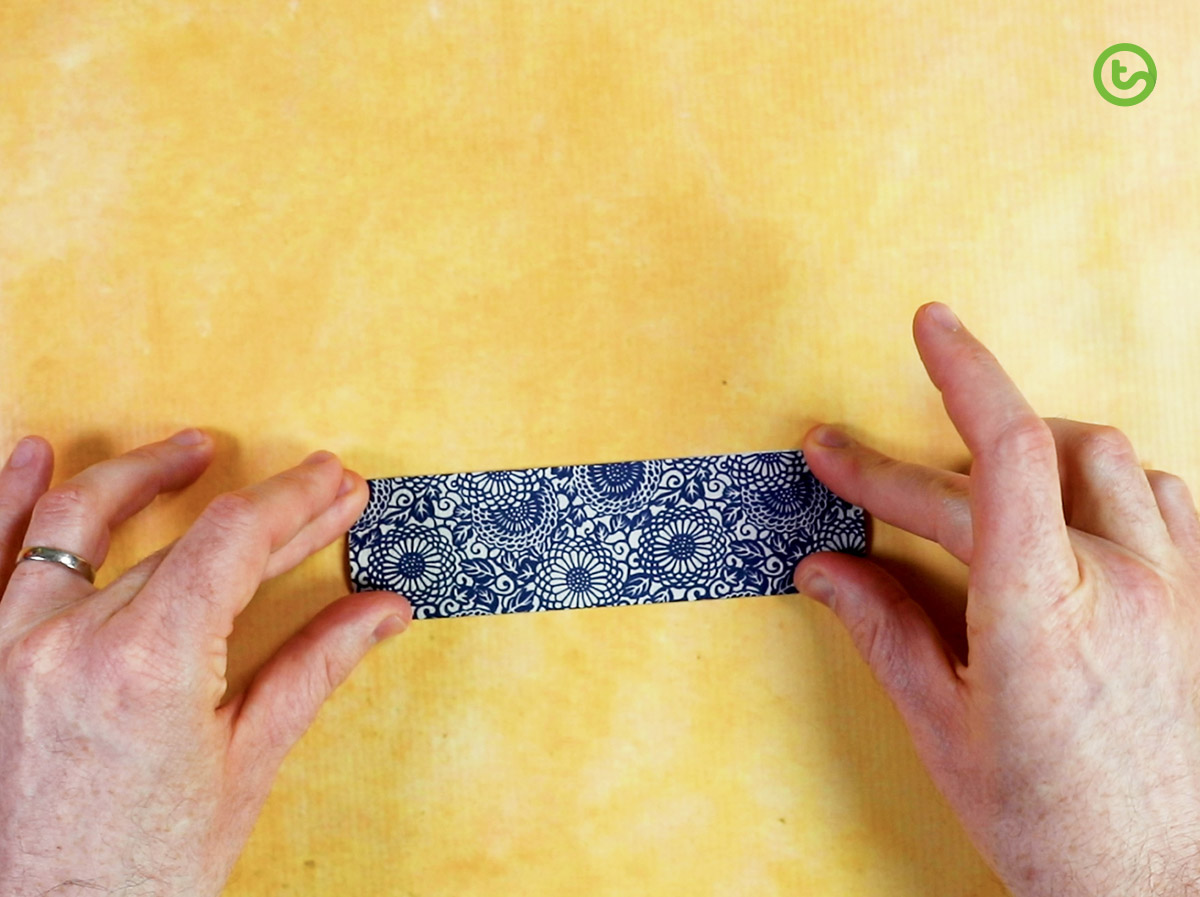
Fold in half again (no glue this time)!
Step 6
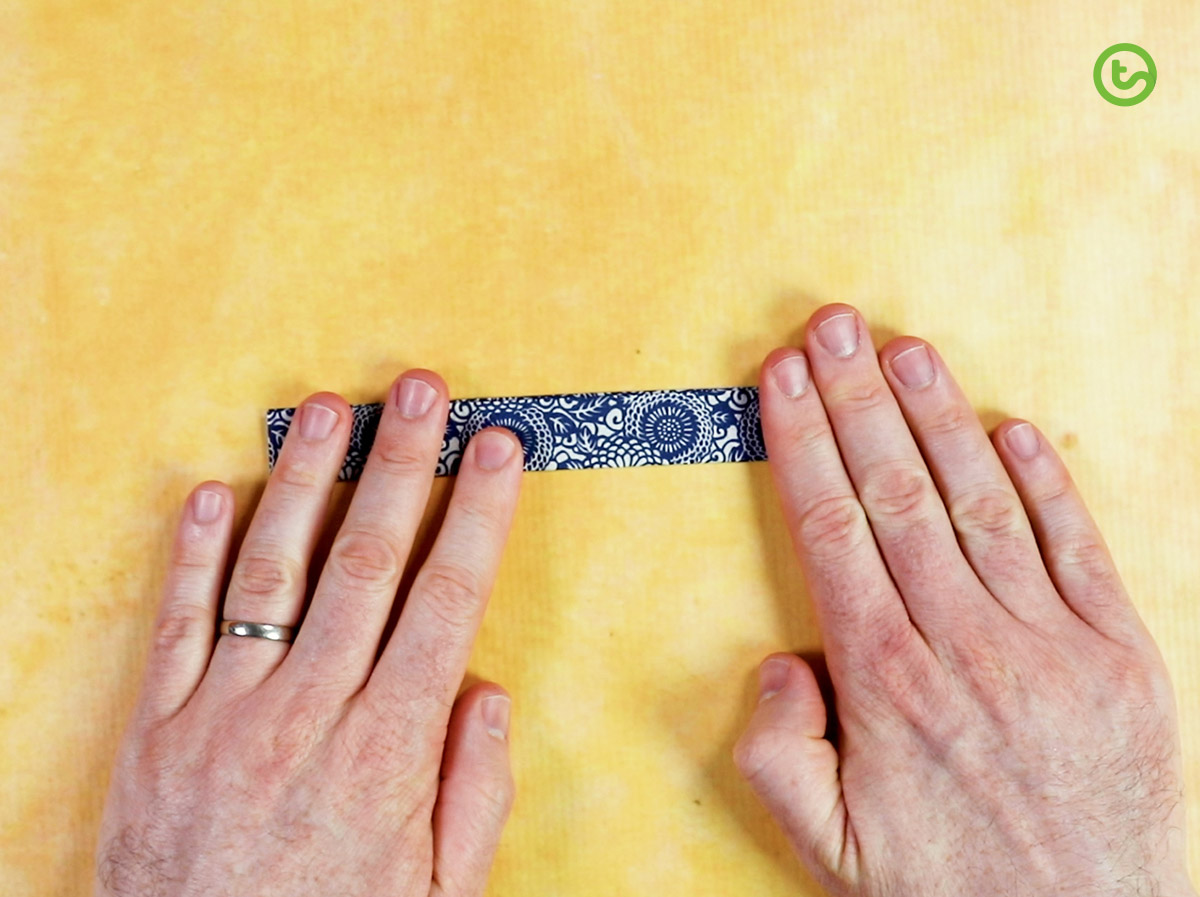
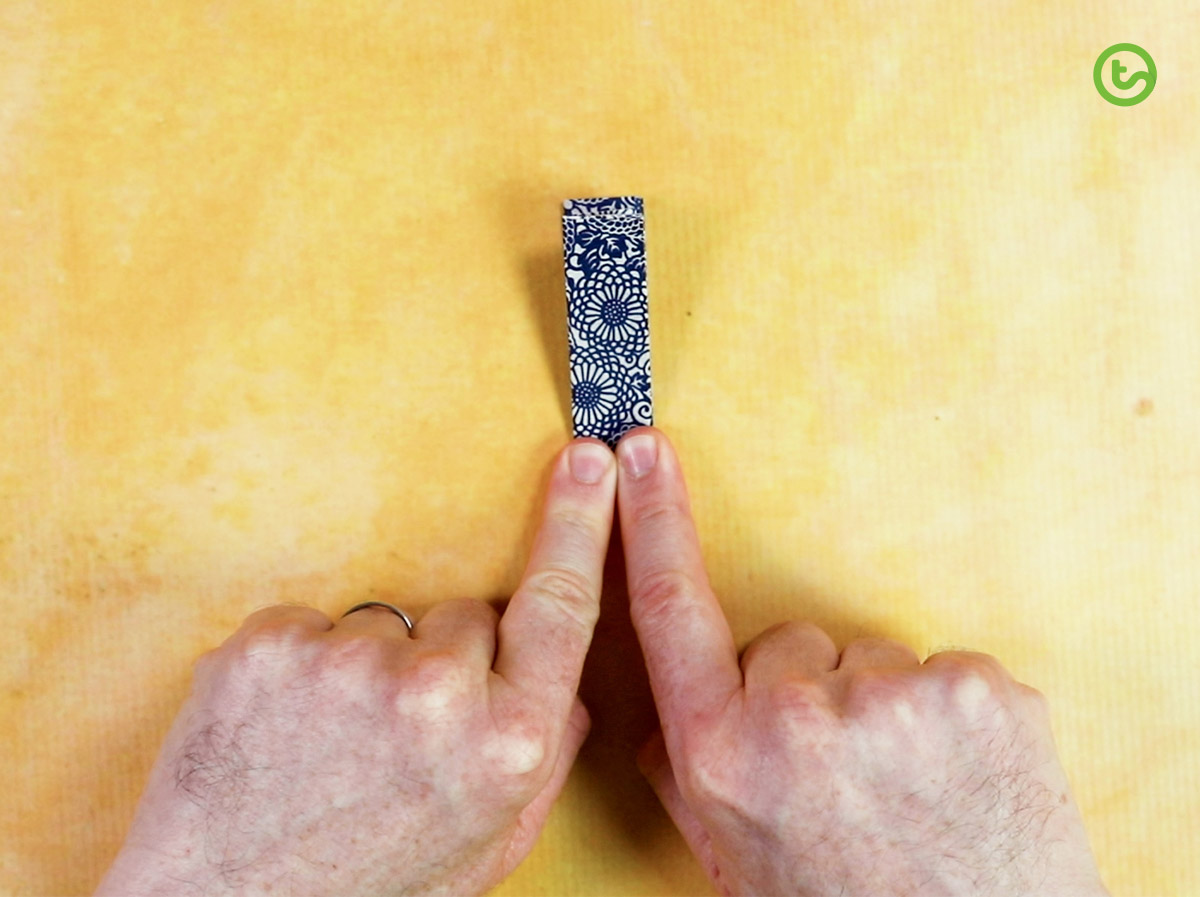
Now, fold in half the other way to make a crease that will help you in the next step.
Step 7
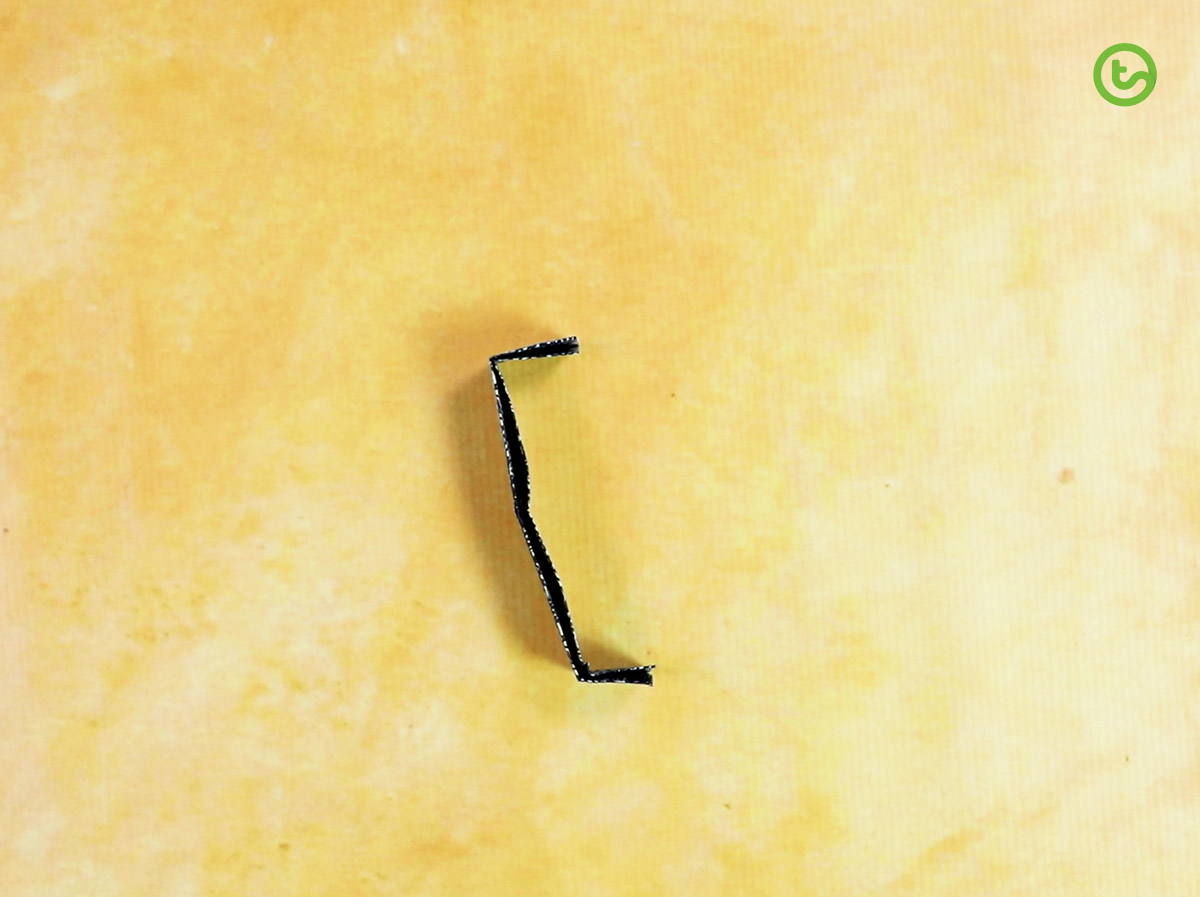
You need to fold the ends now. The crease in the middle will help you with how far you need to fold them. The edge of each end will need to be approximately halfway up to the middle crease.
Once you have folded the ends – pop your origami on its side and it should look like the photo below.
Step 8
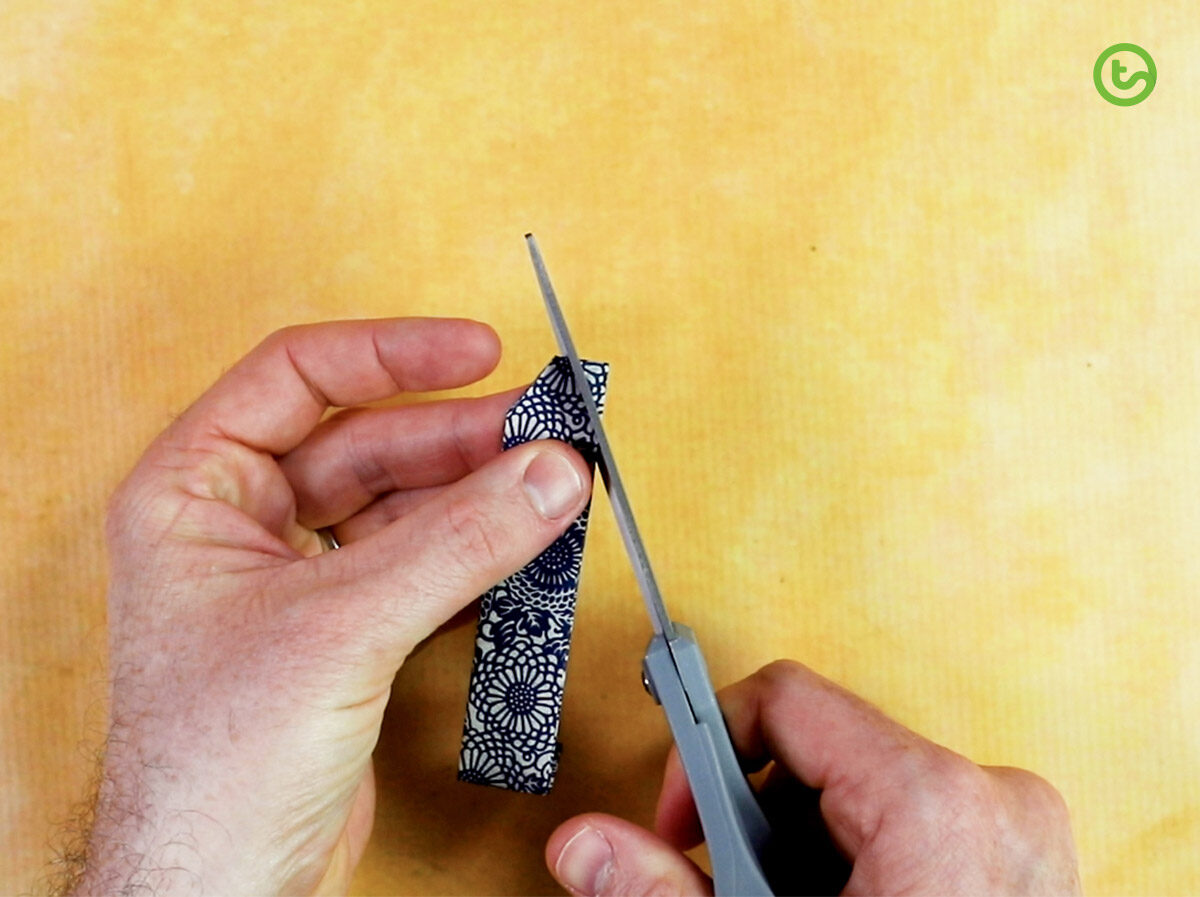
Now, with the edges folded still, you will need to cut the corners off each end to create a triangle shape. It is important that you only cut the corners so that the top bit is still connected. Do this to both ends.
Step 9
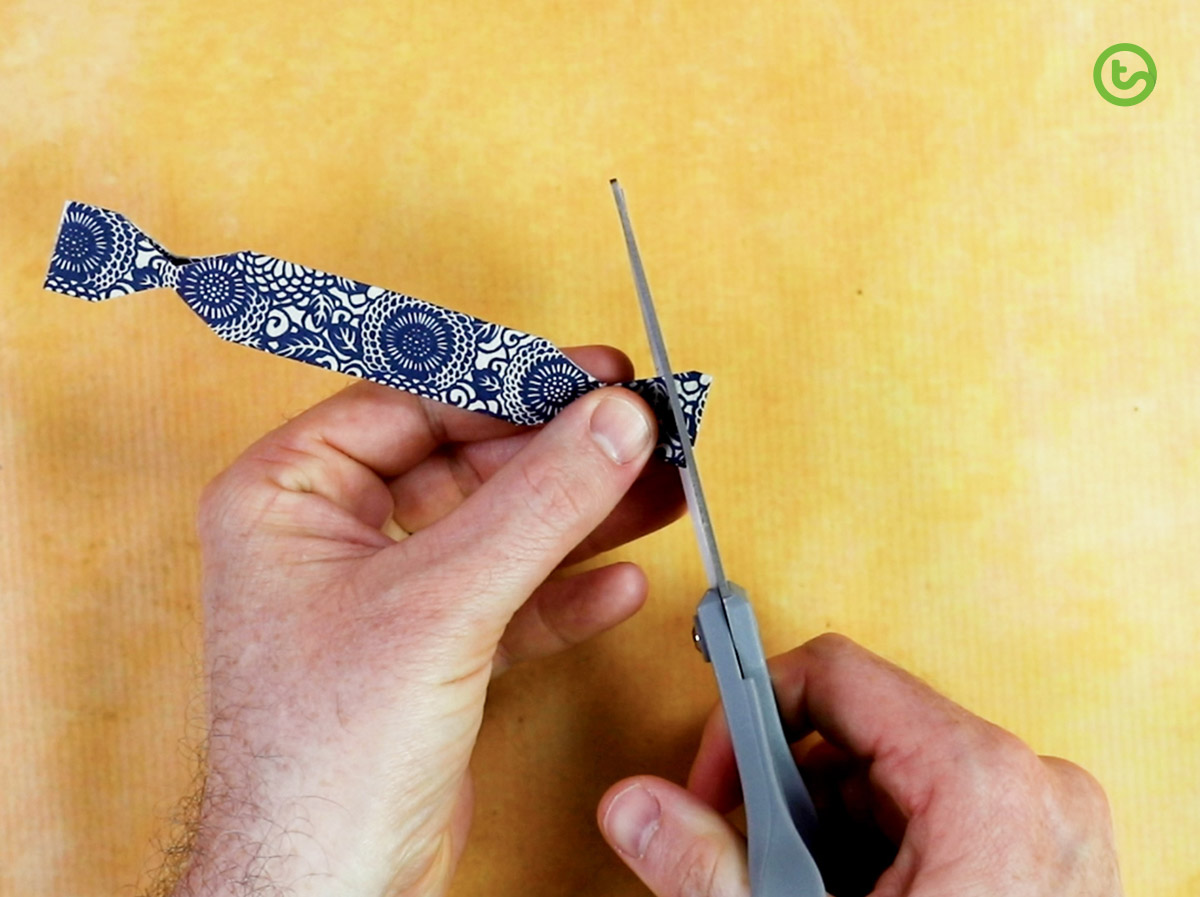
Unfold the ends and cut a triangle shape into each of the ends.
Step 10
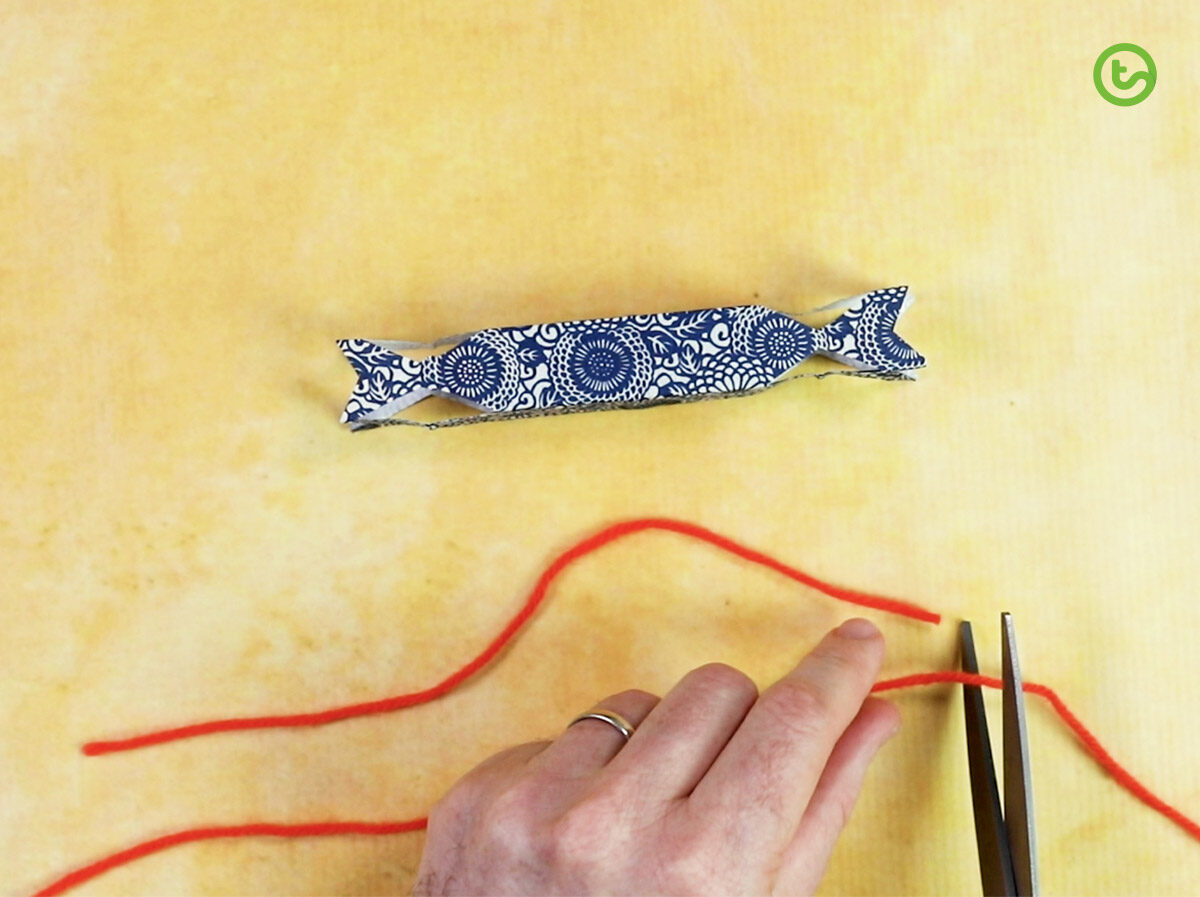
Unfold your creation! Now it’s time to tie the ends. Find some wool or ribbon and cut two equal lengths.
Step 11
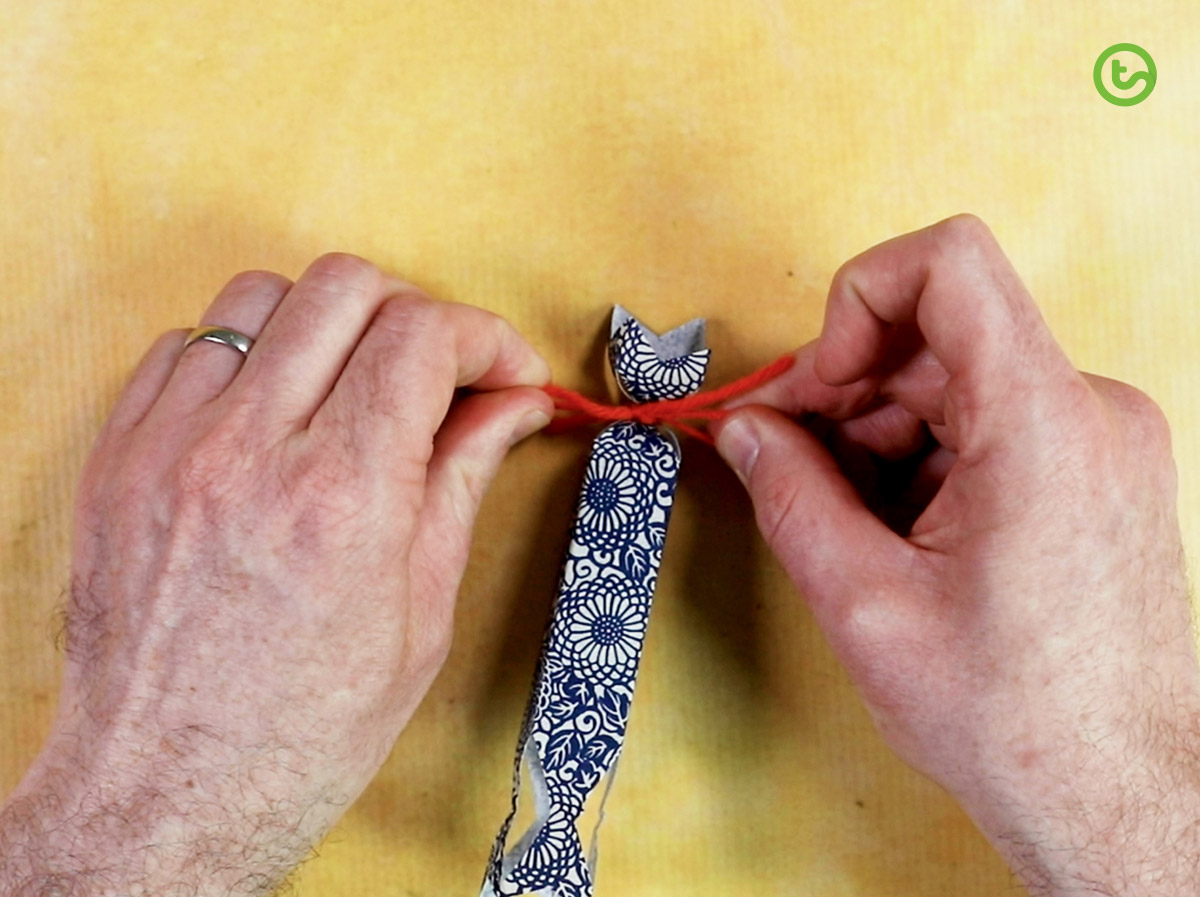
Tie one end and then pop in the nice message you wrote on the other piece of paper, a Christmas joke, some colourful pompoms, or anything you can find really!
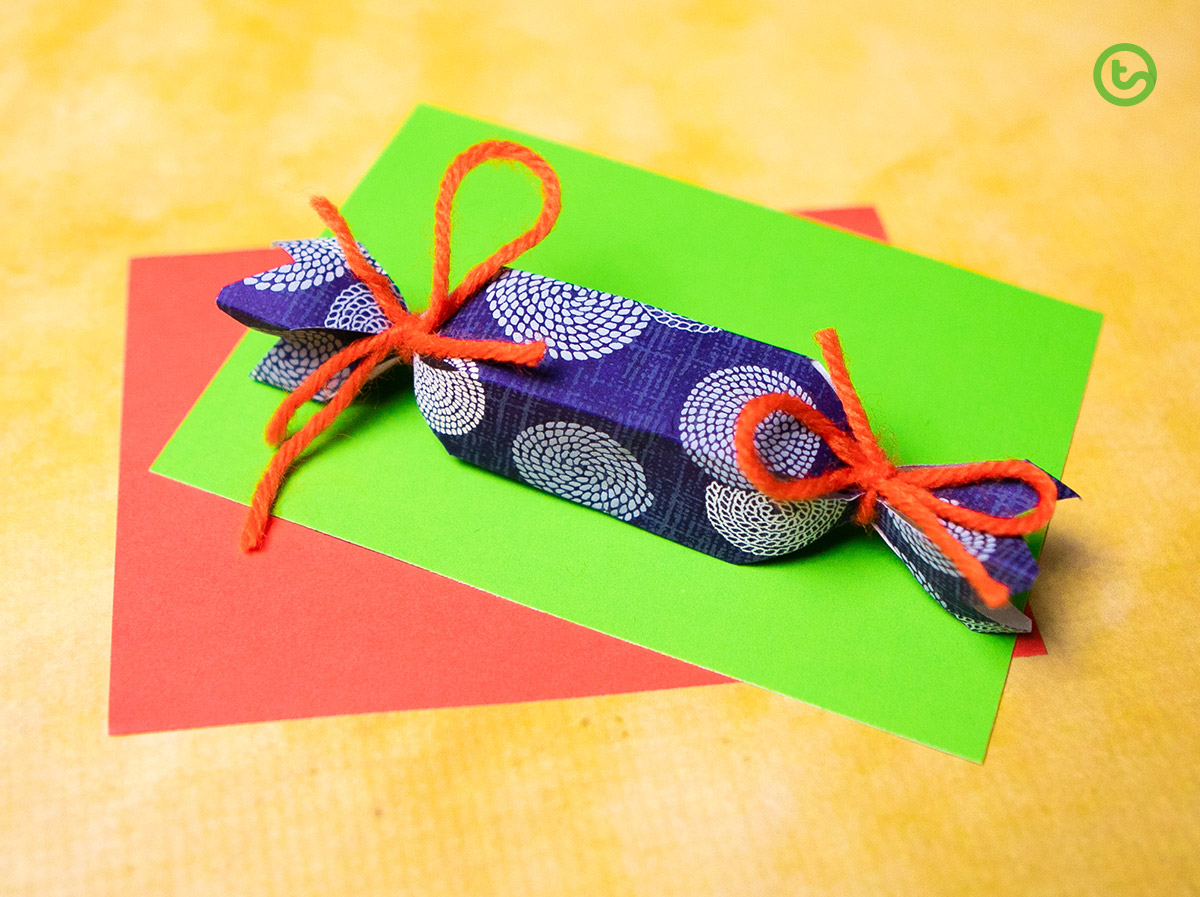
And, you’re done! Tie the other end and get ready to do it all again!





Comments