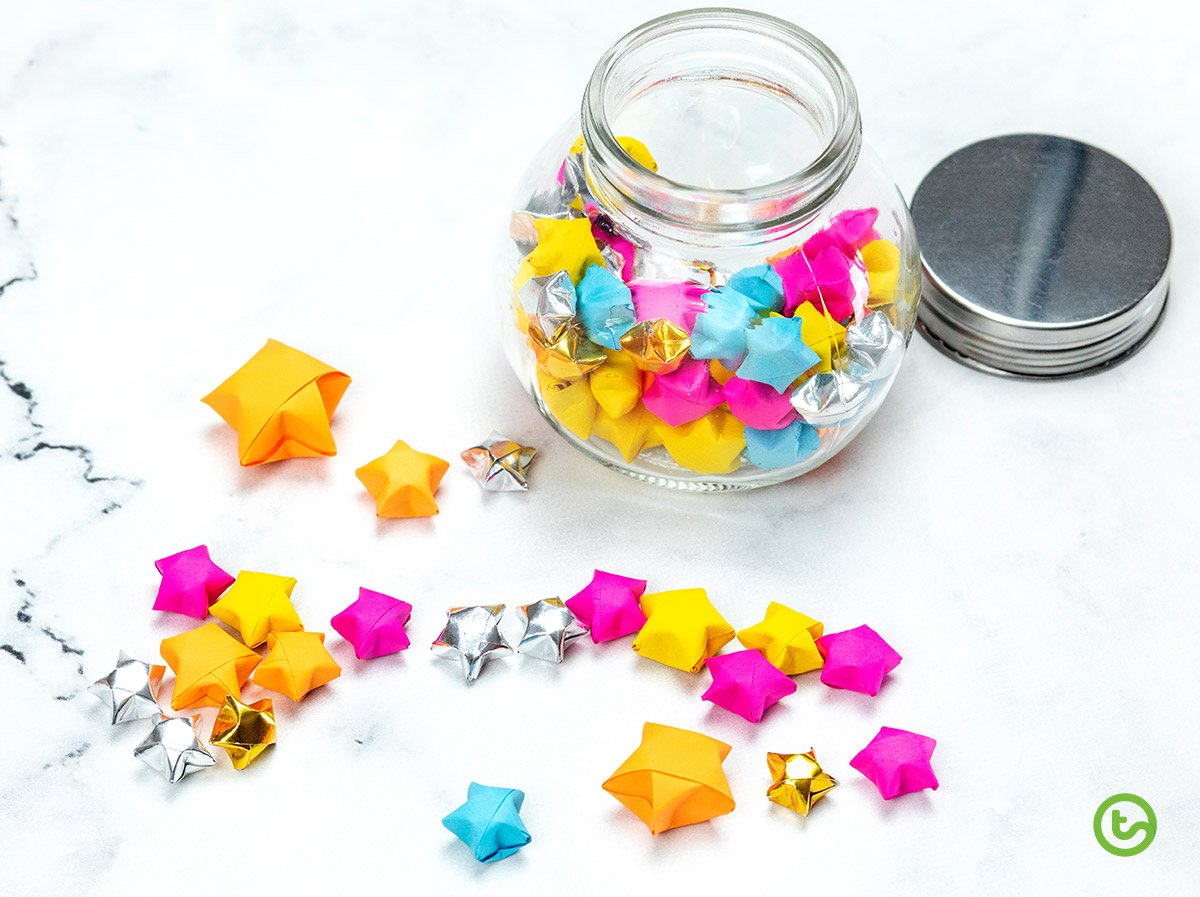
Wishes hold hope for kids. And, during such uncertain times and upheaval to their everyday ‘norm’, a nice activity which encourages children to make some wishes in a creative way is the perfect home or school activity! This blog will highlight a beautiful children’s story and encourage children to think of what they might wish for. Then, they’ll wish upon a star when they learn how to make an origami mini star!
All the Ways to Make a Wish
We discovered this absolutely gorgeous children’s storybook that follows a little girl’s journey of all the different ways she can make a wish. She wakes up on her birthday and her wish has already come true – she’s old enough to join her big brother as he runs family errands. During their journey, Carmela finds a dandelion – but she can’t think of the right wish to make.
But, what happens when her dandelion is destroyed before she can make a wish…
Get Children to Wish Upon a Star
In this activity, children will write a wish on a strip of paper and create a mini origami star. The wish will be folded up within the star so that they can keep their wish a secret!
You can then create a class wishing jar to store all of the cute little wishing stars.
How to Make a Mini Origami Star
You will need some coloured A4 paper, scissors and a pen. A glass jar that will become the wishing jar is also a nice touch. Trust me… once your students know how to create these little gems – you’ll find them all over the classroom! Better than glitter, right?
Step 1
Cut strips that are either 2cm in width, 1.5cm in width, or 1 cm in width.
Step 2
Have your students write their secret wish on their strip of paper.
Step 3
Make a knot in the paper at one end. Start by crossing over one end like so…
Then, thread the smaller end through the hole.
Step 4
Once it looks like the photo above, flatten it down. Make sure there is a little bit poking out the end.
Step 5
It’s time to create a pentagon shape. Fold the little flap over and then the longer flap is folded to create the final 5th side to the pentagon shape!
Step 6
Just keep folding that long strip of paper over the edges of the pentagon shape until there is a little bit at the end.
Step 7
Fold that little bit at the end inside the folded pentagon shape.
You should be left with a perfectly folded pentagon like the image below.
Step 8
Finally, use your thumb to add an indent into each side of your pentagon shape. This is done to create the points of the star.
And, there you have it. The cutest, most adorable little paper star you ever did see. And, it’s not just a paper star… it’s a child’s wish folded into a beautiful star!
We hope that this blog inspires you to get your kids thinking of what they would wish for! It’s a nice activity to do at any time of the year!

Check out our awesome origami step-by-step resources for kids too!


Gorgeous! Thank you very much!
Hi Maria, I totally agree! These stars are super cool! I am sure your students will love making them.