Editing. It’s basically the literary equivalent of washing the dishes after you eat. The people who love doing it are few and far between. #itsyourturn Given that editing is a bit of an undesirable activity, helping your students improve their proofreading and editing skills can be a challenge! However, we know that great teachers do everything they can to improve their students’ editing skills. And you guys are great teachers!
So, what is the best way to teach students how to edit? Is it possible to help kids learn to love proofreading and editing?
We say yes!
Okay, maybe…
Look, we’ll certainly give it our best shot!
How to Teach Proofreading and Editing Skills
The most important thing you can do is to ensure your students are editing from day one of the school year so that they know it’s part of the writing process.
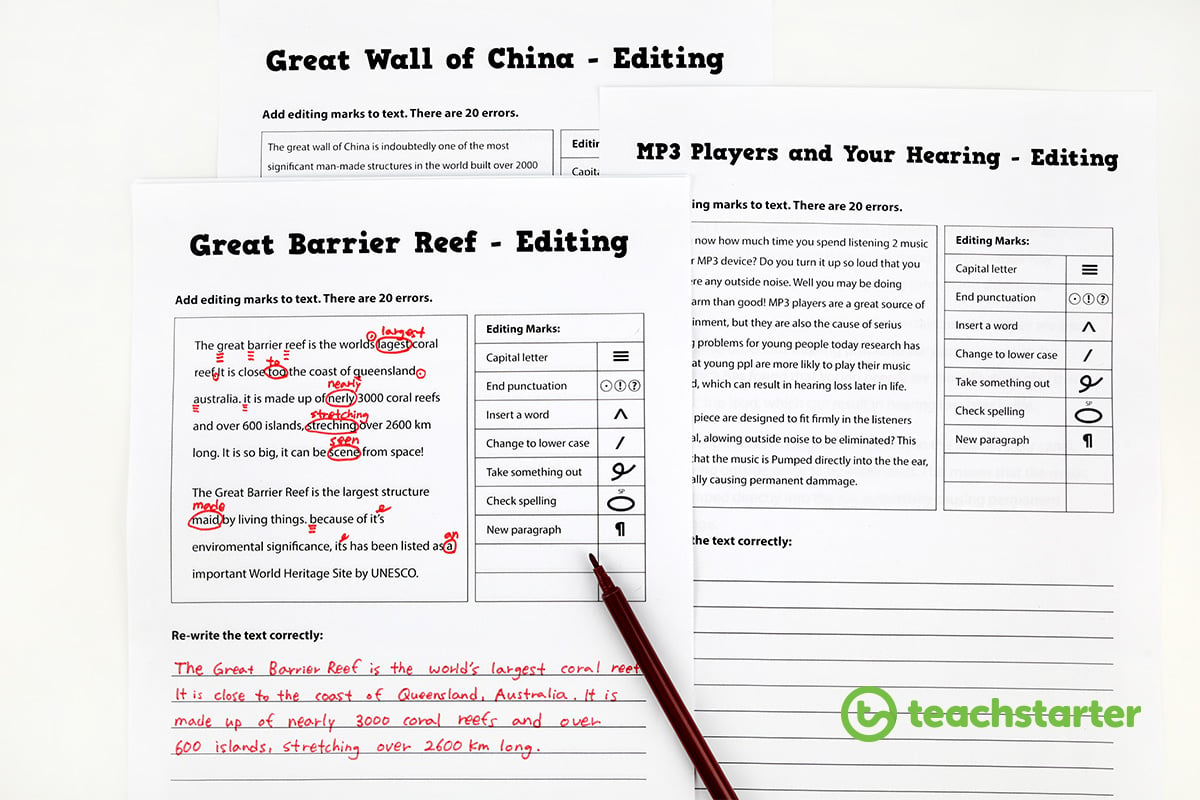
While editing practice worksheets like the one pictured above certainly have their place in the classroom, we all know that humans learn more easily when the circumstances they are learning in are less forced and more authentic. Just like putting clothes in the washing basket instead of leaving them on the floor becomes a simple habit (with practice), editing their own writing needs to be a regular and explicit expectation in the classroom. So, finding ways to embed editing practice into your students every day in an authentic way, is so important.
7 Tips for Teaching Editing
Here are our top tips for teaching editing in the classroom.
Providing your kids with the time and the right scaffolding to practise their editing skills is important.
- Look for the Great!
One of the biggest barriers to editing motivation is the feeling that the process is simple to find all that is wrong… What a depressing perspective! Encourage your students to use one colour for editing and another colour to identify the parts of their writing that are excellent just the way they are. - Edit a Copy
Have your students edit a copy of their work. You can make a photocopy to edit with a highlighter or a different coloured pencil. Or, if they are working on a computer or tablet use a duplicate file to mark up any changes. - Read it Aloud
Reading aloud is a fabulous way to identify grammar, spelling and punctuation errors. It’s also a skill that they can take with them throughout their life’s writing journey, at any time they need to independently check a piece of their own writing. - Edit the Next Day
Stepping away from a piece of writing makes it far easier to see any errors. When you’ve been looking at the same words for a while, they become too familiar and mistakes are easier to miss. Trying making editing yesterday’s work the first part of today’s writing lesson. - Peer Editing Helps Students Learn to Love Mistakes
Helping students learn to value the process of editing often requires a shift in mindset. The ways in which you ask students to practise their editing skills needs to reinforce the perception that making mistakes is normal/desirable/an awesome part of creating anything at all! Making peer editing (where students edit each other’s work) helps to cement this perspective. When students see that everyone makes mistakes in the writing process, they will feel less insecure or embarrassed about finding their own. - Use Supporting Resources
Use high quality supporting resources such as a thesaurus or grammar guides to ensure students are learning the correct way to fix mistakes and improve their writing, rather than simply guessing. - Make it fun!
Washing up is always more fun when there’s music on to dance-wash. Tidying up is more fun when it’s a race to see who can finish first. Be creative in the way that you make editing a part of your students’ every day. Use a rainbow of highlighters to mark different types of corrections or go outside and let students sit under the trees while they edit their own or a peer’s work.
Editing Skills Teaching Resources
Get strategic about how you make sure editing is an EASY (and a non-negotiable) part of your students’ writing process. Using some of the following editing skills resources will help to make editing a visible and familiar class time expectation.
Editing Checklists
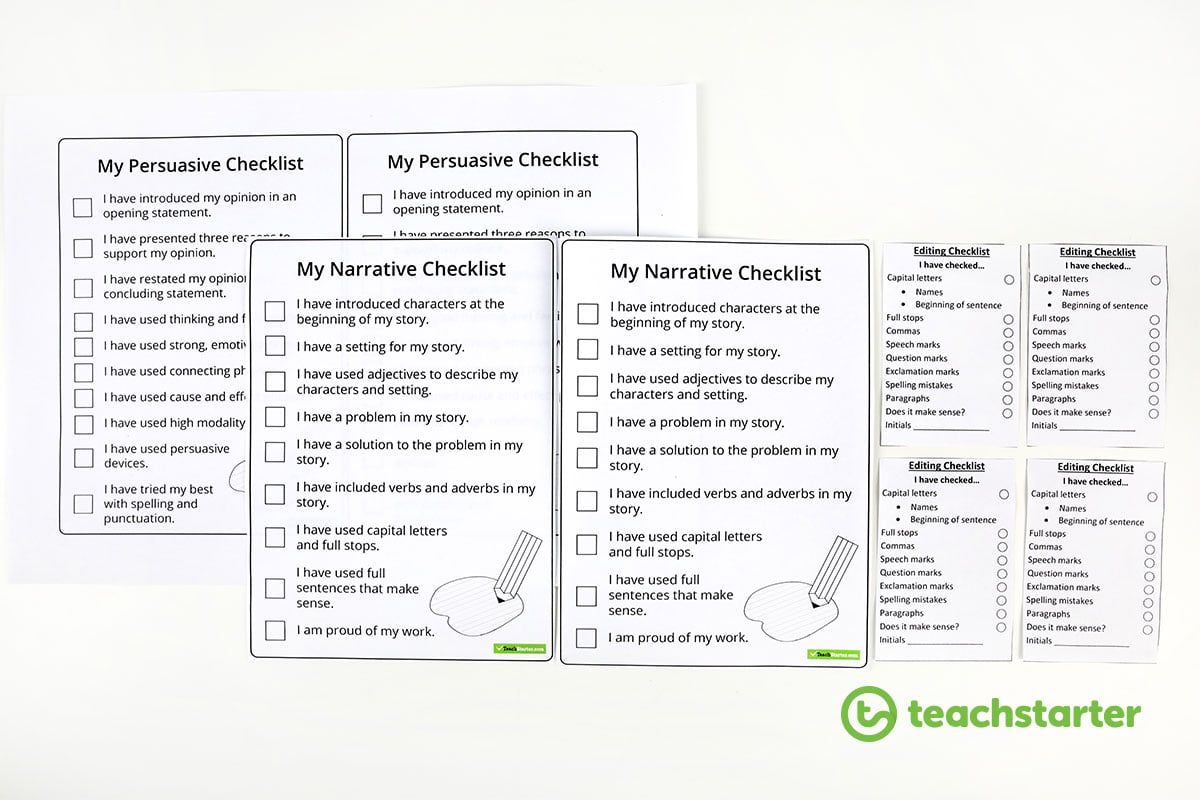
At the beginning of the year, print, copy and cut a large stash of editing checklists. When you know the text types you will be teaching that year, find the editing checklist to match and have them ready to go.
Then, for example, when you begin teaching persuasive writing, make the persuasive writing checklists accessible to your students on a daily basis. Ensure they know that they can go and get one of the checklists at any time to help with their self-editing process.
You can also use editing checklists for peer editing too.
Here are some of our printable editing checklists. You can check out the full collection of editing teaching resources for even more text type checklists.
[resource:534][resource:50910][resource:49639][resource:788]
[resource:812][resource:218830][resource:95376][resource:152144]
[resource:73401][resource:154753][resource:152162][resource:152153]
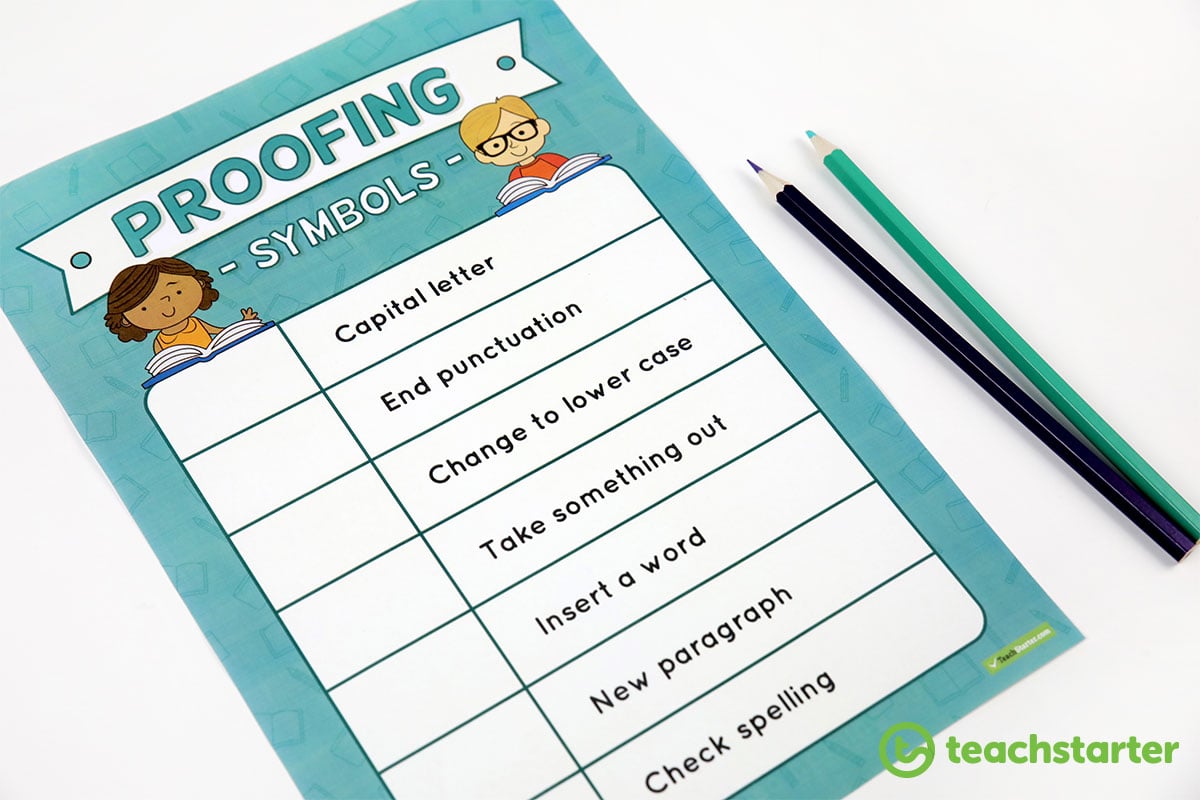
Editing and Writing Process Posters
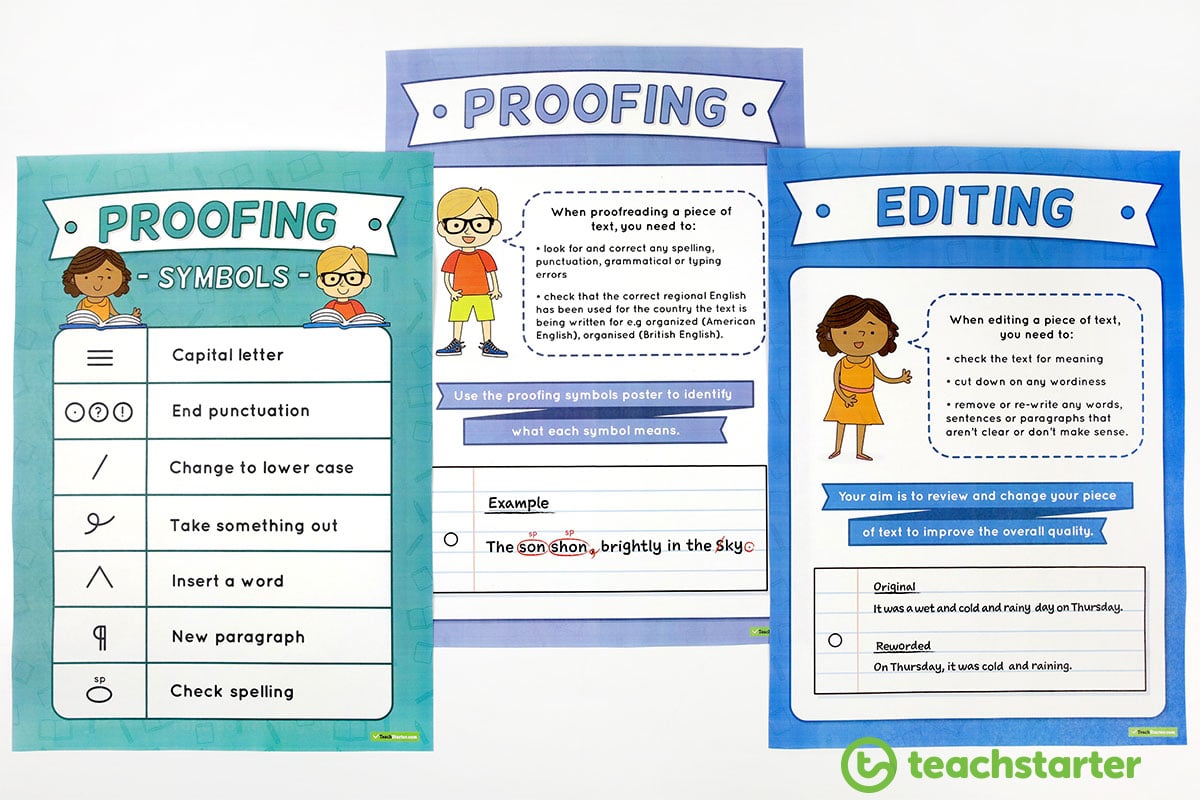
Making a considered decision about what kind of information and which posters will adorn the limited space on your classroom walls is important. If you want to make sure editing is at the forefront of your students’ minds when writing in your classroom, use these posters to bring the writing process into focus.
This Editing and Writing Process Posters download contains a blank editing poster so you can draw the notations that your school uses.
Here’s a selection of our editing and proofing posters. You can search the entire editing teaching resource collection by year level to find the resources that are best for your students.
[resource:618886][resource:581457][resource:147630][resource:13417]
Editing Passages PowerPoints
These Editing Passage PowerPoints are another versatile editing skills teaching resource. Each PowerPoint contains 20 passages with errors in need of correction, as well as slides containing the corrected passages.
With a downloadable, editable PowerPoint for every year level from Years 1 to 6, aligned to the curriculum, you can choose the best way to use this resource in your classroom.
As a whole class activity:
- Project a slide onto the board for your whole class to read and copy correctly into their books.
- Throw a ball to a student who has to identify an error within a time limit (e.g. 10 seconds). If they can’t find an error, they pass the ball back to you for you to throw to another student.
As an individual, or literacy rotations activity:
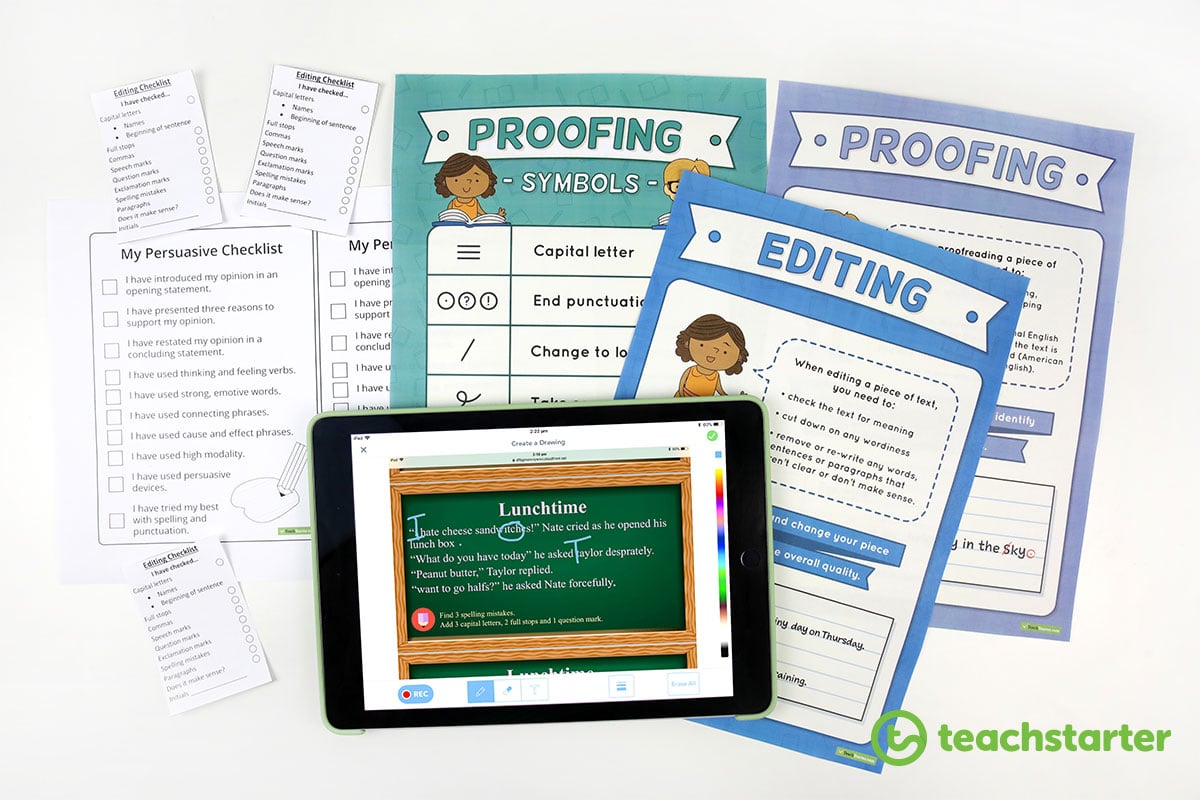
- Edit the PowerPoint so the slides have a light background and a darker font. Print each slide in landscape A4 size and laminate for students to write corrections on using a whiteboard marker.
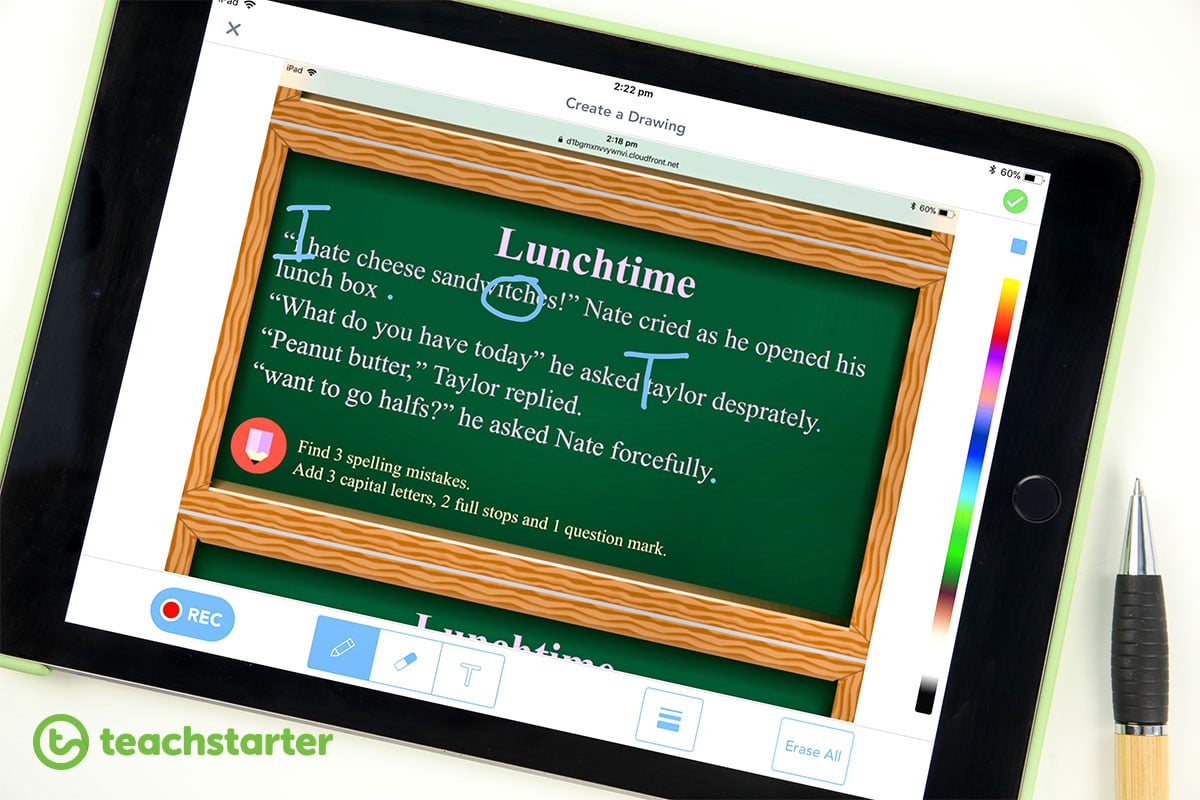
- Upload the passages to an app like Seesaw for students to mark corrections using an iPad or tablet.
[resource:49091][resource:49102][resource:48461][resource:49110][resource:48482][resource:49119]





Comments