During school holidays, I’m sure I’m not the only parent who is already hearing “I’m boooooored” from their kids!
While our children definitely need a break from the mental and physical routines of term time, it doesn’t take long to realise that our perception of just how much rest and relaxation they need is vastly different from theirs. Soon enough, their bodies and minds crave the same kind of stimulation they receive in school each day, and this can be challenging to cater for in our homes.
While my kids love any form of paper or cardboard-based art and craft, I thought it would be fun for us to create our own line drawing out in the beautiful winter’s sun.
So that’s exactly what we did!
A little shout out to the teachers too:
Skip to the bottom of this post to see how this activity aligns with the Australian Curriculum for Visual Arts!
An Outdoor Line Drawing Artwork
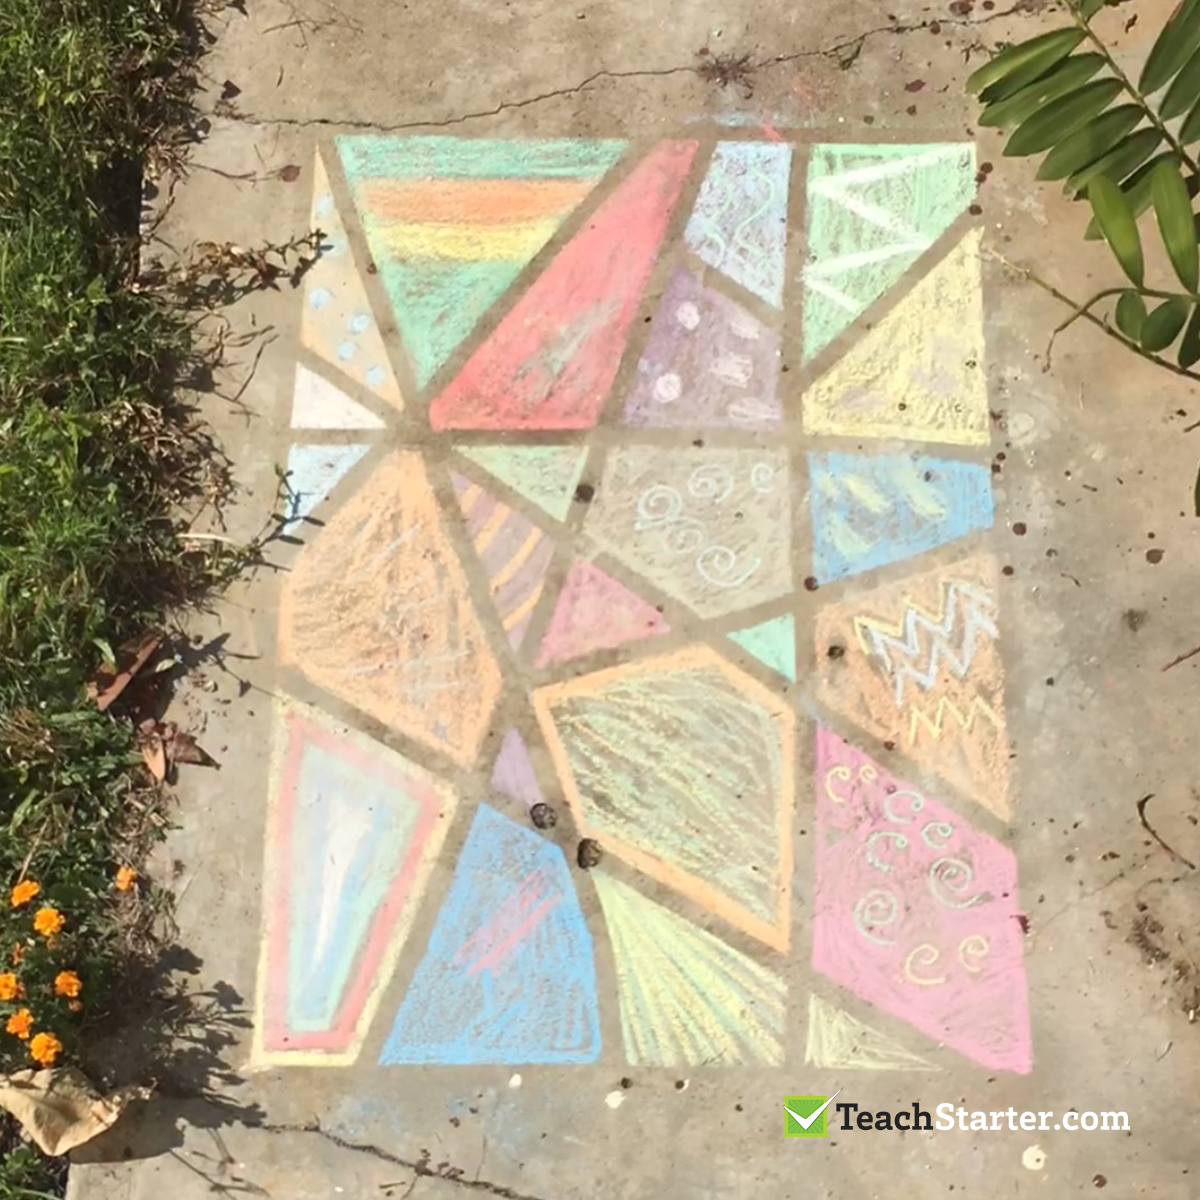
You will need:
- concrete to draw on
- masking tape
- chalk
The steps are simple:
1. Sweep the concrete clean (I forgot this step, so if you’re happy to brush leaves and grass aside with your hands, you can too!)
2. Create the outline of your artwork using masking tape. We went for a basic rectangle as it fit on our garden path.
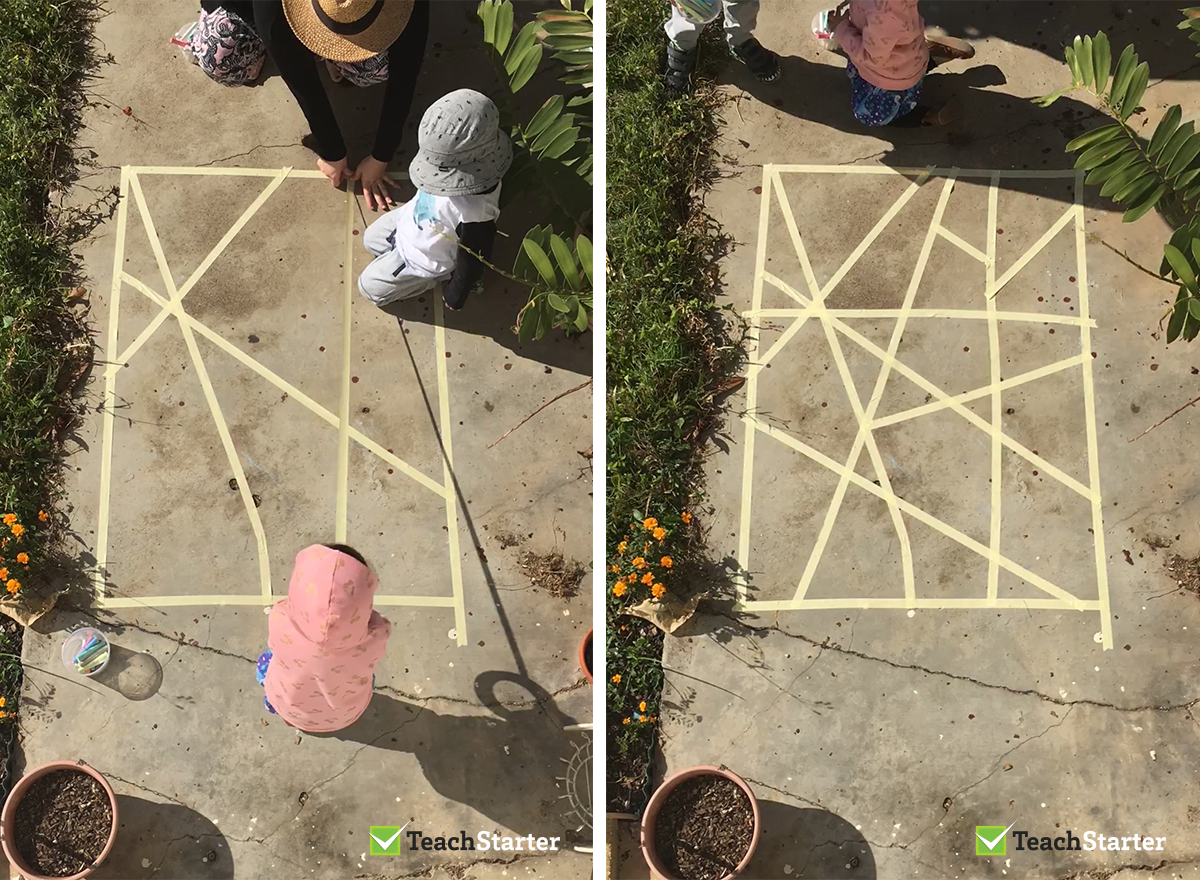
3. Tape lines from one side of your outline to the other. You can create smaller shapes by adding shorter pieces of tape between some of the longer ones (like we did in the image above).
4. Use chalk (or maybe even a mixture of half water and half water-based paint!?) to decorate the shapes inside the masking tape lines.
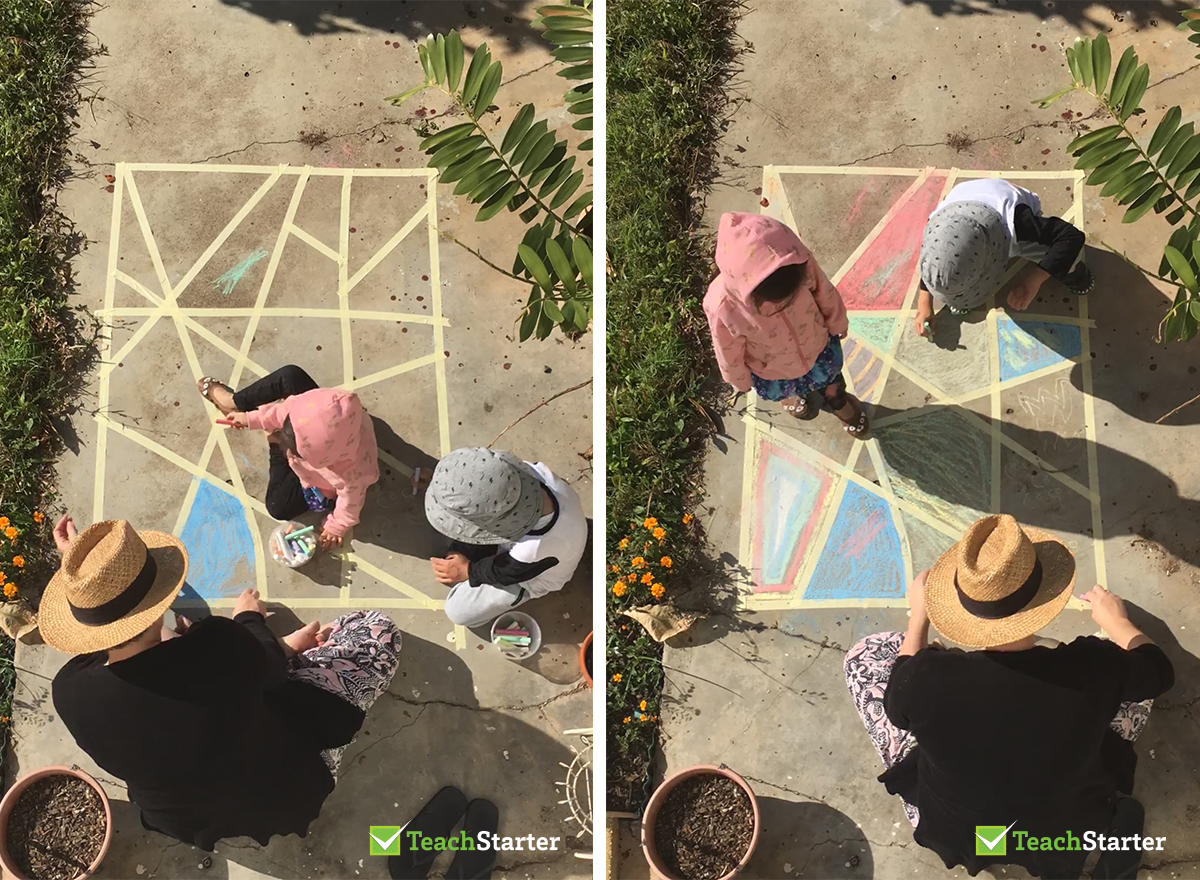
5. Peel off the masking tape lines, and voilà! You will have created a beautiful, outdoor artwork with your children.
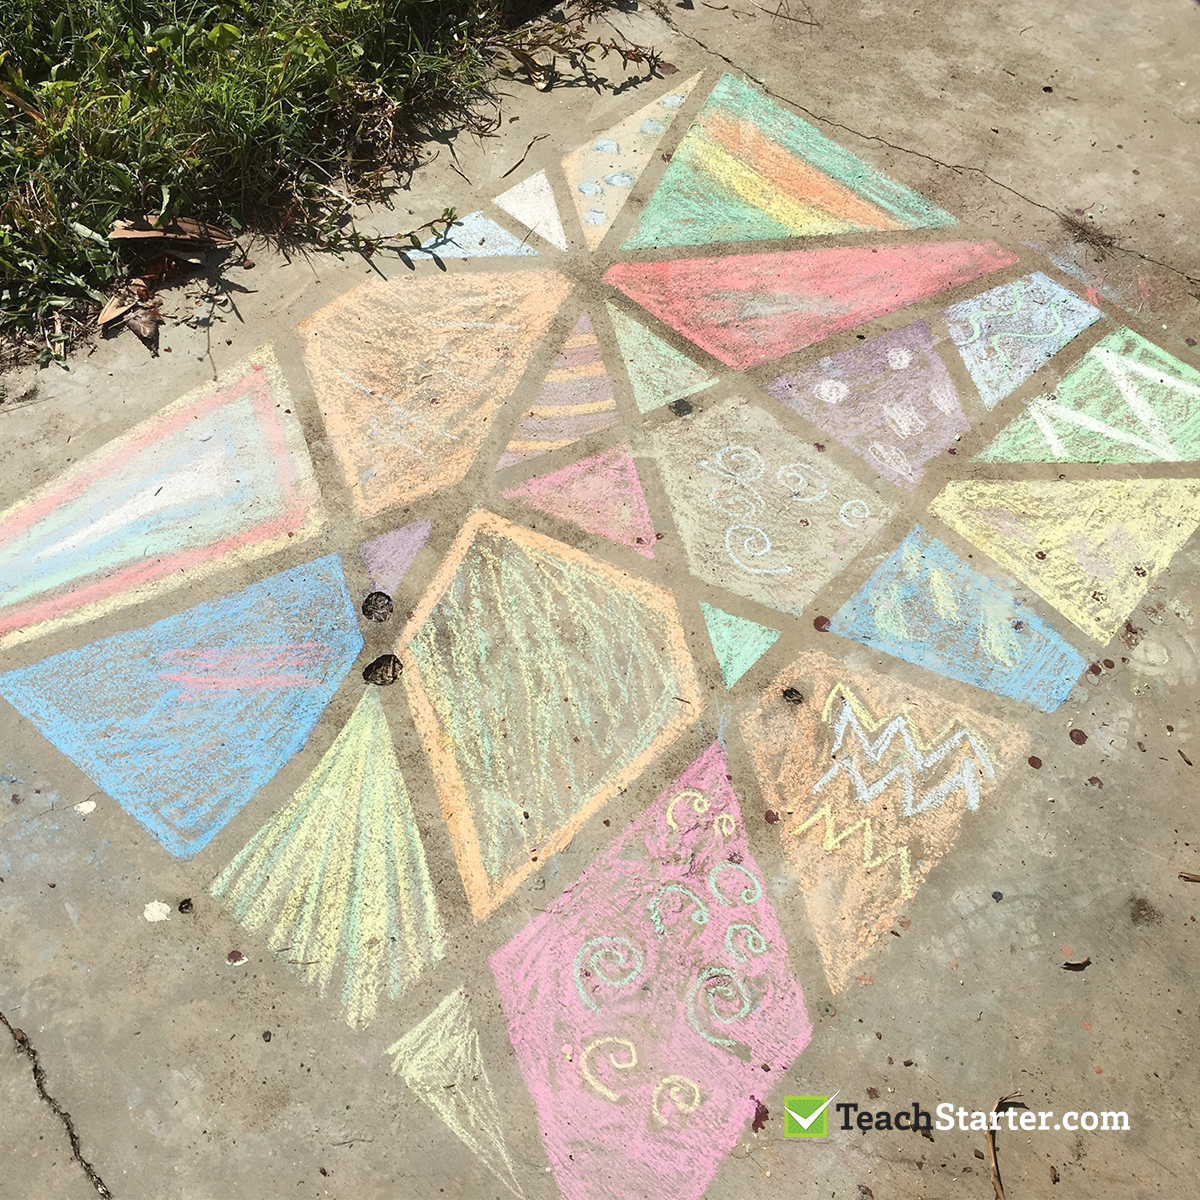
It’s true that my 3 year old wasn’t quite as keen to hang around and colour in with chalk for very long. Although, I think had she been able to play with some watered down paint and brushes this school holiday activity would have been perfect for her too.
In the Primary School Classroom: Visual Arts Activities
Outdoor line drawings (or indeed more traditional line drawings made with paper and pencil, paint or collage version) can be used in alignment with the following descriptors from the Australian Curriculum for Visual Arts:
Foundation – Year 2
- Use and experiment with different materials, techniques, technologies and processes to make artworks (ACAVAM107)
- Create and display artworks to communicate ideas to an audience (ACAVAM108)
Provide students with a specific context or topic as the stimulus for their line drawing or collage. For example, “Under the Sea”, “Around the World” or “Space”.
Students then select the colours, shapes and materials they need to create their themed artwork.
If created as an outdoor artwork, photograph and print each student or small group’s work for further activities and questioning related to what their piece shows an audience about the topic or theme.
Years 3-4
- Use materials, techniques and processes to explore visual conventions when making artworks (ACAVAM111)
- Present artworks and describe how they have used visual conventions to represent their ideas (ACAVAM112)
To adapt this activity for Visual Arts in Years 3 – 4, explore how students can plan out the placement of their lines and shapes (in addition to the selection of their materials) to create a more complex representation or meaning.
Students should also explore how colour and pattern can be used to communicate their meaning.
If created outdoors, the artworks can also be photographed and further extended through digital manipulation and/or presentation.
What do you think?
I’d love to know if this is an activity you would like to try with your kids or in the classroom. You can always share photos of your kids’ work with us on Instagram using the #teachstarter hashtag!




Comments