Thanks to @_littlemissthomas for providing us with this amazing step by step guide!
If you’re like me, you want the easiest and most stress-free way to get something done! So, how about getting some of your assessment out of the way with just a single sticky note?
As I’m currently a fourth-year student teacher, I want to make the most of every placement block. This includes collecting information on my students and making sure they feel comfortable with the pace we are learning at and the overall lesson.
With a little bit of trial and error (I’m not going to lie), I created a template and an easy solution to printing on sticky notes.
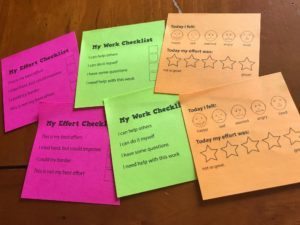
With the help of Teach Starter’s, Learning Scale and Self-Assessment Checklist resource, I created 3 different checklists for my students. They are aimed at getting an idea as to how much effort they put into a lesson, how confident they are in understanding the work they have completed and finally how they felt overall about a certain task.
So, I bet you’re now all wondering how I did this! Firstly, to help you all out, I have supplied you with a template I used. This has been developed for the most common sized sticky note a 3 x 3 inch.
You can thank me later because this was the hardest part!
Now for the instructions!
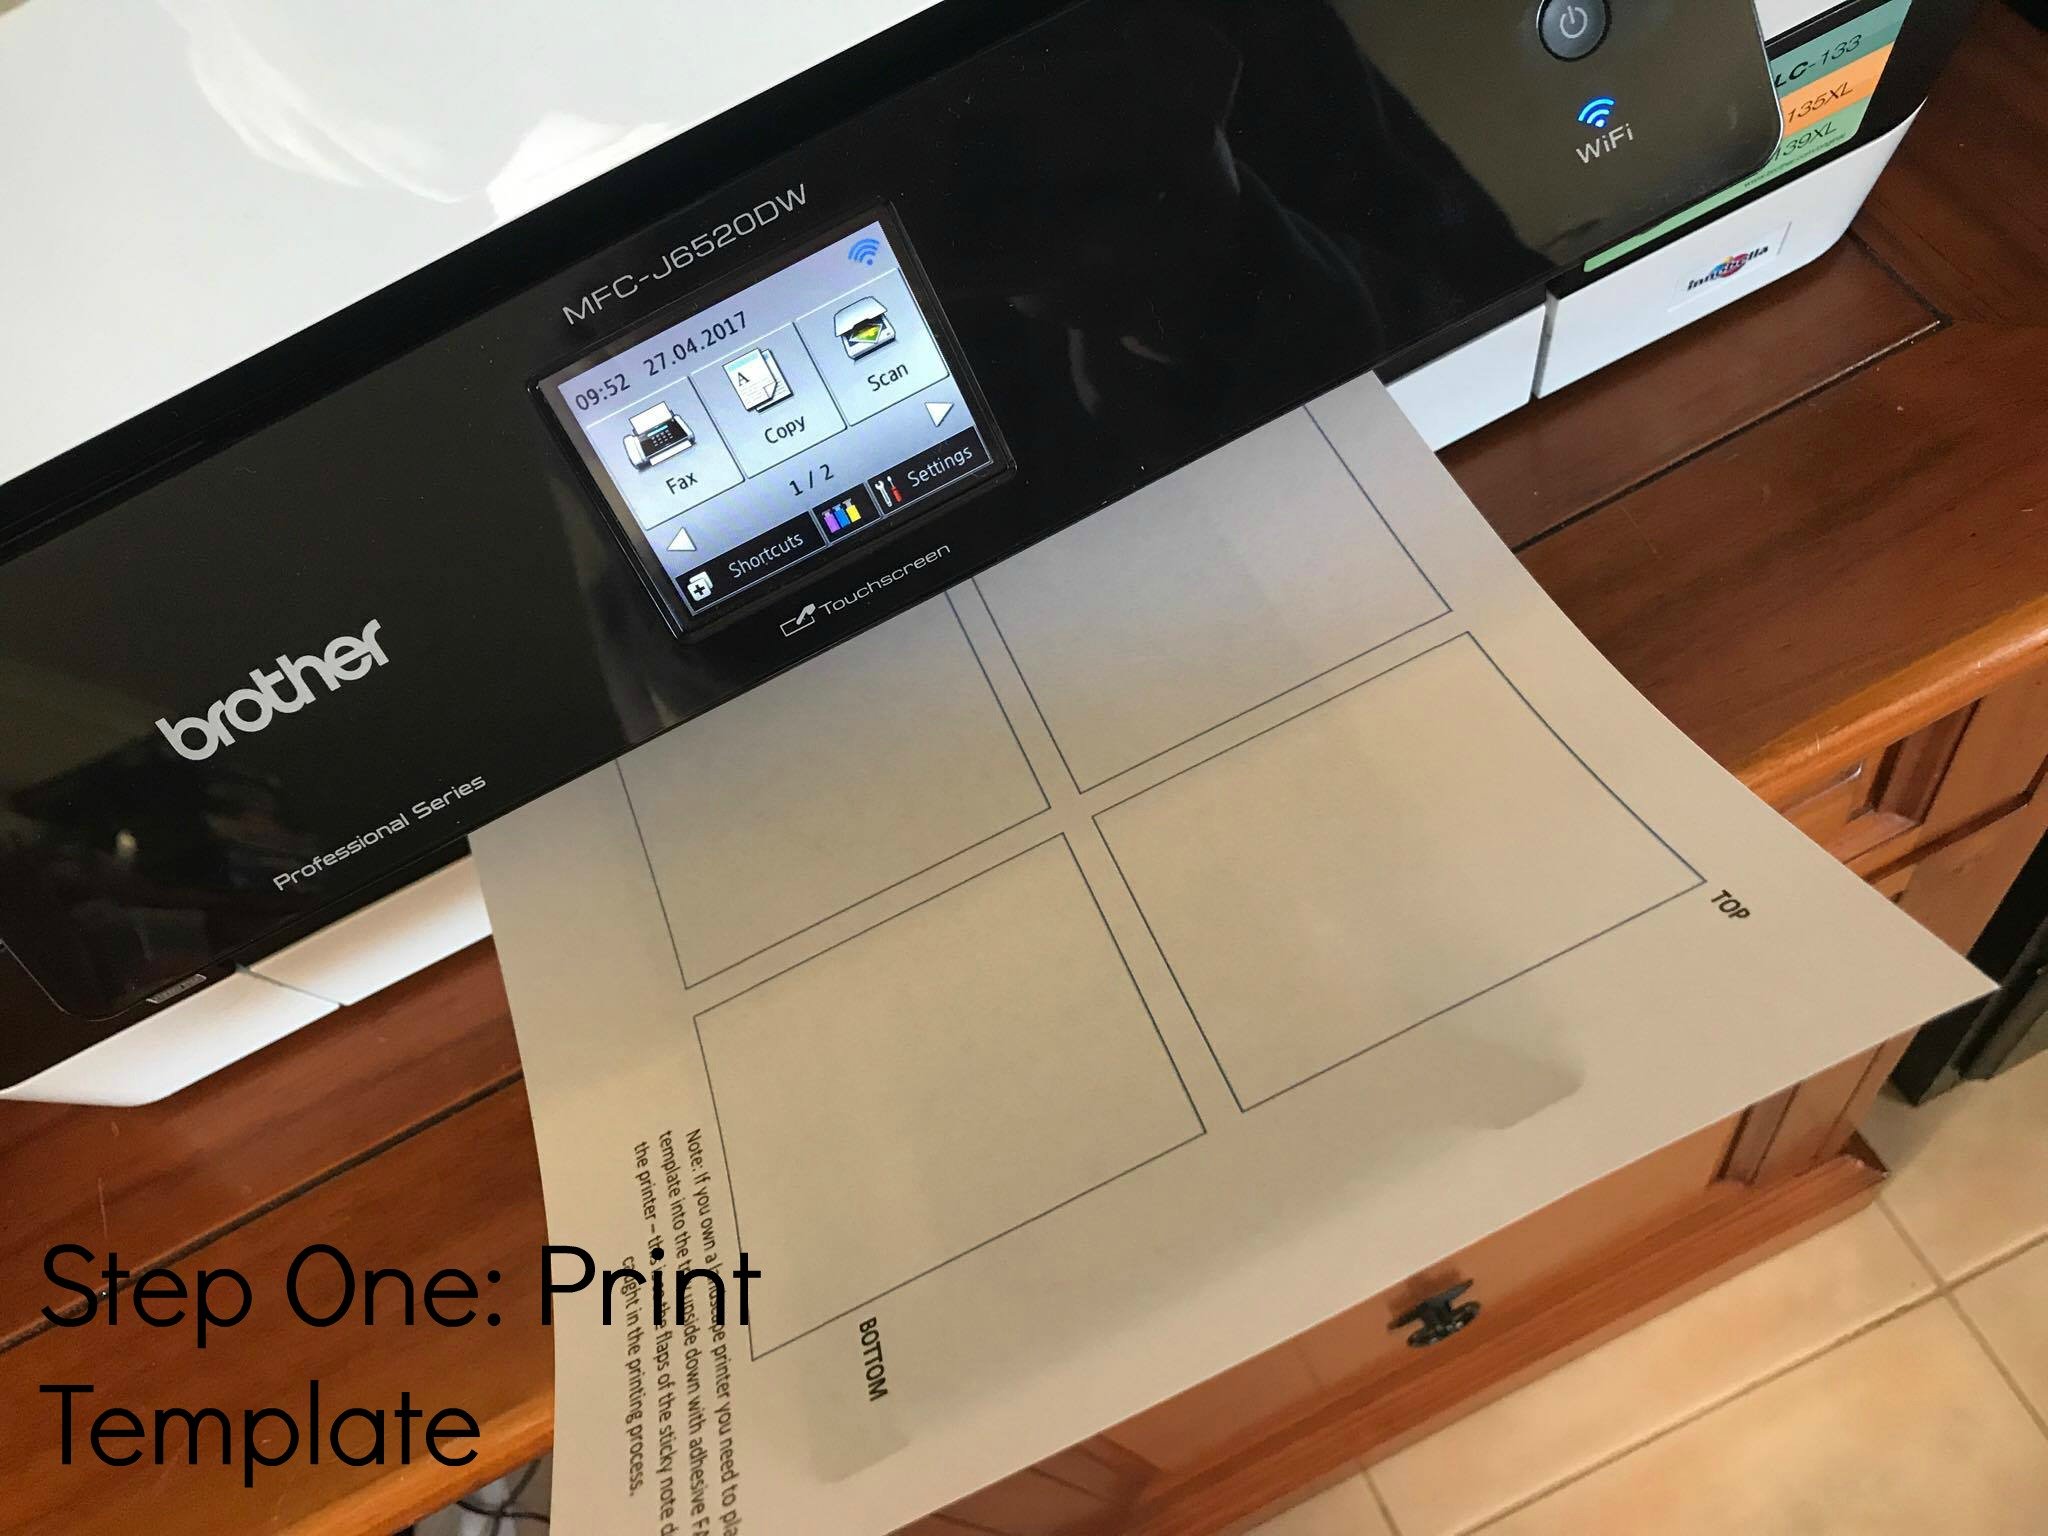
Print out one copy of your sticky note template on any type of A4 paper.
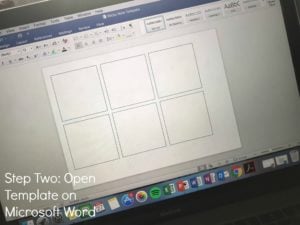
Open your template in your editing program (I used Microsoft Word).
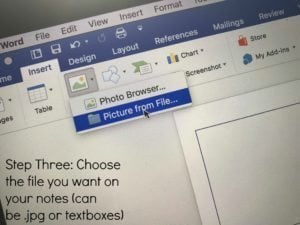
Choose what you would like on each sticky note and ensure they are in a JPG file, so you can drag and drop. Alternatively, you could insert a separate text box (I screenshotted Teach Starter’s assessment resource and dropped in the JPG files).
Place your text box/image inside the FIRST box on your page. Then use the rotating button so the image flips upside down (you will find out why later).
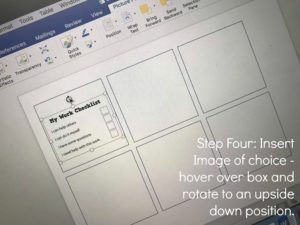
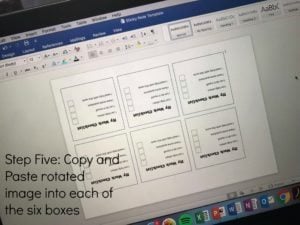
Next, if you would like the same image on each of your sticky notes, copy and paste the rotated image into each of the 6 boxes.
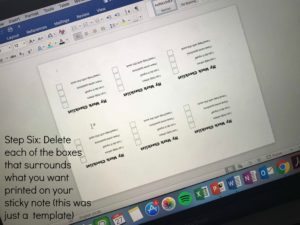
Once you have each of your images on your template – DELETE the boxes (original template) that surround what you would like printed on the sticky note.
Note: you will not need these printed as you already have the template printed out.
Next, grab your sticky note template and stick 6 sticky notes onto the page with the adhesive facing the BOTTOM of the template.
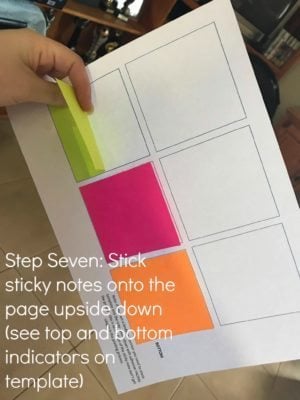
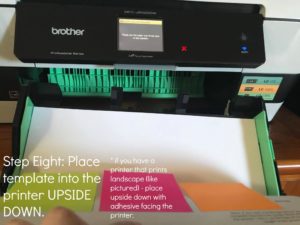
Place your full template of sticky notes into the printer facing down.
Note: If you have a landscape printer like me, you need to ensure that the adhesive from the sticky-notes is FACING the printer rollers so that the rollers don’t pull at each sticky note and jam the printer.
It may be a good idea to test and work out the way your printer feeds the paper into work out the best way to place the paper in your printer.
Print out your template making sure that you have deleted the boxes that surround your image as the boxes simply represented your sticky notes during the planning stages.
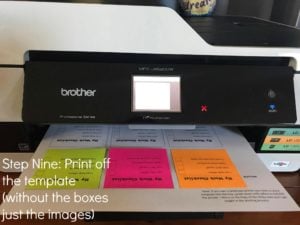
And Ta Da! You have some groovy looking sticky notes to hand out and use for assessment, student desk motivators or just personal reminders (because we always forget something!)
Thanks for reading!
I cannot wait to see what you have all created – make sure to tag me on Instagram so I can share in your cleverness!
-Miss Thomas




Comments