The physical sciences are fascinating topics. Light and Sound, Electricity and Heat Energy; they are things that everybody on Earth uses nearly every day!
Heat energy, in particular, is a vital topic for students to understand. Lessons on heat can teach students how to regulate the temperature of themselves and other objects, how to cook, how to identify sources of heat and ways to transfer heat, not to mention a plethora of other real-world related content. It really is an essential lesson in the science world!
If only there was some kind of easy-to-follow guide to teaching this interesting and complex topic to young students…
…But wait, there is!
The fabulous resource creators in the Teach Starter office have been working as hard as they can to bring a comprehensive Heat Energy Resource Pack to you, our lovely members.
As part of this resource pack, we have produced a Heat Energy Teaching Unit.
Consisting of six 60-minute lessons and one assessment task, the unit addresses the concept of heat energy, including heat sources, heat transfer, thermal conductors and thermal insulators.
The unit includes activities designed to:
- explore prior knowledge and understanding of heat
- explore the concept of heat as a form of energy
- identify kinetic, electrical and chemical sources of heat energy
- explore the concept of heat transference
- investigate which materials are the best thermal conductors
- investigate which materials are the best thermal insulators.
So, it’s time to fire up your students’ brains and take a look at the fantastic activities you can use to teach the topic of Heat Energy!
The Heat is On – A Unit to Teach Heat Energy
Before you start any science unit, it’s a good idea to get your students thinking scientifically. Ask them to complete a Working Scientifically Knowledge Check Worksheet and check their knowledge of working scientifically.
Lesson 1 – Keeping Warm
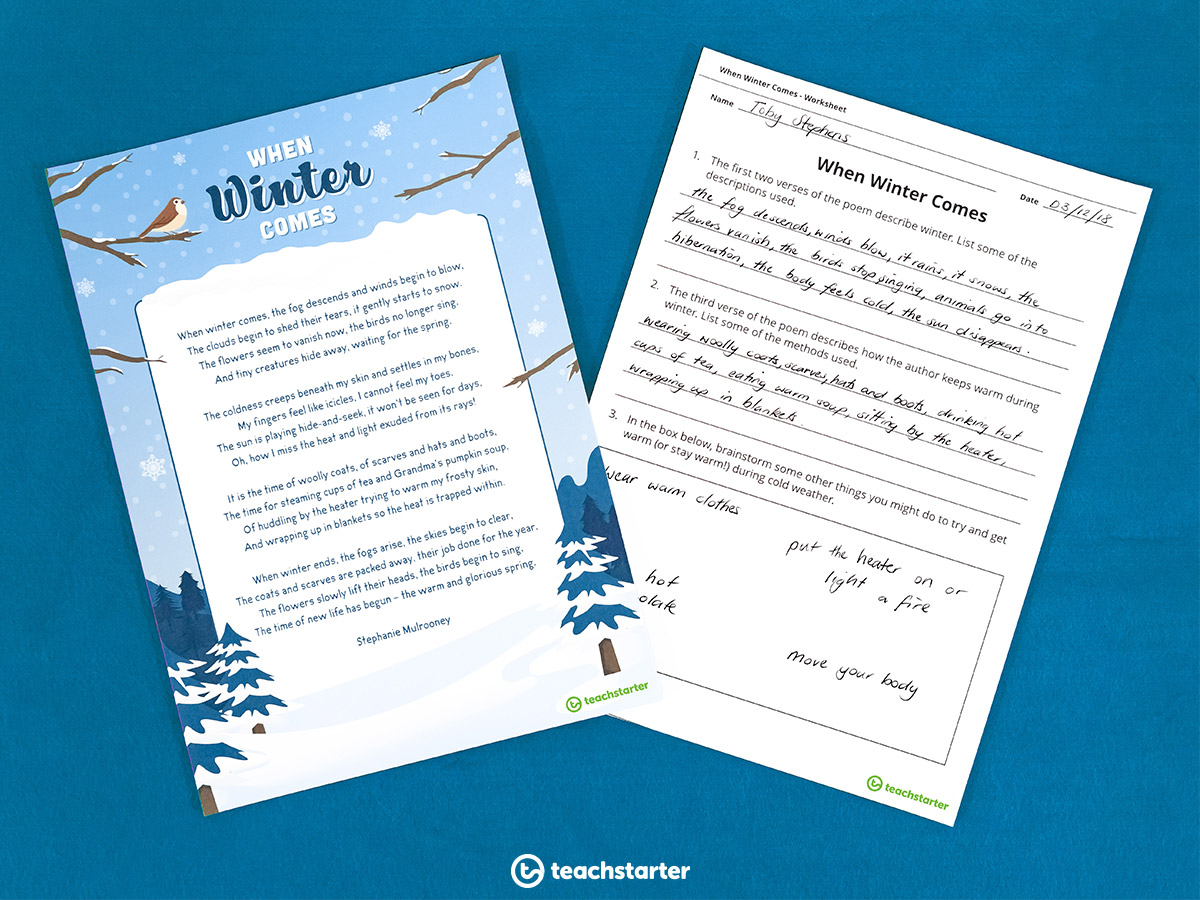
Introduce the topic of heat and explore your students’ prior knowledge with this literacy-linked science lesson. Think about how animals keep warm in cold environments with a video on Emperor Penguins and then link it to your students’ experiences with a poem by our very own resource producer, Steph!
When winter comes, the fog descends and winds begin to blow,
The clouds begin to shed their tears, it gently starts to snow.
The flowers seem to vanish now, the birds no longer sing,
And tiny creatures hide away, waiting for the spring.
Students read the poem, then answer the questions on the worksheet. These questions refer to the ways in which people can keep themselves warm (or warm themselves up) when they are feeling cold.
Encourage deeper thinking by asking questions such as:
- Can heat move?
- Can heat be measured?
- Can heat be shared?
- Do all objects have heat?
- Can people make heat?
Lesson 2 – What is Heat?
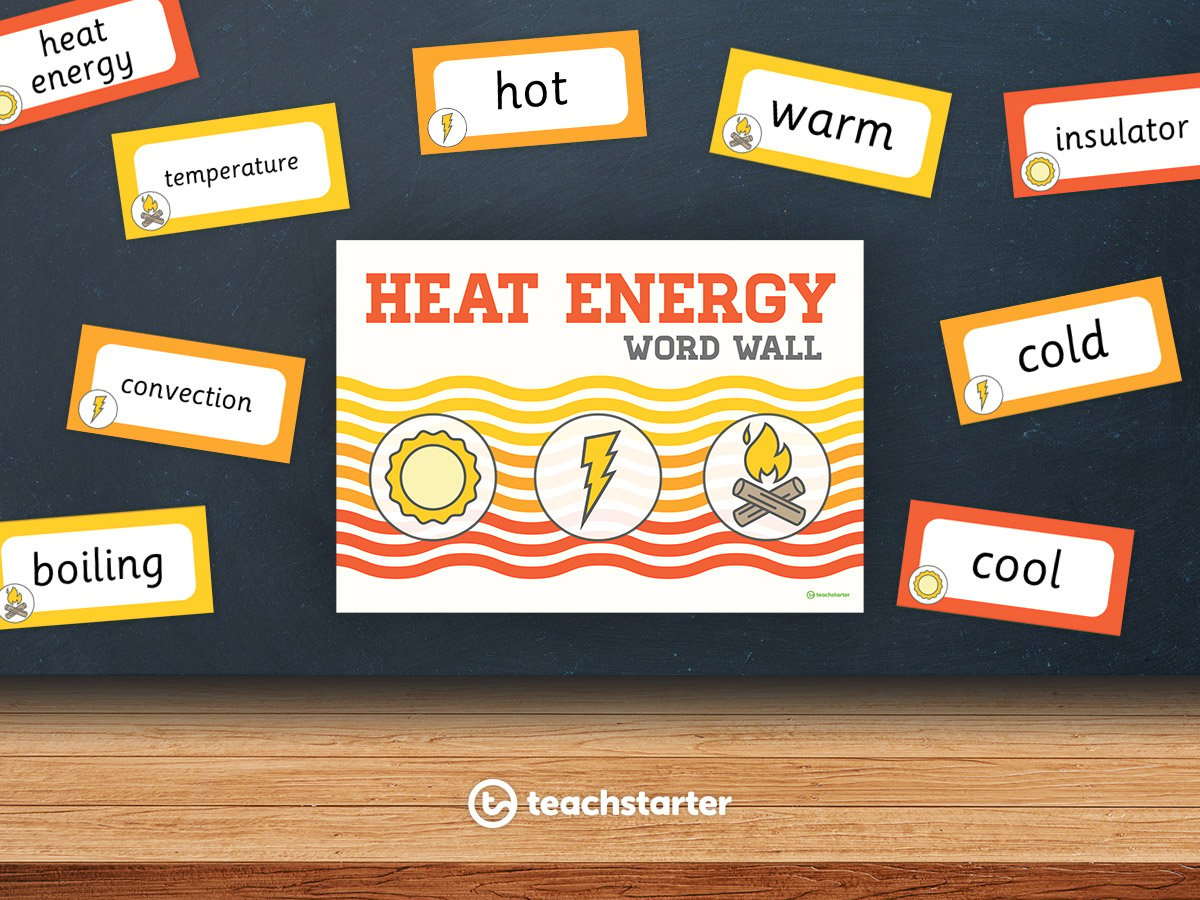
Explore heat as a form of energy in this exciting lesson! Discuss the scientific vocabulary in our Heat Energy Word Wall, before completing the accompanying experiment, What is Heat?
If your students need some experiment prep work themselves, pre-empt this activity with our What’s the Use? PowerPoint – Developing a Hypothesis to Investigate to re-introduce students to the development of a scientific hypothesis. Our What is a Fair Test? – Middle Years PowerPoint and What is a Fair Test? – Upper Years PowerPoint make great additional resources for exploring the scientific concept of fair testing with your students.
For the experiment you will need:
- a glass of hot water
- a glass of cold water
- a thermometer (optional)
- food dye
Your class will love the visual demonstration of the movement of heat energy during this activity!
Conduct the experiment as a demonstration so that as a class, students observe what happens to food colouring when placed into hot water and cold water.
Finally, students record their predictions and their observations from the activity.
Lesson 3 – Sources of Heat
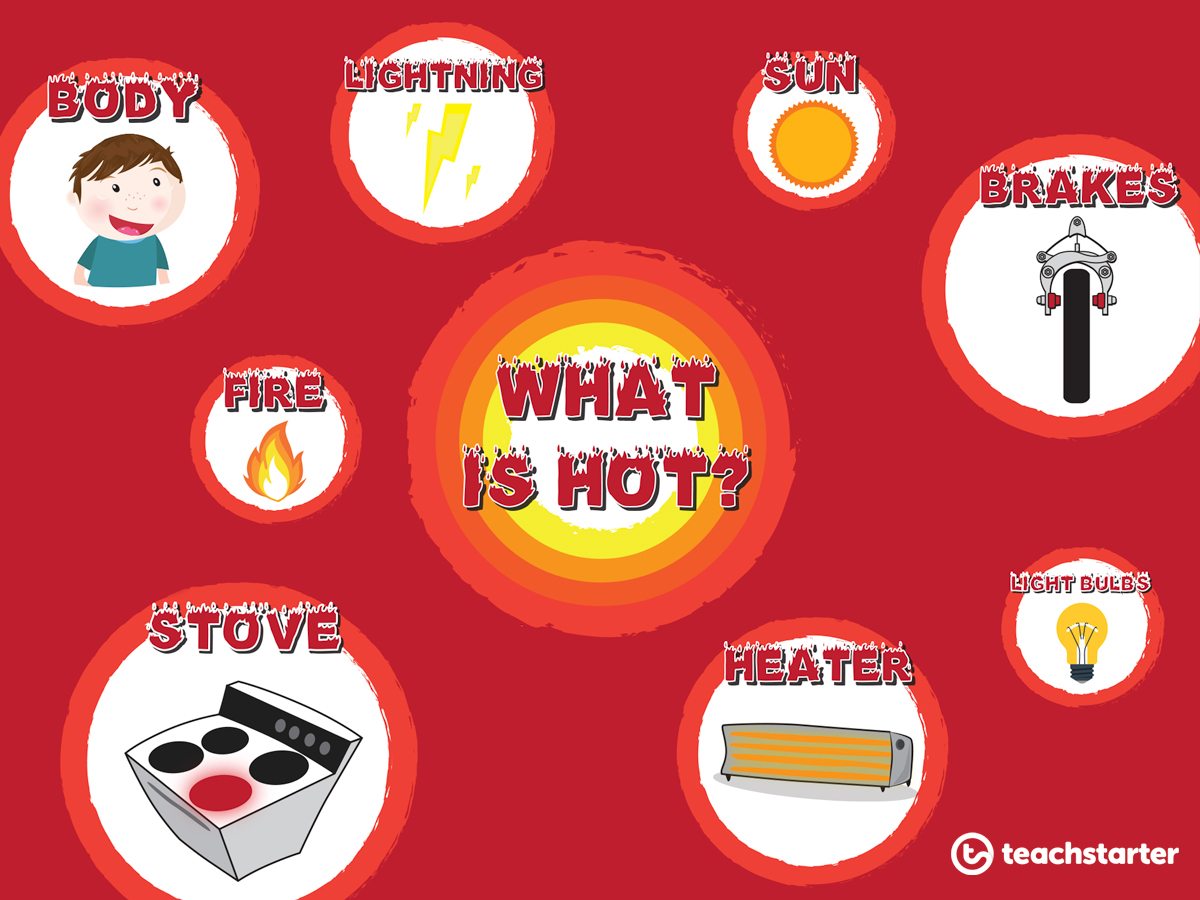
This is the perfect lesson when introducing students to sources of heat energy. Get students thinking by viewing the poster What is Hot?. Encourage students to suggest where the heat energy might be coming from in each situation.
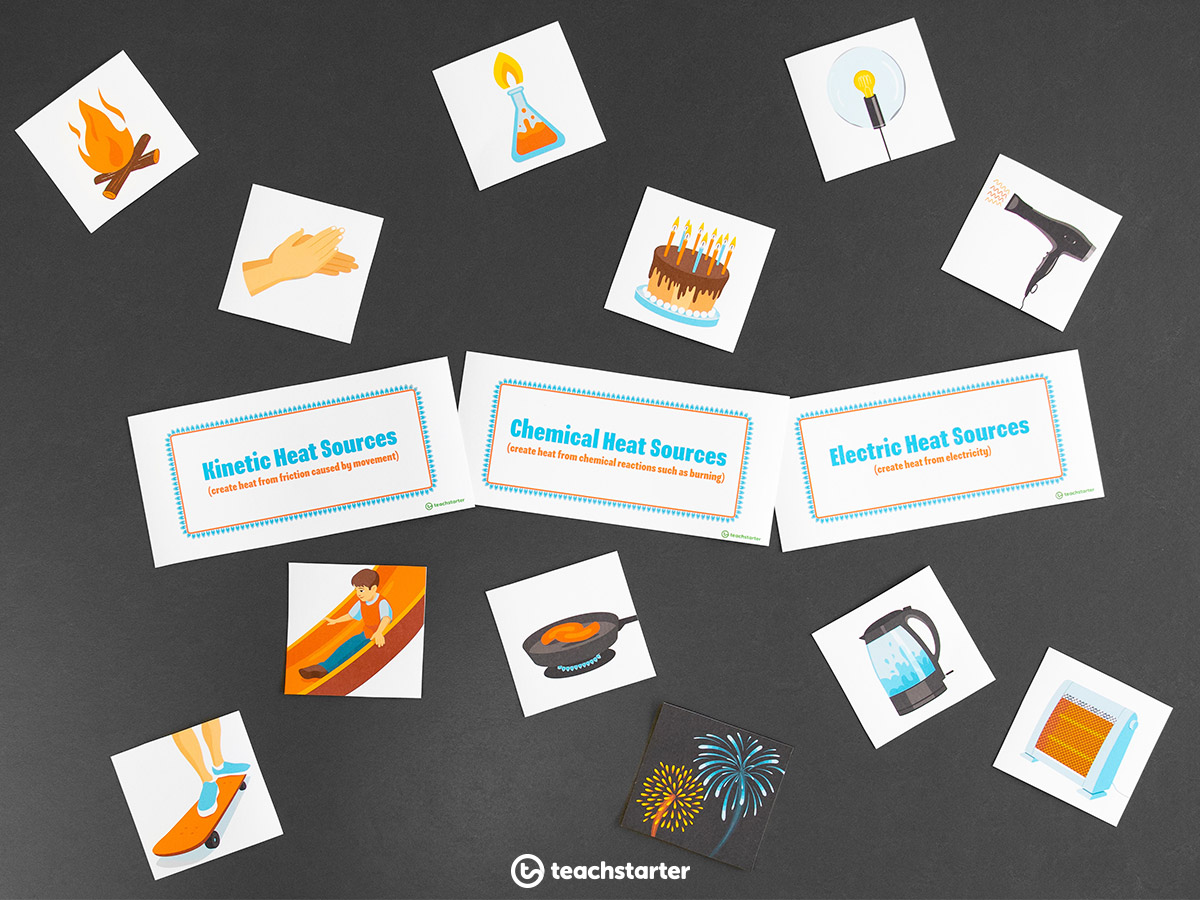
As a class, students can then identify kinetic, electrical and chemical sources of heat energy by completing a Heat Sources Sorting Activity. Print, cut and laminate the title cards and the images, and allow students to sort the images into the correct category by placing them underneath the correct title.
Encourage the students to consider each example carefully and, if necessary, to use a process of elimination to support their decisions e.g. A hair dryer has a cord which needs to be plugged into a power socket, so its heat must come from electricity.
Finally, students consolidate their understanding by completing the Heat Sources Worksheet.
Lesson 4 – Moving Heat
The concept of heat transference is easily demonstrated with this hands-on lesson.
Introduce the concept of heat transference and explain that heat will always move towards an object or place with less heat, for example warm air from an air conditioner will move toward the coolest places in the room, in order to warm the air up.
For this lesson you will need:
- a cup of hot tea
- a thermometer
- a wheat bag or hot water bottle.
You even get to make a cup of tea! Every teacher’s favourite pastime – or was that just me?
Using the Moving Heat Worksheet, encourage students to observe what happens to the temperature of the hot cup of tea over a 30 minute time period.
Students will show their knowledge and understanding by drawing labelled diagrams of their own examples of heat transference.
Lesson 5 – Thermal Conductors – Feel the Heat
This lesson provides students with a science experiment to investigate whether metal, plastic or wood is the best conductor of heat.
After watching the related video, this thought-provoking task requires students to judge the temperature of a metal, plastic and wooden spoon after they’ve been sitting in hot water for three minutes. Conduct the Science Experiment – Feel The Heat as a class, or give students the opportunity to work in small groups!
You will need:
- stopwatches
- thermometers
- ceramic mugs
- metal teaspoons
- plastic teaspoons
- wooden teaspoons
- hot water.
They’ll never look at a metal slide the same way again!
Allow students to share their results from the experiment.
Ask guiding questions, such as:
- What did you discover about thermal conductors?
- How might this information be useful for scientists?
- Would it be a good idea to sit down on a metal chair that has been in the sun? Why or why not?
Lesson 6 – Thermal Insulators – Keeping Out the Heat
The final lesson in this wonderful unit extends students understanding of materials and heat by examining the best insulators of heat.
Drawing on their prior knowledge of conductors, this Science Experiment – Keeping Out the Heat allows students to investigate if bubble wrap, paper towel or tin foil is the best insulator of heat.
For this experiment you will need:
- ice cubes
- bubble wrap
- sealable plastic bags
- small measuring cylinders (medicine cups or similar)
- paper towel
- tin foil.
To wrap up, allow the students to share their results from the experiment.
Ask guiding questions, such as:
- What did you discover about thermal insulators?
- How might this information be useful for scientists?
- Would it be a good idea to serve a hot drink in a paper cup? Why or why not?
Assessment – The Heat is On
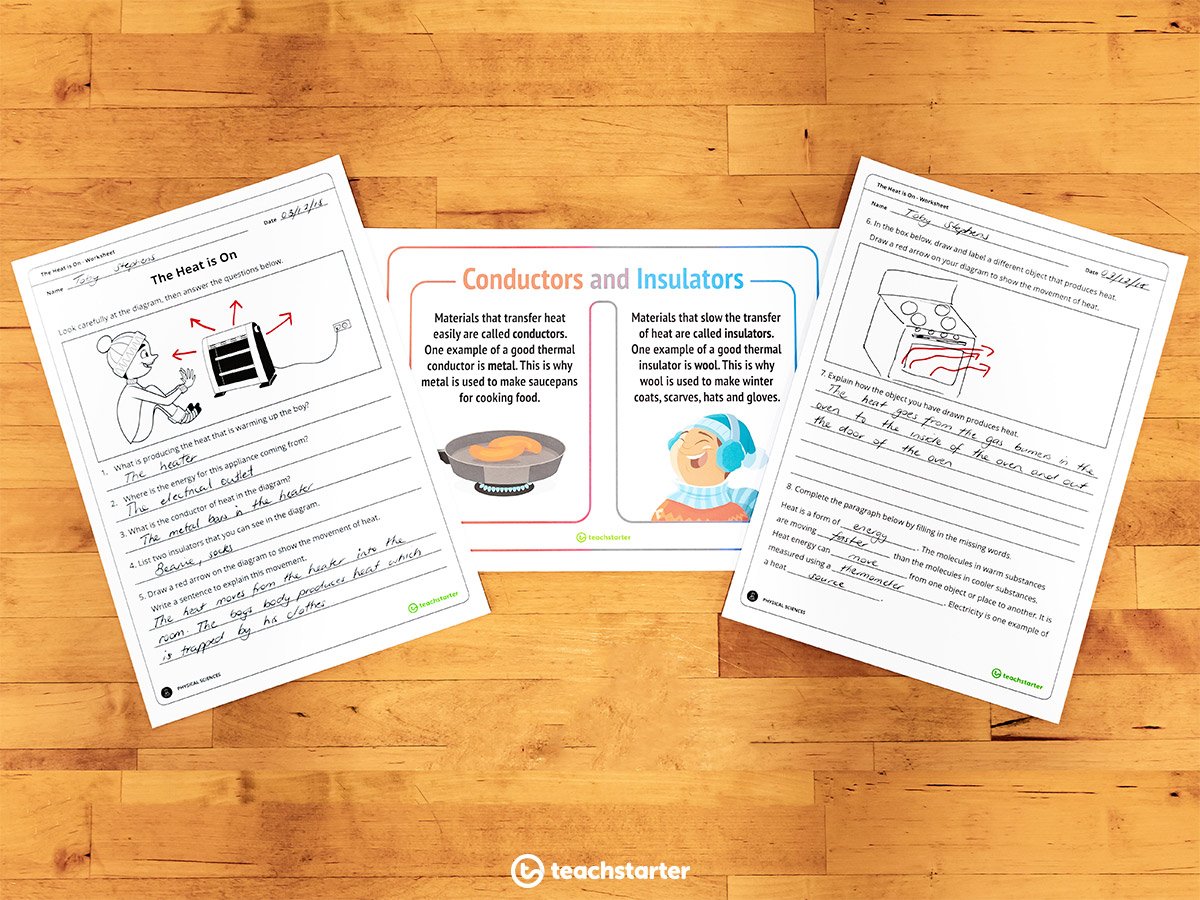
As well as the opportunity to use each lesson as formative assessment, consolidate and assess your students’ understanding of heat energy with our The Heat is On Worksheet.
Complete a review of the unit as a class, before completing the worksheets independently.
Students will demonstrate an understanding of the content they have studied over the previous six lessons:
- Heat is a form of energy.
- Heat moves from warmer objects or places to cooler objects or places.
- Sources of heat energy can be electric, kinetic or chemical.
- Conductors are materials which easily transfer heat.
- Insulators are materials which slow the transfer of heat.







Comments