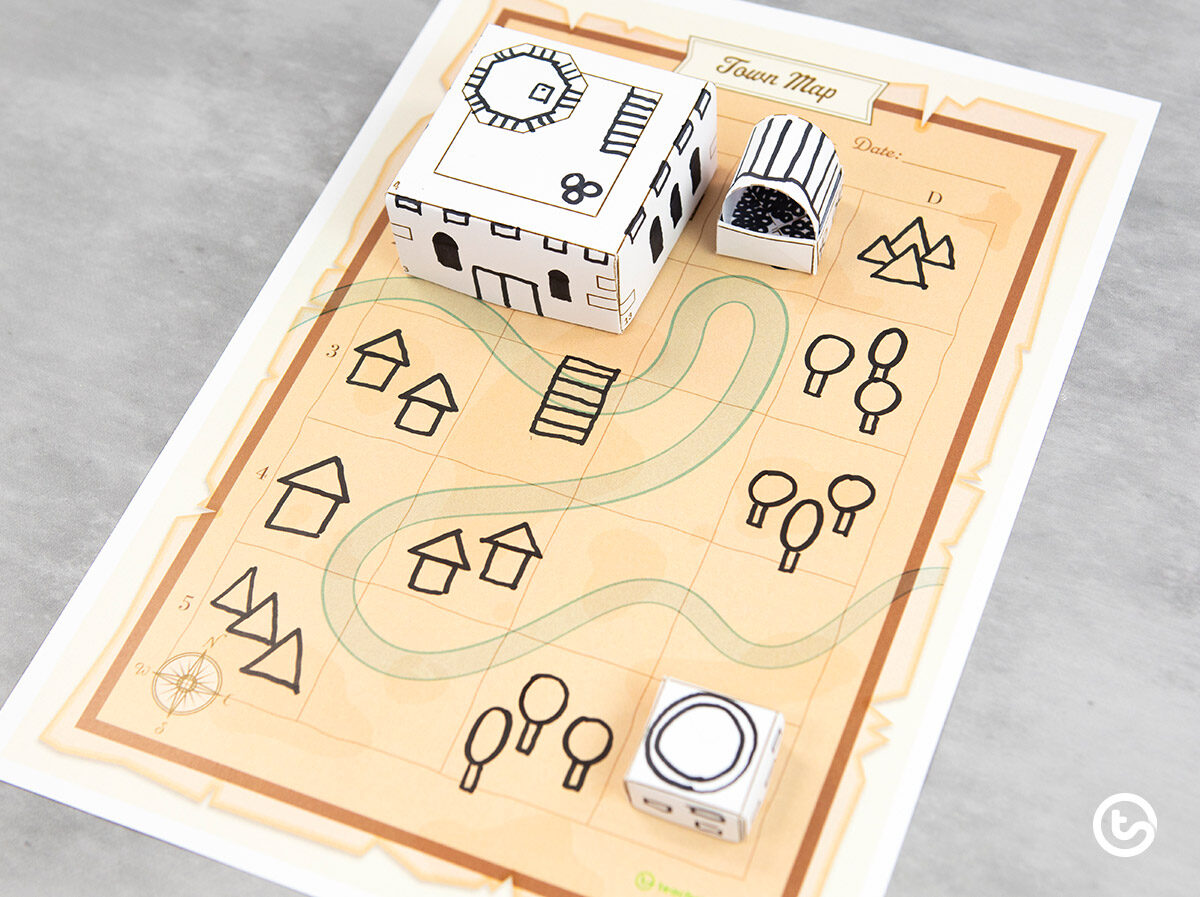
Once in a while, a teaching resource comes along that has all of the #learninggoodness a teacher can imagine! A resource that crosses off multiple curriculum codes, can easily be differentiated and will most certainly make your classroom buzz with excitement. The resource featured in this blog is all of that and more. An interactive and evolving resource where students draw 2D shapes incrementally to create a town map with 3D models. During this activity, students demonstrate their ability to draw 2D shapes, interpret simple grid maps and make models of 3D objects.
Introducing the Draw a Town with 2D Shapes geometry activity…
As featured in our Shape Seekers Unit Plan, suitable for Year 2 and Year 3 students.
Geometry Activity for Kids
One of our superstar Resource Producers Tom, and talented Illustrator Boaz, have come together to create the ultimate shape activity for kids!
The download for this resource includes:
- A Town Map with simple grids.
- Simple instruction cards for students to draw 2D shapes on the Town Map.
- 3D nets to build 3D objects to be included for the Town Features.
- Additional instruction cards for students to draw 2D shapes on the Town Features.
2D Shapes Are Our Base
To begin with, students will use the Town Map instruction cards (brown flashcards) to reveal different 2D shapes that need to be drawn at specific locations on the map. Coordinates are used as part of the instructions so that students can find the correct location to draw the different shapes. Hence, students will be showing their understanding of 2D shapes and simple grid maps in this step.
Let’s Make 3D Object Models
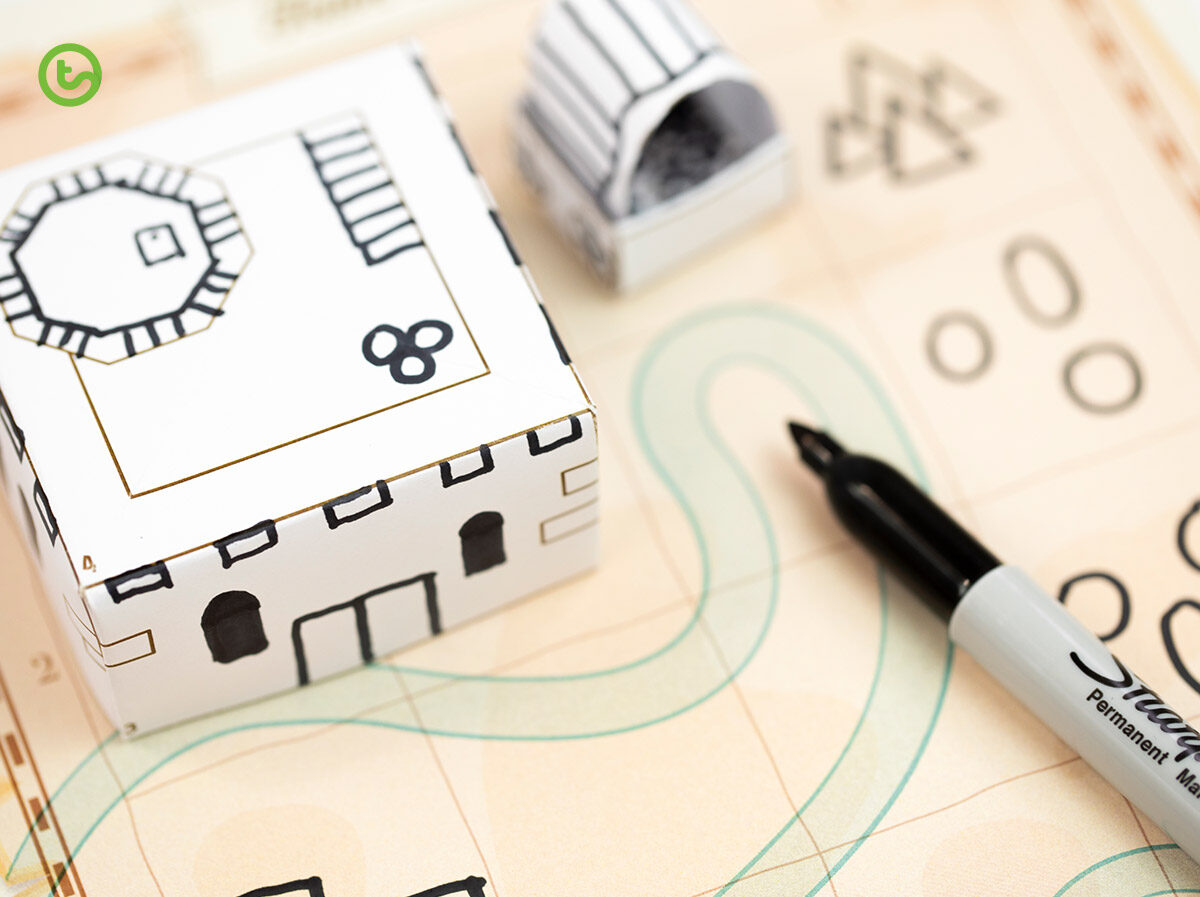
Now, the students get to add 2D features to what will end up being the 3D models on the town map! The Town Features cards (blue flashcards) instruct the students to gradually add shapes to the Town Features templates. Again, coordinates are used so that students can follow the instructions and draw the correct features in the correct location. But, they must be careful, some sections are not numbered, so they must use their problem-solving skills to determine the correct position.
Build It Up!
Once your students have finished the features, they can then use the Origami Box Step-By-Step Instructions to create the model of the castle, well and cart. These models can be placed on the Town Map to finish off the town map. Ta-dah!
More Shape Goodness
If you like what you see, definitely check out more from this unit plan!
[resource:4419008][resource:213539][resource:4417144][resource:4417169]





Comments