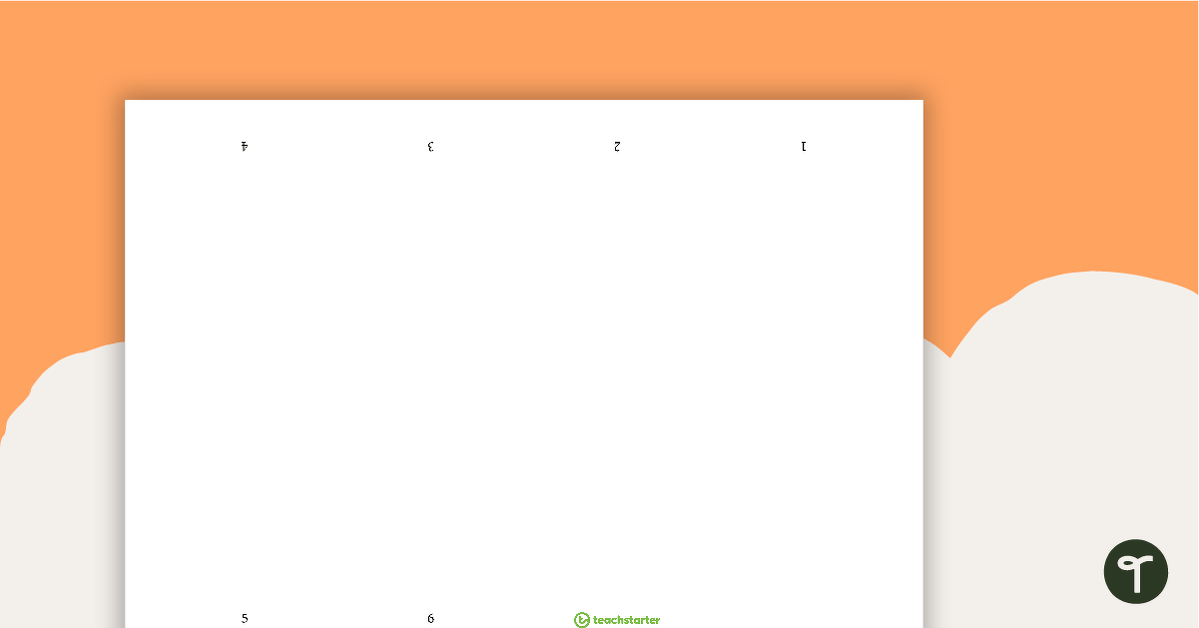
A blank A4 sized template to use when creating mini-books.
Use this teaching resource to create mini-books for hands-on creative writing or drawing activities.
The mini-book has a front cover, six pages and a back cover. You may like to enlarge the template to A3 size to create larger paper books.
To make the mini-books:
- Print and photocopy a template for each student.
- Ensure you print and photocopy the template at it’s “actual” size and do not reduce or enlarge it. This will ensure the page edges line up without trimming.
- Students write or draw on each numbered page of the mini-book template.
- Fold all of the lines on the page, including all of the horizontal lines and all of the vertical lines.
- Open the paper back out and fold in half along the middle vertical line.
- Cut the dotted line between pages 2, 3, 6 and 7.
- Fold the worksheet in half.
- Push pages together so that all the pages are on the outside. The cut section will open out in a diamond shape before folding in on itself to form the pages.
- Sort the pages, so that the blank title page is at the front and the Teach Starter logo is at the back, with the page numbers in order from 1 to 6, creating a little mini book.


0 Comments
Write a review to help other teachers and parents like yourself. If you'd like to request a change to this resource, or report an error, select the corresponding tab above.