Build a village of tiny Christmas huts with a printable ornament template.
Craft a Christmas Hut with A Paper Ornament Template
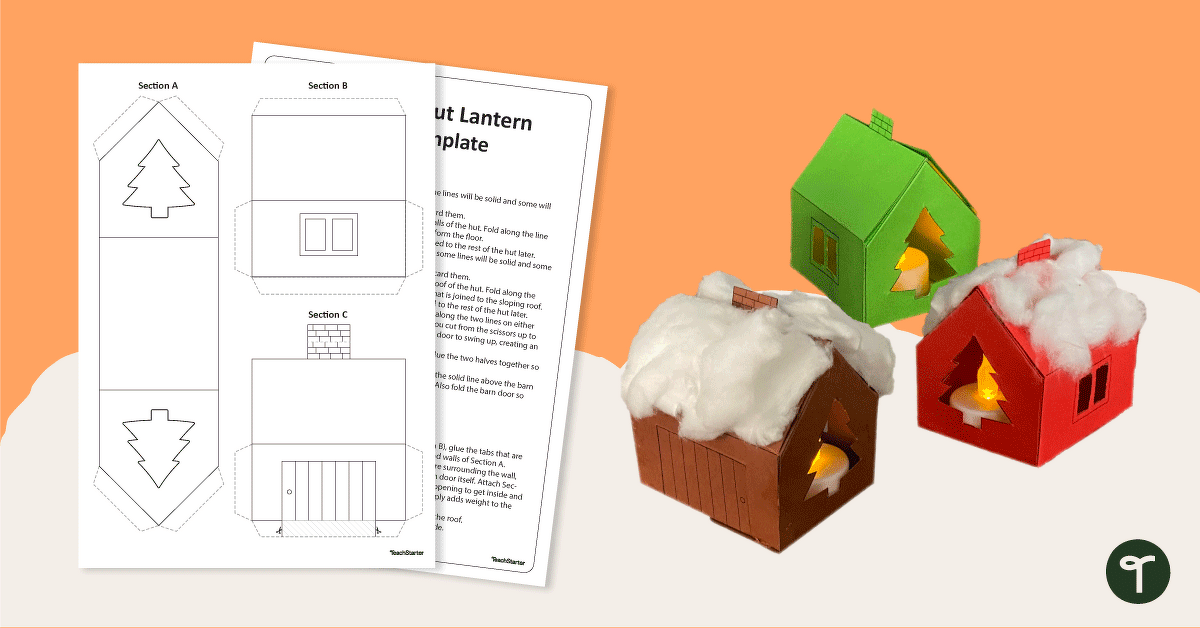
Looking for a craft activity that is a little different? This papercraft will be sure to light up your Christmas décor!
Add to the festive spirit of your holiday decorations by including this cute hut lantern in your display. With an LED tealight twinkling inside, the lantern will look fabulous on any mantle, tabletop, or desk!
To Make Each Lantern You Will Need:
- 1 template (best printed on coloured card)
- scissors
- glue
- 1 LED tealight
- (optional) – cottonwool to represent snow on the roof
How to Make the Christmas Cabin Paper Ornament
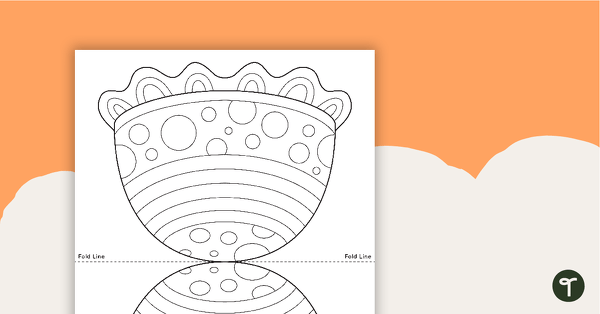
There are 3 pieces to the template:
- Section A (the floor and two end walls of the hut)
- Section B (one side wall and half the roof)
- Section C (the other side wall and other half of the roof.)
After cutting along the outer edges of the sections and folding back the tabs, the hut is ready to assemble.
Apply glue to the wall tabs and assemble. It is easiest to put the glue on and stick the walls on one at a time. After the walls are glued in place, apply glue to the roof tabs and assemble the roof.
Finally, punch a small hole in the top of your hut and thread in two ends of a piece of twine or wool. Pull the ends through the largest opening and tie a knot. You’re almost done with an adorable paper Christmas ornament!
The most exciting step in making this resource is the final one: turn on the tea light, open the door, and place it inside!
More detailed instructions are included in the download.
Why not make a whole bunch of these printable Christmas ornaments to make a truly awesome winter display? Your students can build their own sparkling village!



0 Comments
Write a review to help other teachers and parents like yourself. If you'd like to request a change to this resource, or report an error, select the corresponding tab above.