Document whether objects are magnetic or non-magnetic with this nifty science worksheet.
Explore Magnetic Properties
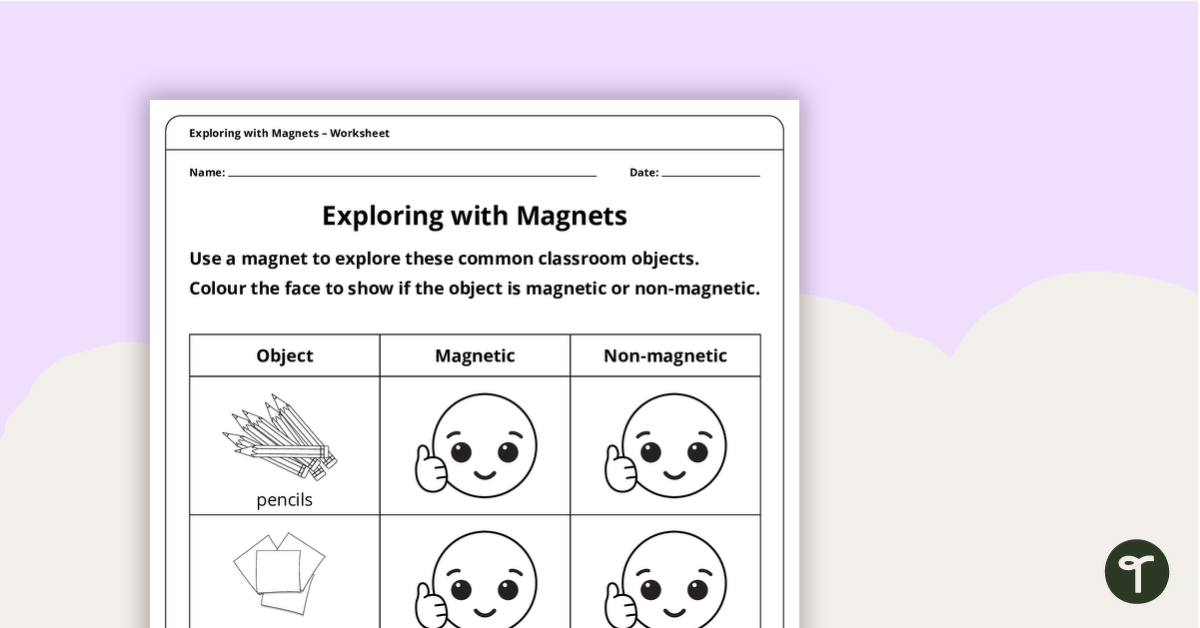
Students use a magnet to test whether typical classroom objects are magnetic or non-magnetic.
The objects that students will test include:
- pencils
- scrap paper
- ruler
- scissors
- paper clips
- pencil case
- glue stick
- eraser.
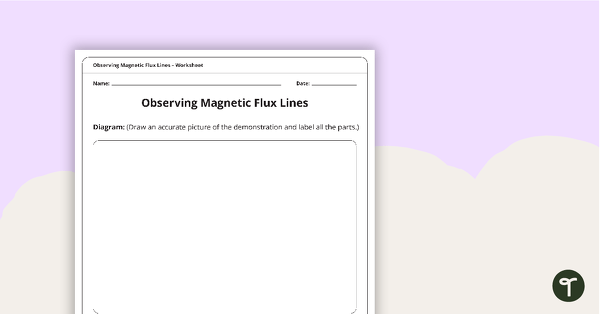
The third page tasks students with exploring what happens when magnets are placed together in different orientations. They will identify whether a push or pull force is being observed.
Scaffolding & Extension Tips
In addition to individual student work time, use this worksheet as a:
- lesson exit ticket
- whole-class review (via smartboard)
Challenge fast-finishers to find additional objects around the classroom and determine their magnetic properties. They can document their findings on the back of the third page. Also ask students to identify the common materials/properites of those objects that are magnetic.
For students who need extra support, provide them with word wall cards for help when writing the answers on the third page. Include words such as, push, pull, attract, repel.
Easily Download & Print
Use the dropdown icon on the Download button to choose between the PDF or Google Slides version of this resource.
To save paper, we suggest printing this 3-page worksheet double-sided.
Turn this teaching resource into a sustainable activity by printing on thick card and slipping it into a write-and-wipe sleeve. Students can record their answers with a whiteboard marker, then erase and reuse.
Additionally, project the worksheet onto a screen and work through it as a class by having students record their answers in their notebooks.
Get more handy worksheets here!
Don’t stop there! We’ve got more activities to shorten your lesson planning time:
[resource:3493146] [resource:2702686]



0 Comments
Write a review to help other teachers and parents like yourself. If you'd like to request a change to this resource, or report an error, select the corresponding tab above.