How many times do you walk backward and forwards to your desk, or the whiteboard, or around in circles looking for that stash of sticky notes? Imagine a cute little teacher utility apron that could hold all of those important items you need at the tip of your fingers as a classroom teacher.
Here is one of the cheapest and easiest ways to create this gorgeous teaching accessory!
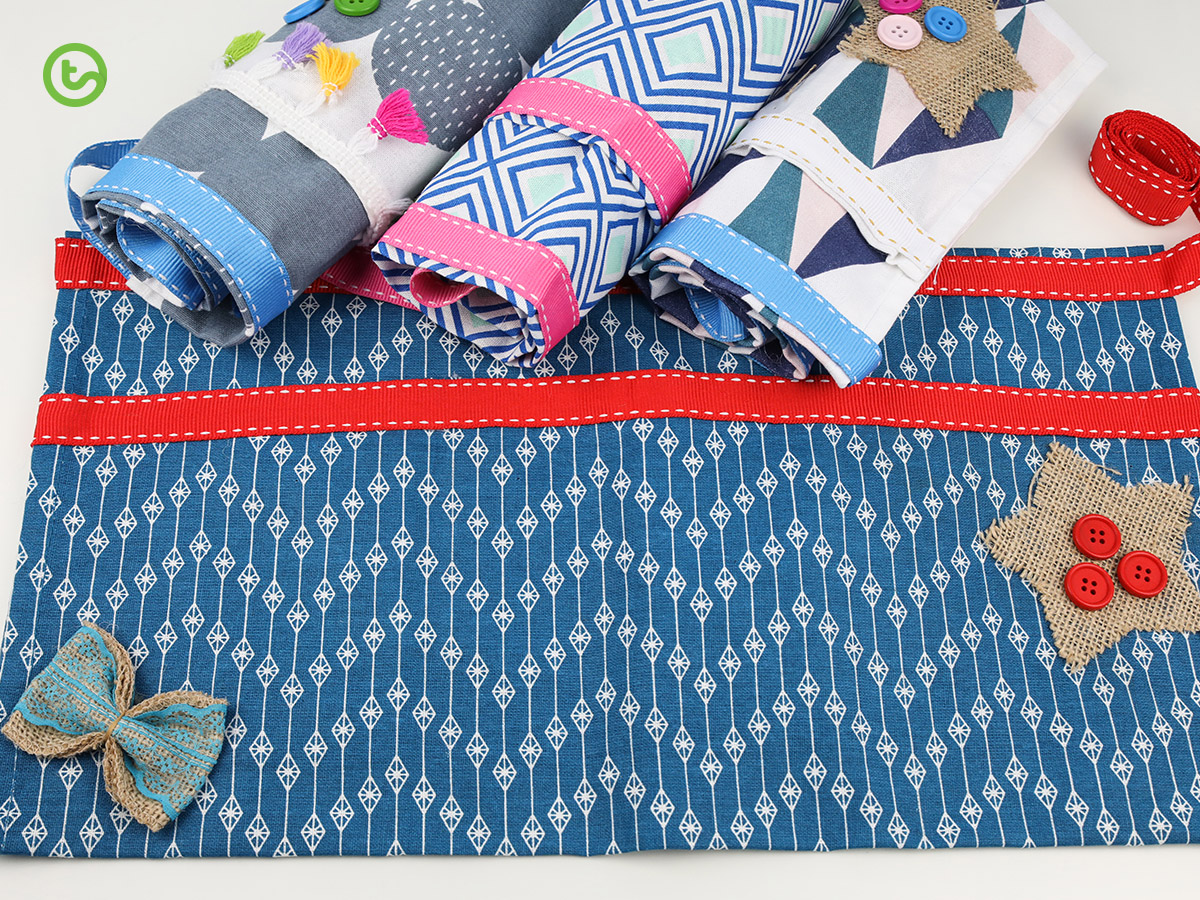
No-Sew Teacher Utility Apron Instructions
Materials you’ll need to make your apron:
- colorful dish towel
- double-sided sewing tape
- hot glue gun
- ribbon (avoid slippery satin ribbons – I used grosgrain ribbon)
- cute buttons or accessories.

Step One
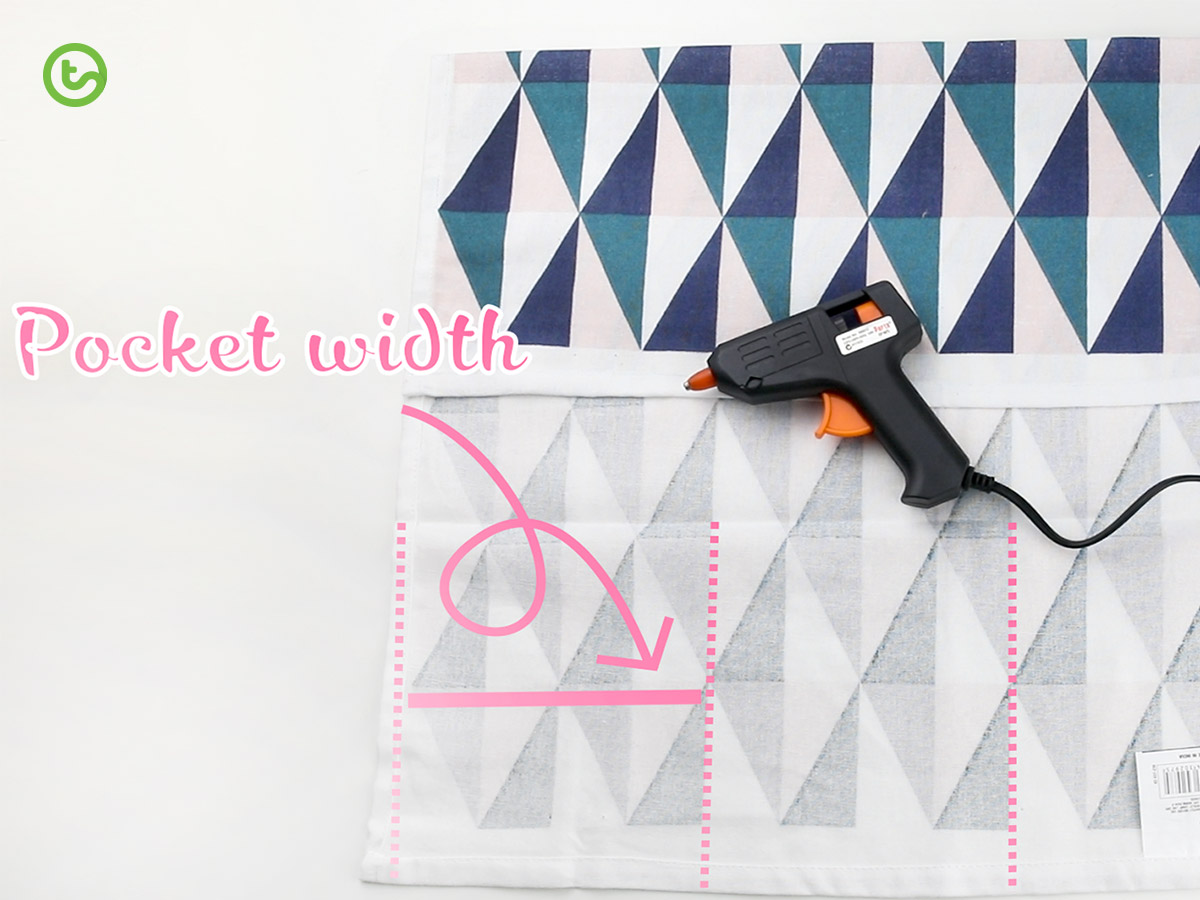
Depending on the size of your dish towel, work out how big you want the pockets of your apron.
Then, fold the top bit of the apron down and the bottom bit up as much as you want. Once you are happy with the size of each section, iron the creases in.
Step Two
Use double-sided sewing tape to stick the top bit of the apron down.
Now for the pockets. With the bit that folds up from the bottom, use the hot glue gun along the left-hand side and fold it up to sit exactly along the edge of the part you just folded down.
Press firmly to stick this edge together. Next, squeeze a line of the hot glue out along the next line and stick that up firmly to create the first pocket.
Continue along until you have three pockets.
Step Three
Finally, use the hot glue gun to glue some ribbon along the top of your apron. This will be used to tie the apron on around your waist!
You can then decorate your apron as you wish. I glued some more ribbon along the edge of the pockets also!
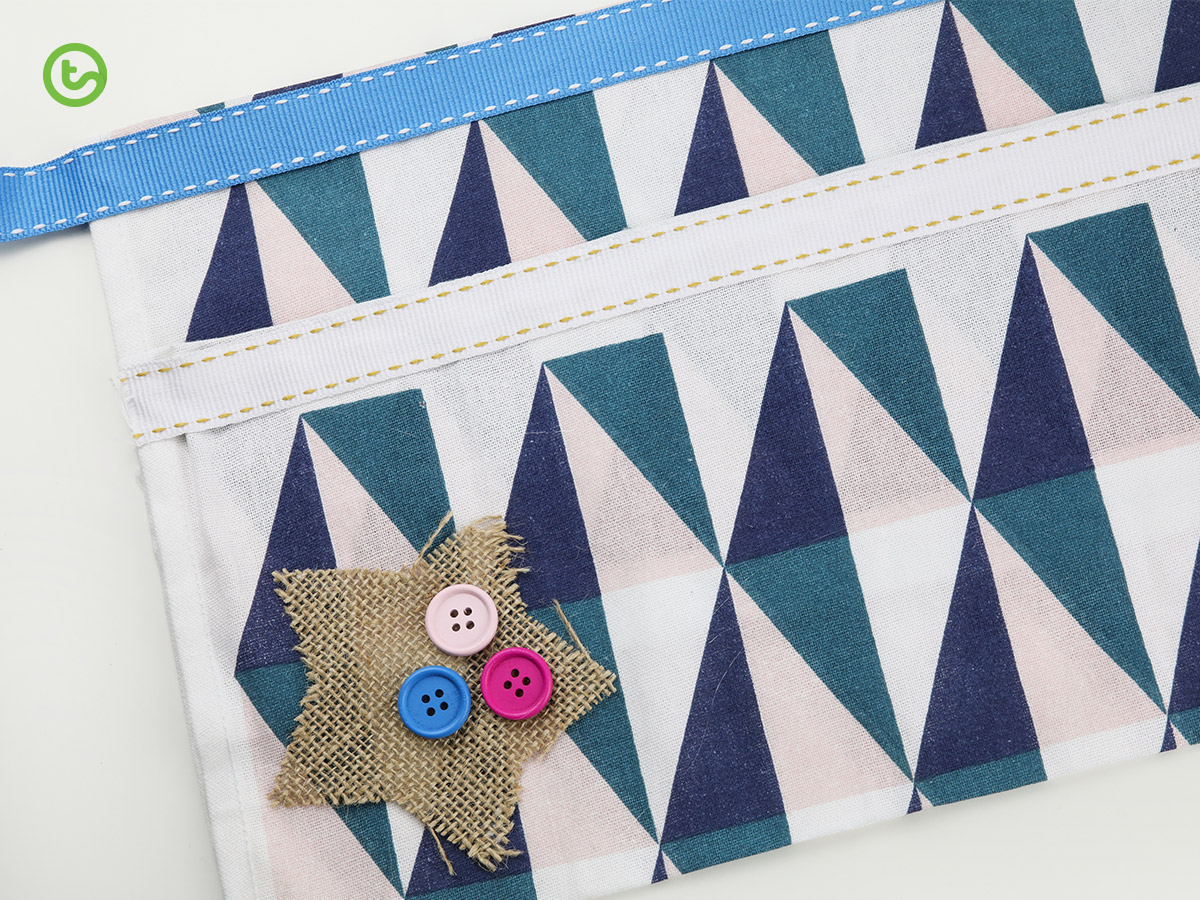
And that’s it! So simple and easy.



Comments