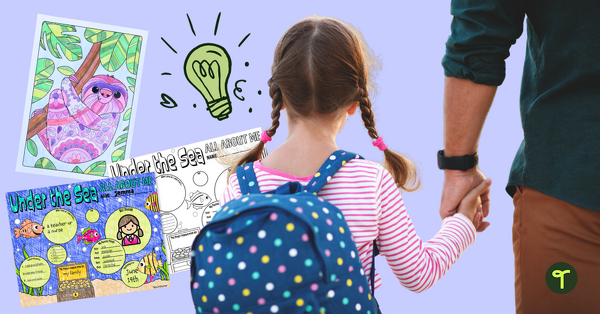
Looking to end the school year on a positive note with fun last-day-of-school activities? If you have photos of your students hanging around, we’ve got the perfect activity for you! Get ready to DIY photo cubes with the help of the teacher team here at Teach Starter.
The beauty of this last day of school activity is you can use a variety of images for this — it could be photos of them with their friends, or perhaps it’s photos of special celebrations they’ve had as a class. Not enough photos? Don’t worry! Have your class brainstorm special words or even use positive affirmations (print the cards of affirmations for students here!). The sky’s the limit.
What you need to make a DIY photo cube:
- 8 wooden blocks (available at the dollar store or local craft store)
- Scissors
- Glue
- Washi tape
- 6 photos
- Utility knife
How to make a DIY photo cube:
The video above is great to explain how to do each of these steps, pausing as you go, but we’ve also put together some additional hints and tips for each of the steps featured in the video.
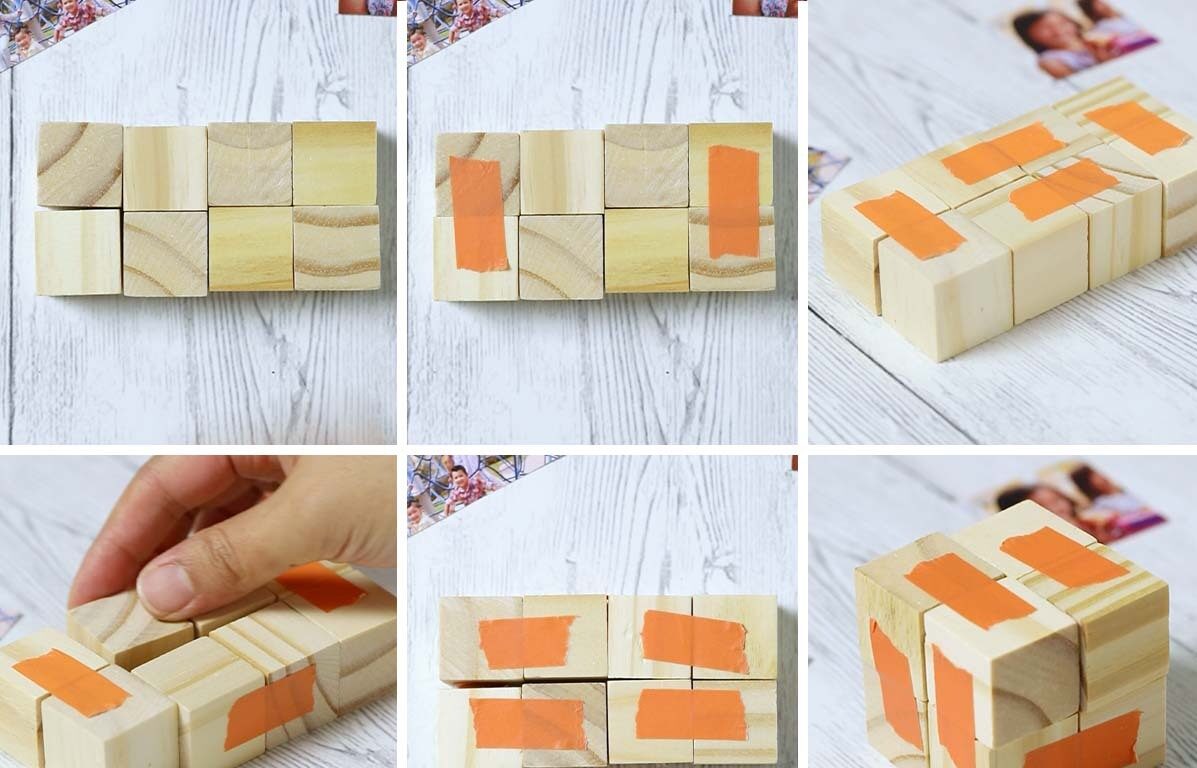
- Create the actual moving block. Using all 8 wooden blocks and some washi tape follow the video or the photos below.
- Find 6 photos of some great memories throughout the year, they could be of the individual student or the whole class. If you don’t have enough, you could include some positive messages or affirmations on some sides of the moving block as a mental health boost.
- Measure how big each photo needs to be, and cut up the photos to the correct size. Another way to do this is to just cut the photo, stick it on the side of the moving block you want it to be seen on, and then use a utility knife to then cut in between each of the mini blocks.
- Glue each of the little squares onto the mini blocks. We just used a gluestick and it worked fine!


Comments