Let’s face it: The letter formation aspect of handwriting can be tricky for kids. And as more and more time is spent on gadgets and computers, it’s more important than ever that kids have a good grasp on penmanship, pencil grasp, and the other aspects of letter formation early on.
A digital future aside, studies have found that printing, cursive writing, and typing on a keyboard are all linked to distinct and separate brain patterns in elementary students. When kids in one study were asked to come up with ideas for a composition, the kids with better handwriting showed greater neural activity in the areas associated with working memory.
Letter formation and teaching letter formation? They matter.
Of course, that’s all easy to say. But if you’re teaching letter formation, you want to make it fun, right? We’ve put together letter formation activities that do just that — plus some tips on how to teach letter formation.
What Is Letter Formation?
If you’ve been taught (or always thought) that letter formation is just about forming a letter so it “looks right,” well, we’re sorry to tell you that’s not quite it. Letter formation is actually about several pieces of how a child (or adult for that matter) places and moves their pencil when writing a letter. Letter formation includes:
- Placement of the pencil at the start of forming the letter.
- Moving the pencil in the right direction to make the different parts of a letter.
- Where you place the letter itself in relation to other letters, lines on the page, etc.
How to Teach Letter Formation
Teaching letter formation is best done in steps, and it shouldn’t be rushed! You want to remember to focus on those fine motor skills that can make it possible for children to properly hold a pencil and make the strokes to form letters.
We recommend starting off with a variety of surfaces for letter formation before jumping straight into handwriting worksheets (which have their place — that’s why we make them!), and starting by teaching letters that are made up of the same strokes rather than going in alphabetical order.
Starting with uppercase letters first is a great way to teach letter formation because all uppercase letters start at the top line and go to the bottom line. Think of it as dipping a toe in the letter formation waters before you move on to lowercase letters!
Fun Letter Formation Activities
These activities are best suited to children who are familiar with letters and the concept of print. With a focus on the lowercase letter to begin with, the idea is that these letter formation activities will consolidate children’s concept of how to form each of the letters of the alphabet.
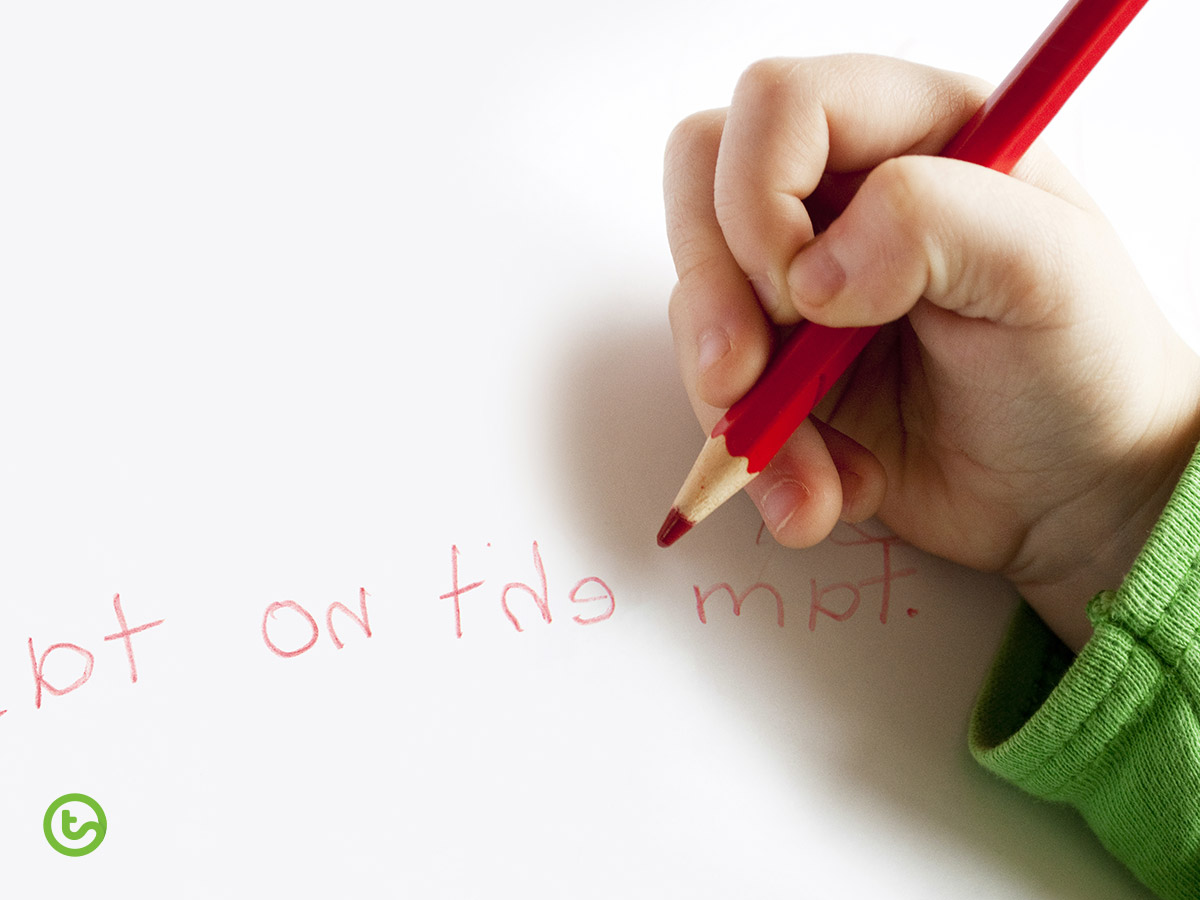
They are also perfect activities to help students who may be reversing their letters. For more information about why students may reverse their letters check out Why Students Reverse Letters | A Guide for Teachers (Mirror Writing).
pticelov / Shutterstock.com
Fun Ways to Teach Letter Formation
By providing your students with a variety of opportunities to practice their letter formations, you will be setting them up for success. The activities mentioned below have been tried and tested by little hands themselves and have received a thumbs up of approval for ‘messy’ fun that earned lots of giggles!
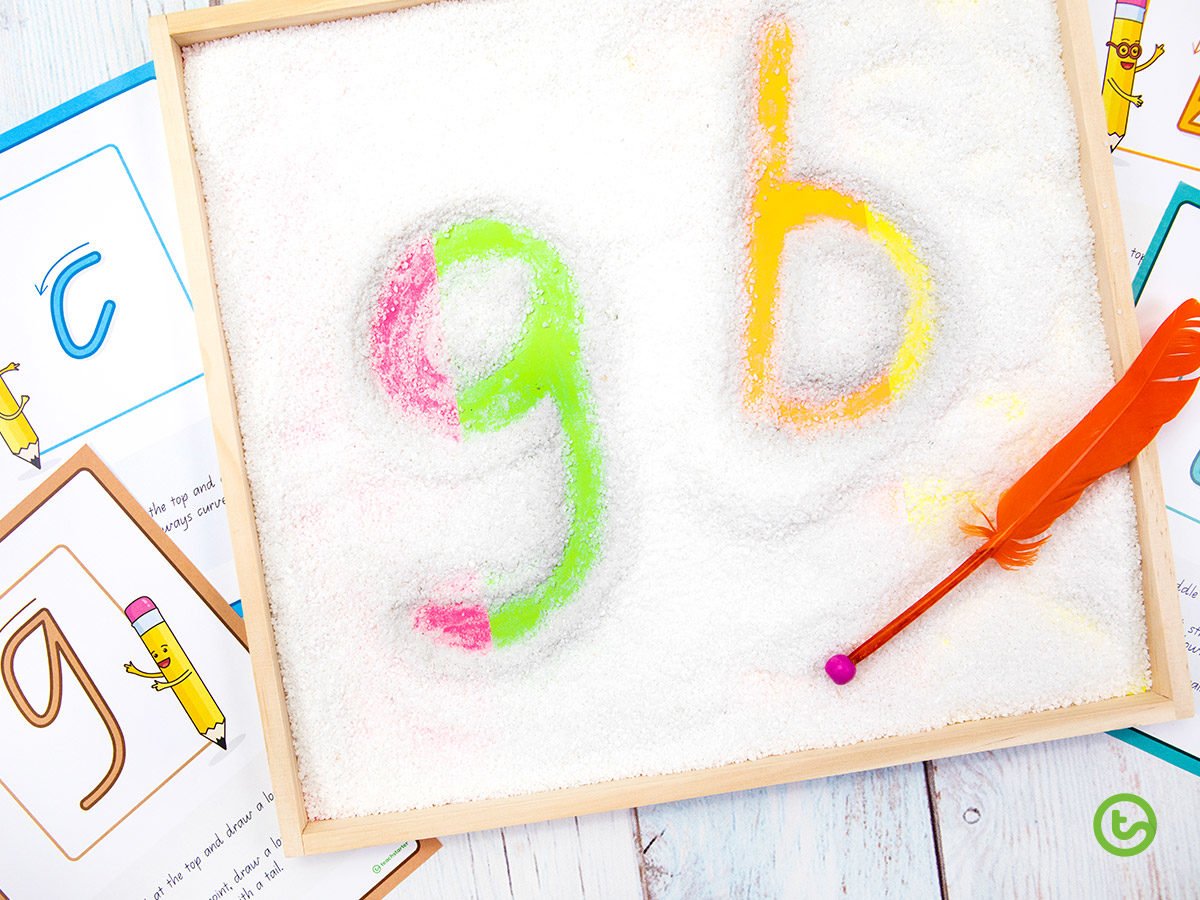
Craft Sand Tray Activity for Letter Formation
This sensory letter formation activity has an added element of vibrancy with the colored paper stuck to the tray before the craft sand was poured in!
What you need to create this letter formation activity tray:
- wooden tray
- bright colored paper
- scissors
- glue
- craft feather (optional)
- plastic bead (option)
- craft sand (white or colored).
Can’t find a wooden tray like this one? You can also use a baking sheet or anything that has sides to create the same activity — repurpose things that you already have!
Line your tray with the brightly colored paper (cut to size). Fill with the white sand.
If you opted for the craft feather and bead, you can pop the bead on the end of the feather as a “pencil” for forming letters in the sand, but children can also use their fingers to form letters.
The fun of this letter formation activity comes in revealing the color beneath as they form their letters!
Playdough Letter Formation
There’s nothing more fun than playing with playdough when you’re a kid, is there? This letter formation is incredibly easy … and uses things you already have lying around.
Give your students playdough and have them roll out flat little “pancakes.” Give each student a handful of letter formation task cards, and have them practice writing their letters in the playdough with their finger for some great tactile feedback.
Shaving Cream Activity
Have you ever played with shaving cream? It’s strangely satisfying and kids love getting their hands messy! And as a plus, if you have them do it directly on top of their desks, it cleans the desk and also acts as a room deodorizer!
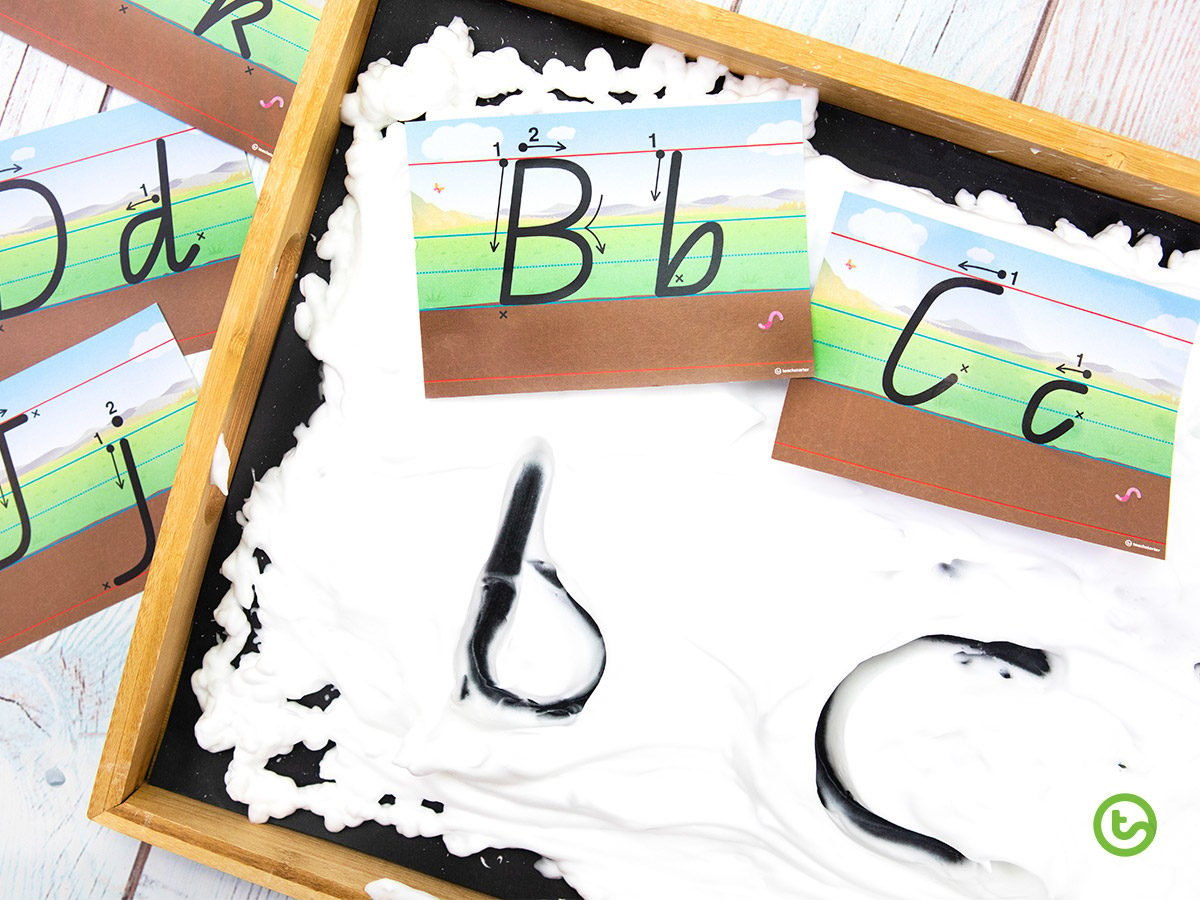
All you really need is a can of shaving cream and a desk or a tray to spray it on, and you’re done! You can hit the dollar store for shaving cream or buy in bulk.
Don’t have a tray? The shaving cream can also be sprayed on a desk for students to practice forming their letters in — it’s messy but fairly easy to clean off.
Once again, writing letters in the shaving cream provides great tactile feedback to help kids remember the proper way to form a letter.
Squishy Bags
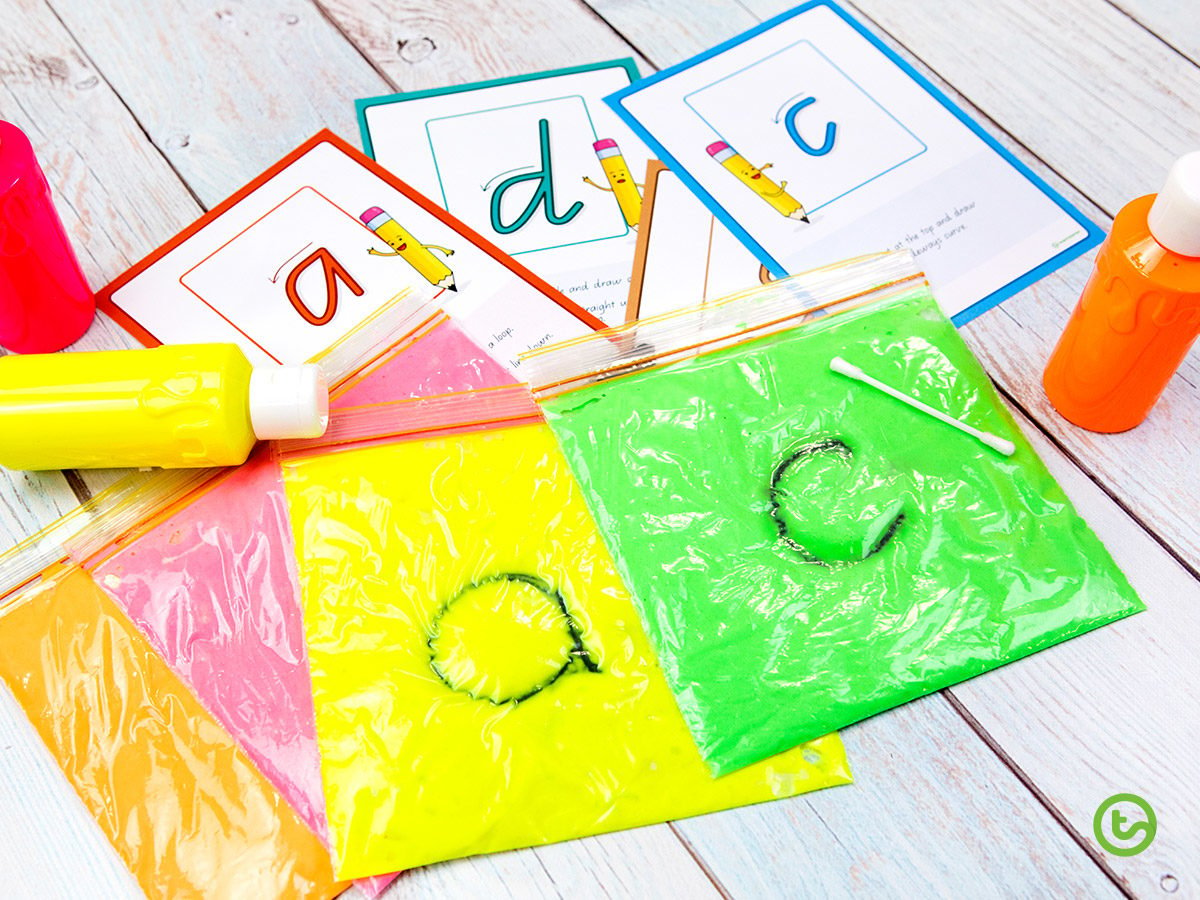
If you are looking for something with the same effect but a little less messy, squishy bags are for you! These can even be used for children who are at the prewriting stage to practice different shapes and develop their fine motor skills.
How to make squishy bags:
There are many different ways that you can create these squishy bags. We used a mixture of flour, water, and fluorescent paint (available at most craft stores) for ours, but you can also use colored hair gel from the dollar store to keep the costs of this letter formation activity low.
What you need:
- zip lock bags
- flour
- water
- paint
- heavy-duty packing tape or duct tape.
Steps
- Combine together 1/3 cup of flour and 1/4 cup of water and mix well.
- Add a few drops of colored paint or food coloring and mix.
- Spoon the mixture into a ziplock bag.
- Slowly flatten the mixture in the ziplock bag ensuring as much of the air is pushed out as possible before closing the top.
- Place heavy-duty packing tape, or duct tape, along the top to secure the opening.
If you have hair gel, you can simply fill the bags, flatten to move air out, and pack with stape at the end to secure the opening.
Mini Blackboard Letter Formation Activity
Kids love to write on small blackboards and whiteboards. Take advantage of this interest by getting them to practice their letter formations.
Give students blackboards (you can find small ones at Target or the dollar store), and allow them to use chalk to practice writing a letter, and then get them to use a paintbrush dipped in water to erase the letter again!
[resource:533864][resource:156804][resource:19776][resource:3525]
For more general alphabet activities, check out our blog, The Alphabet Activity You’ll Want to Get Your Hands On.


Comments