Did you hear that? We’re pretty sure we heard that you were looking for some new sounds experiments for kids to add to your teacher toolbox.
While most kids are pretty accustomed to the concept of sound itself — ahem, 0 voices, kiddos — teaching kids how the vibrations of objects translate into sound isn’t just a core part of the science curriculum. It’s also a means to connect kids in a very real way to the world around them. So how do you start teaching kids about sound? And what are some sound science experiments you can try in the classroom? Let’s dive in.
Sound Experiments for Kids
Let’s face it — teaching about sound is going to vary depending on the subjects you teach. If you teaching English, you may start with onomatopoeia, working with kids to add words like “pop” and “bang” to their writing to bring the richness of sound into their narratives. And if you’re a music teacher, you’re going to go straight for the instruments.
We can’t cover all the pretty cool ways out there for incorporating the teaching of sound into the classroom, but we can tell you some of the Teach Starter teacher team’s favorite sounds experiments for kids!
For each sound experiment, students can draw a hypothesis about what they think will happen using the scientific method (grab this free poster outlining the steps they’ll need to follow!), collect and record data, then interpret their results and draw conclusions!
Box & Rubber Band Guitar
Supplies:
- Small shoebox or gift box (no lid required)
- Rubber bands of different widths
- Ruler
The Experiment:
- Have students sort through the rubber bands and arrange them so they’re stretched across the box from thinnest to thickest.
- Have students pluck each rubber band one by one like a guitar and record their observations.
- Students can then add a ruler set on its edge like a bridge across the rubber bands and pluck the bands again, recording observations.
This simple sound experiment teaches kids about sound waves as they learn that the thinner rubber bands produce higher pitches and shorter sound waves! The addition of the ruler helps them to understand how a dampener works to affect pitch.
Screaming Balloons
Balloons are a staple of STEM for teaching kids about static energy, but this sound experiment puts these handy party supplies to use to discuss another kind of energy!
Supplies:
- 2 packages of large balloons (at least enough for each of your groups of students and a few spares in case a balloon is popped)
- Hex nuts, pennies, marbles, and other small objects
The Experiment:
- Have students place one of the small objects of their own choosing inside the balloon
- One student in the group should blow up the balloon about three-quarters of the way, and tie it off (they may need a bit of help with this)
- Students spin the balloon around in the air and record their observations
- Students then repeat the experiment with each of the small objects in different balloons.
Your students should make their own observations, but — spoiler alert — the hex nut will likely make a “screaming” noise as its six sides cause vibration across the balloon!
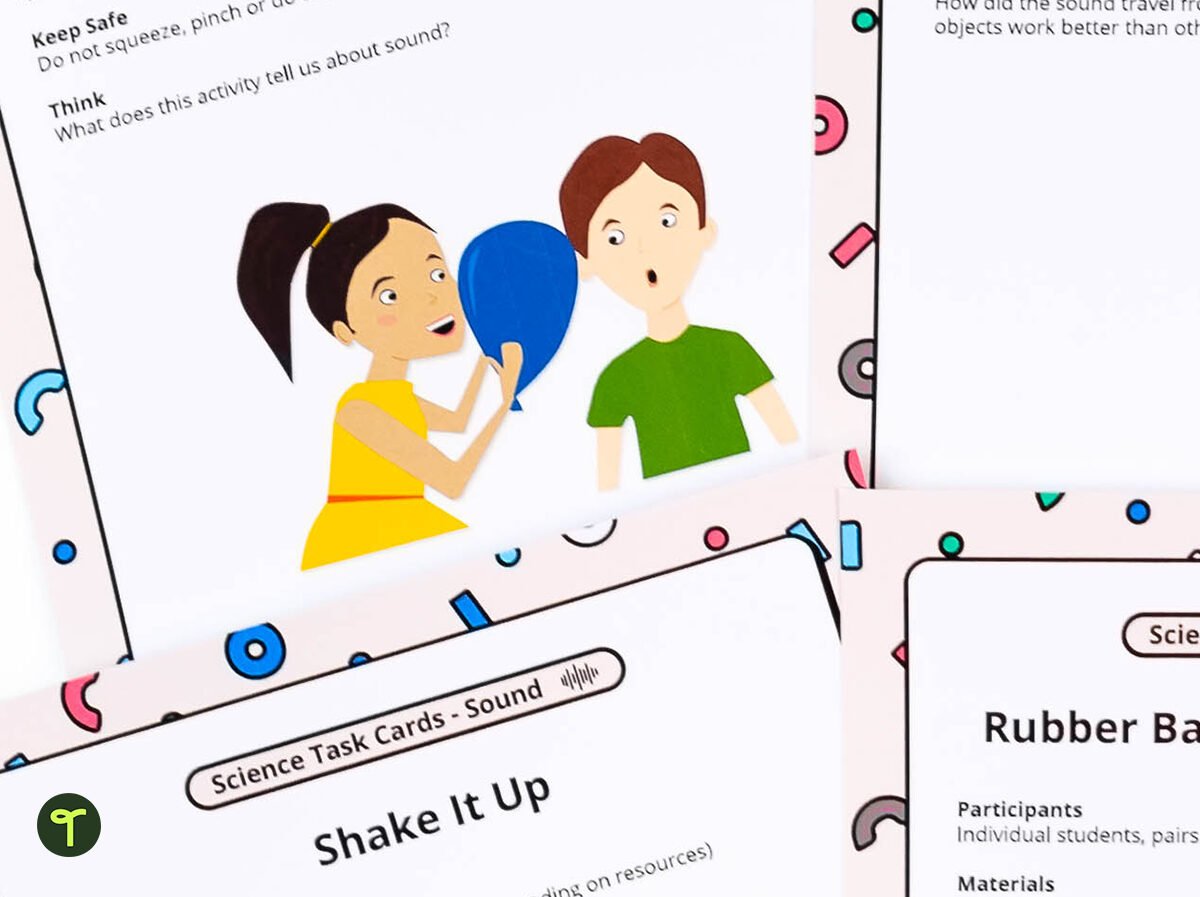
Have more balloon sound fun — download our sound science task cards for a buzzing balloons experiment and five more fun investigations.
Make Stick Harmonicas
Building their own instruments is a fun way to integrate project-based learning into your lessons, and making your own harmonica is a great way to learn more about sound waves.
Supplies:
- Scissors
- Plastic straws and paper straws
- Large popsicle sticks
- Wide rubber bands
- Smaller rubber bands
The Experiment:
- Cut 2 1-inch pieces off of the straw.
- Stretch your wide rubber band length-wise around a large popsicle stick.
- Place a straw piece under the rubber band, close to the edge on one end.
- Place a second popsicle stick directly on top of the one that’s already rubber banded.
- Secure the sticks together at each end using the small rubber bands.
- Place the second straw piece in the middle of your new “harmonica” right between the sticks on the opposite end from the other. (Note: This straw piece should sit above the wide rubber band instead of below it.)
Students “play” their new harmonica by blowing into the straw pieces. To experiment with pitch, they can move the straw pieces around their instrument.
If you have paper straws, kids can replace their plastic straw pieces with paper ones, making predictions about whether or not they think the different material will affect the sound and recording their observations.
Some questions to ask:
- How did moving the straw pieces affect the sound?
- How did the different straw materials affect the sound?
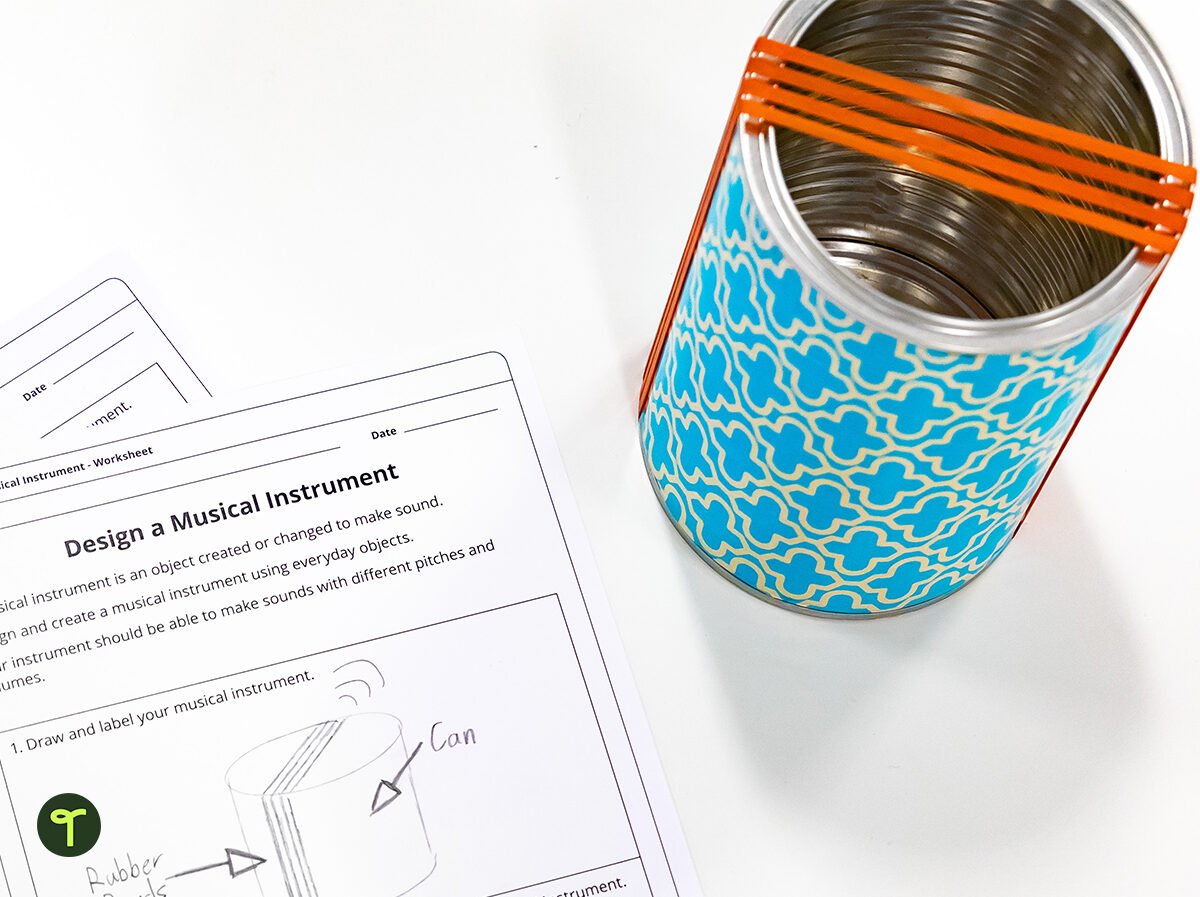
Bonus: Have your students design their own musical instruments and put them together — like this fun coffee can and rubber band contraption!
Looking for more resources to teach about sound?
Teach Starter collaborator and Texas teacher Heather Chambers created these fun science center activities for third through fifth graders to determine different types of energy, including sound energy!



Comments