Are you teaching your students about water in your science classes? It’s time to pull out the water activities for kids that will wow them … while also helping your students learn about density, salinity, mass, and a whole lot more.
The teachers on the Teach Starter team have put together some water experiments for kids that can easily be done in a classroom with little prep — and without a ton of expensive items to buy. These water science activities are also easy for kids to recreate at home if they want to show off their newfound knowledge.
Water Experiments for Kids
Let me add, it’s always a great idea to try these experiments at home before you do them with your class for the first time. Just to make sure you know any little tweaks that are needed to illustrate the concepts you are exploring!
Understanding the Effects of Water Temperature
Use this water experiment for kids to explore the concept of temperature and its effect on the speed that molecules move. This science experiment for kids will quickly illustrate how molecules move faster in hot temperatures and slower in cold temperatures.
You will need:
- 3 glasses
- Cold water
- Room temperature water
- Hot water
- Food dye
- Dropper
- 3 stopwatches (or phones)
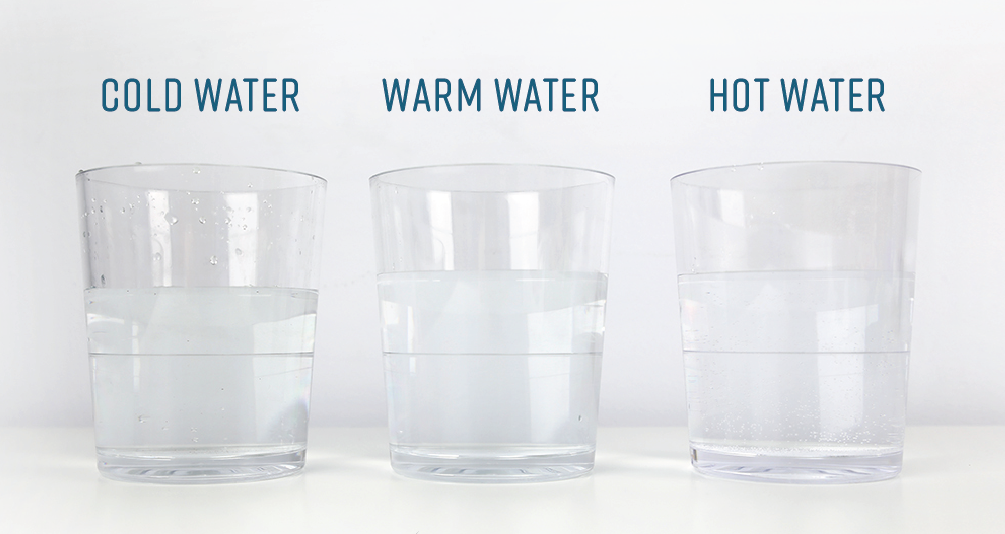
How to do this water science activity:
- Fill one glass with cold water, one with room temperature water, and one with hot water.
(It is best to prepare the cold water and room temperature water earlier. Leave one glass in the refrigerator for at least an hour prior to the experiment. Leave another glass sitting out for at least an hour too, as if the water in your pipes is a bit cold this will reduce the efficacy of the experiment.) - Place a stopwatch in front of each glass.
- Fill the dropper with food dye.
- Drop 2-3 drops of food dye in each of the glasses and observe how the food dye behaves in each different water temperature.
- Start the stopwatches when the food dye is dropped.
- Stop each watch as the food dye has mixed completely with the water.
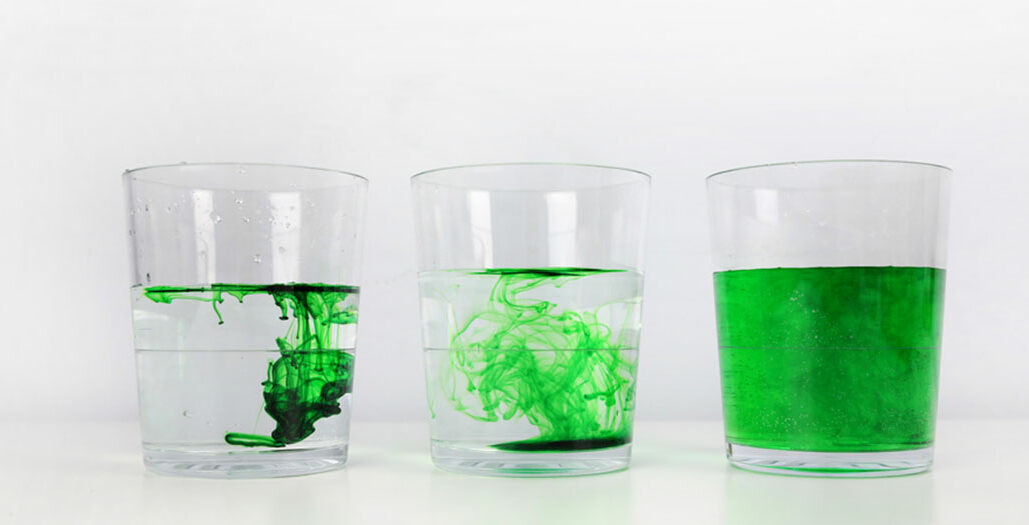
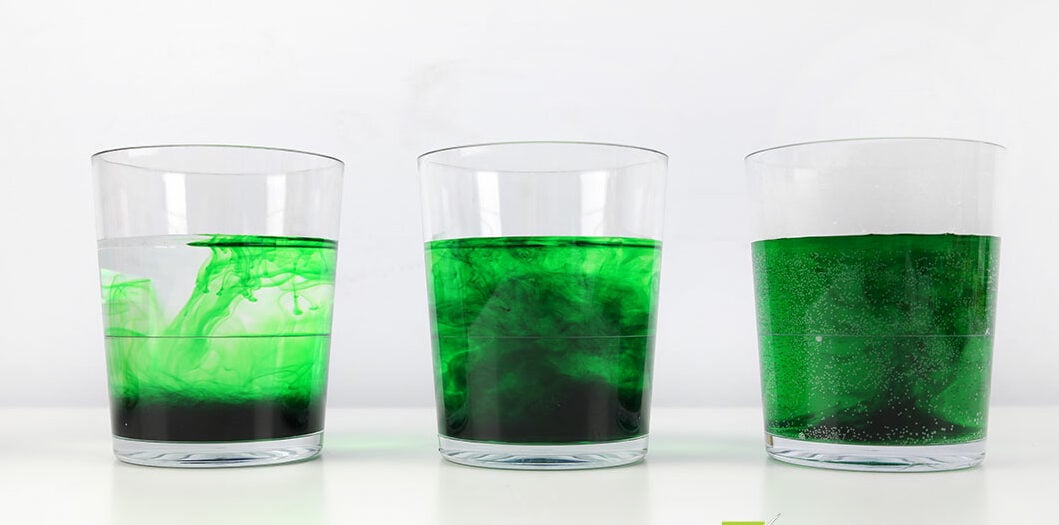
Your students will be able to see how the food dye mixes quickly with the hot water because the molecules are moving quickly. It takes longer to mix in the room temperature water as the molecules move slower, and in the cold water, the food dye will take the longest to mix as the molecules move at the slowest speed of all three samples.
Eventually, the food dye will mix through the water in all three glasses. Students can predict how long each will take and then record the final times on each of the stopwatches.
Salt Water Density Experiments
Use this experiment to introduce the concepts of density, mass, salinity, and buoyancy.
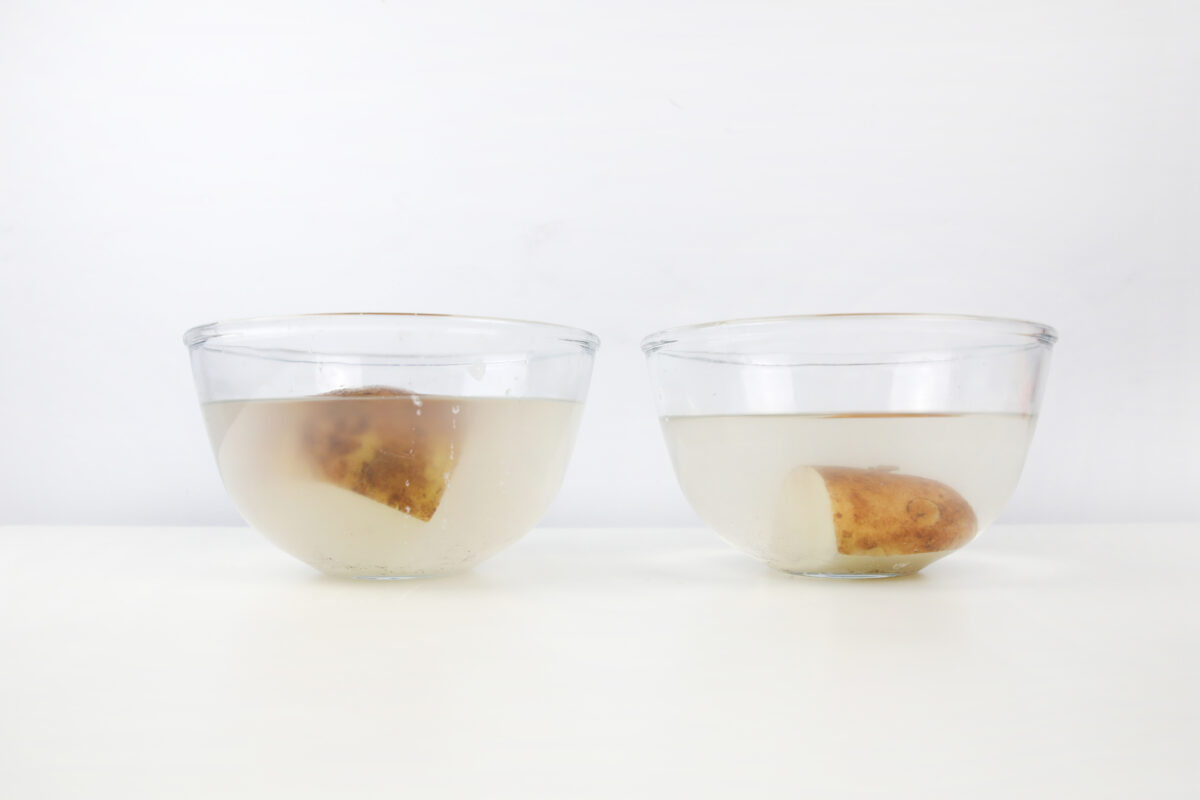
In this experiment, you and your students will use one bowl of fresh water and one bowl of salt water to explore how salinity affects the buoyancy of different foods. For example, what happens when you put eggs in a bowl of fresh water and a bowl of salt water?
To get started, download and print the Salt Water Density Experiment resource, and prepare the materials described.
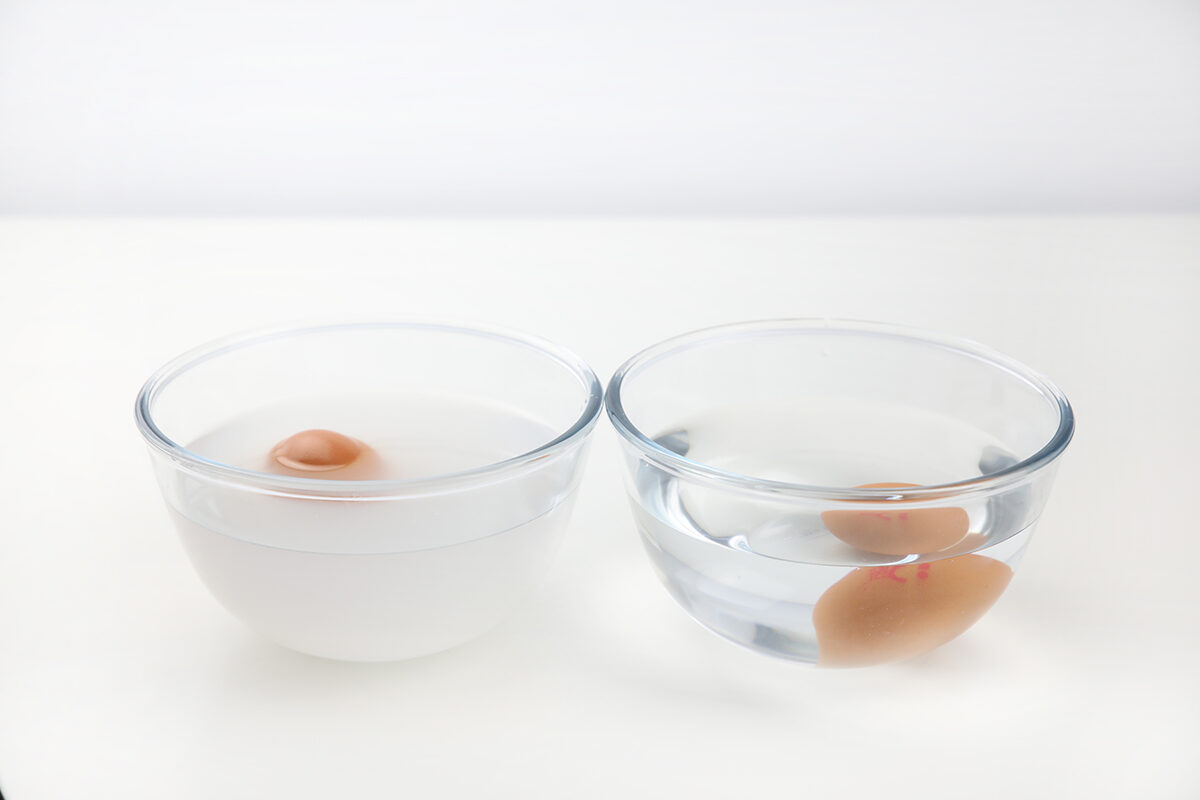
Challenge your students to guess whether they will have the same or different results if they try this same experiment using potatoes in place of the eggs.
This experiment also uses food dye to explore how liquid molecules behave differently in fresh water and saltwater.
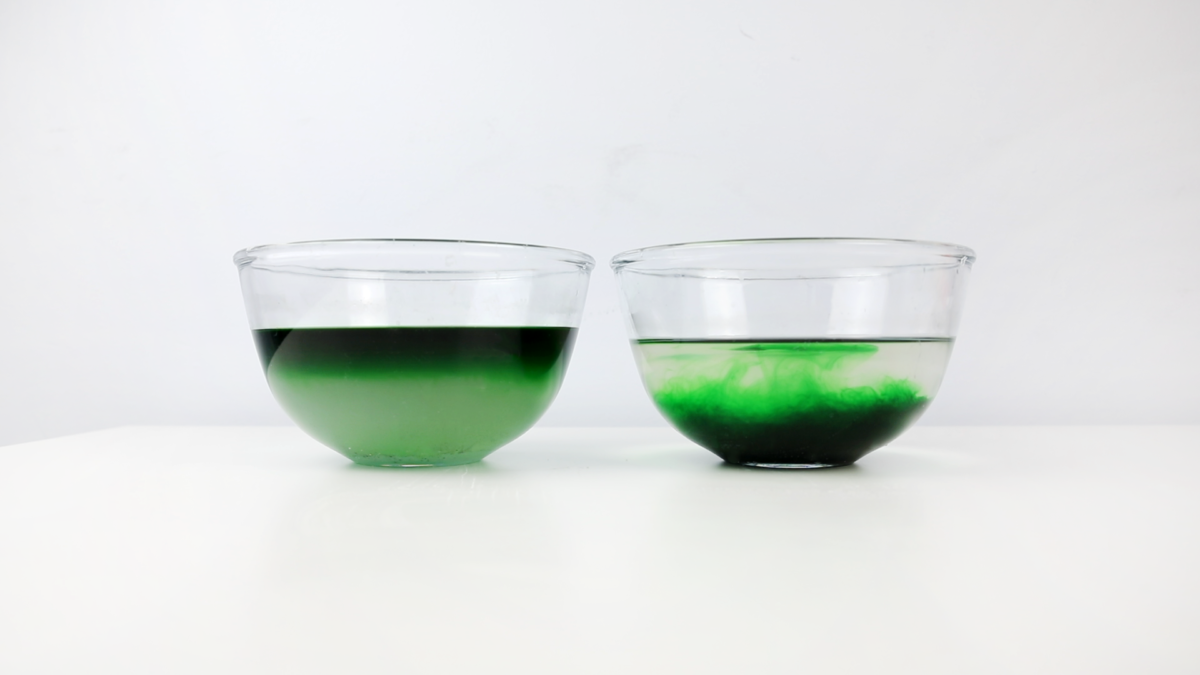
When your students understand how water behaves differently depending on its density, they can begin to understand more about topics such as:
- the effects of freshwater runoff from melted sea ice in the Antarctic
- how different parts of the ocean have different levels of salinity
- why objects that would normally sink (like people) can float in bodies of water with high salinity like the Dead Sea in the Middle East and the Great Salt Lake in the United States
- how salinity affects the different layers of the ocean and the types of marine life that can live in each layer.
Refraction of Light Science Activity
This water experiment for kids is incredibly simple to set up, and it will help your students better understand refraction, the change of direction of light waves, when they hit water.
All you need is:
- A Glass of water
- Paper
- Pen
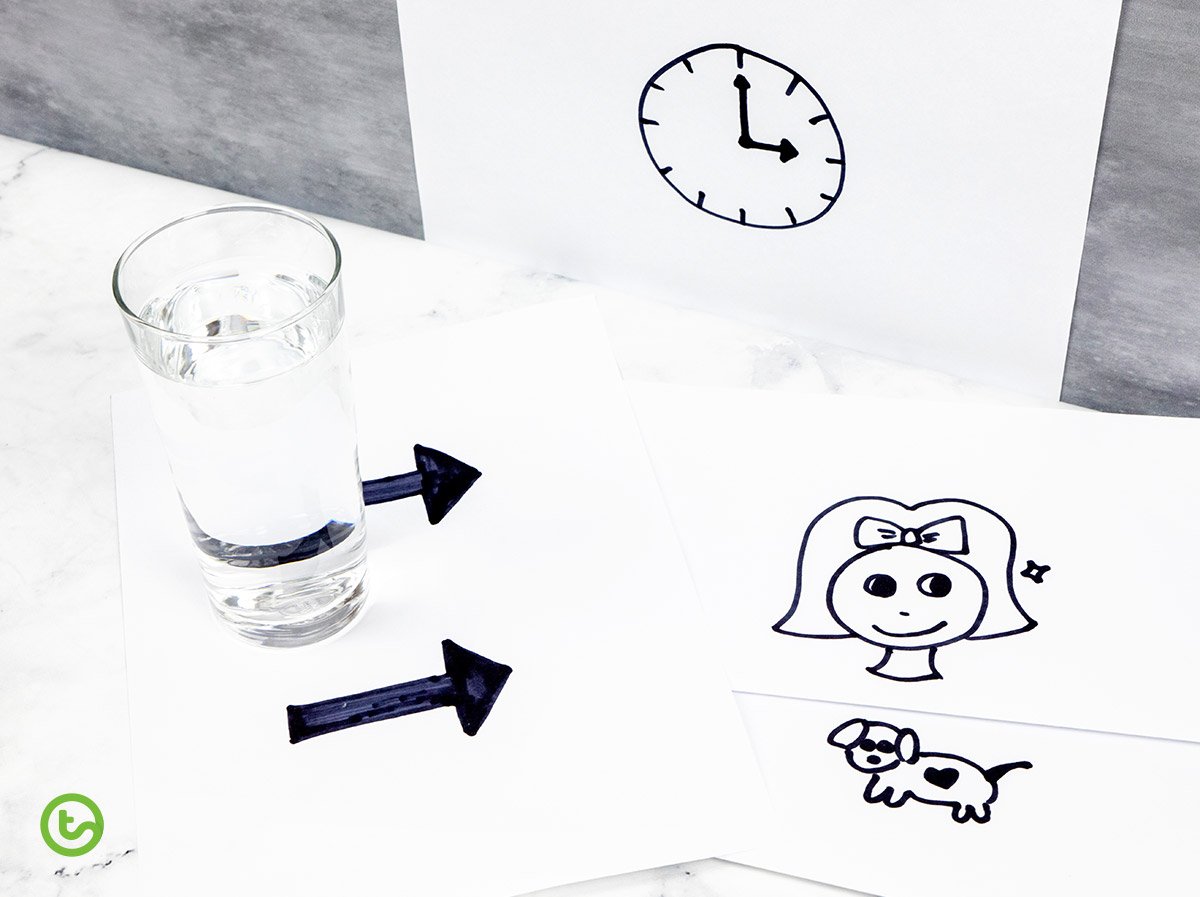
Draw something on a piece of paper. An arrow is a great visual to start this science activity as it is obvious what happens when you put the glass of water in front of the drawn arrow. But you don’t have to limit it to arrows. Get creative and draw anything you would like to see through the glass.
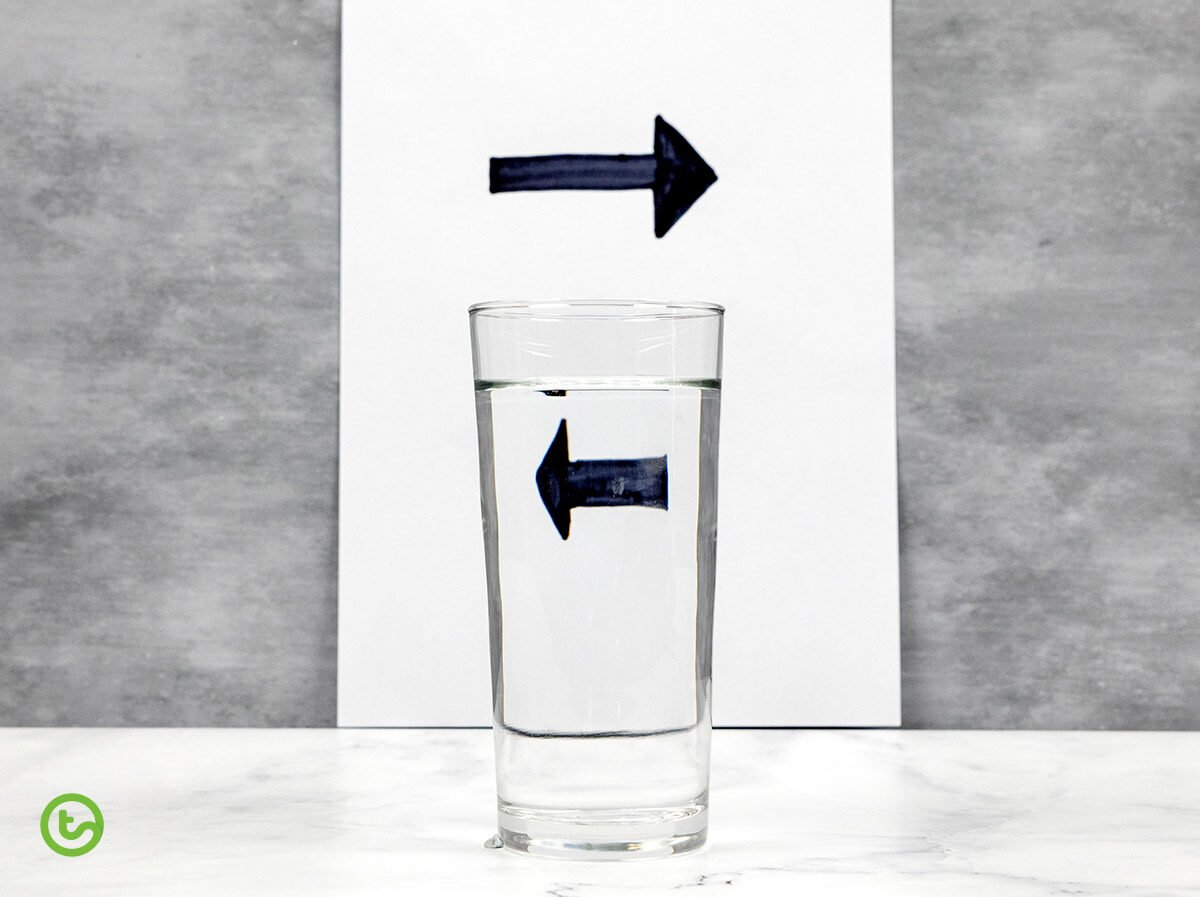
When the light is passing through the glass of water, it refracts or bends. The glass of water acts as a cylindrical convex lens and produces an inverted image.
Create a fair test by changing one variable. What happens if you change the size of the glass? Or what if you change the liquid variable? Does it change the result?
Teach your students more about reflection and refraction with these resources:
[resource:4701421][resource:2674282]
Create a Lava Lamp Science Activity
No need to head out to buy a lava lamp. You can make your own “lamp” with this fun water activity for kids that teaches about the changes of density as gas is added to or taken away from the water.
All you need is:
- Two glasses
- Vegetable oil
- Water
- Food coloring
- Alka-Seltzer tablets
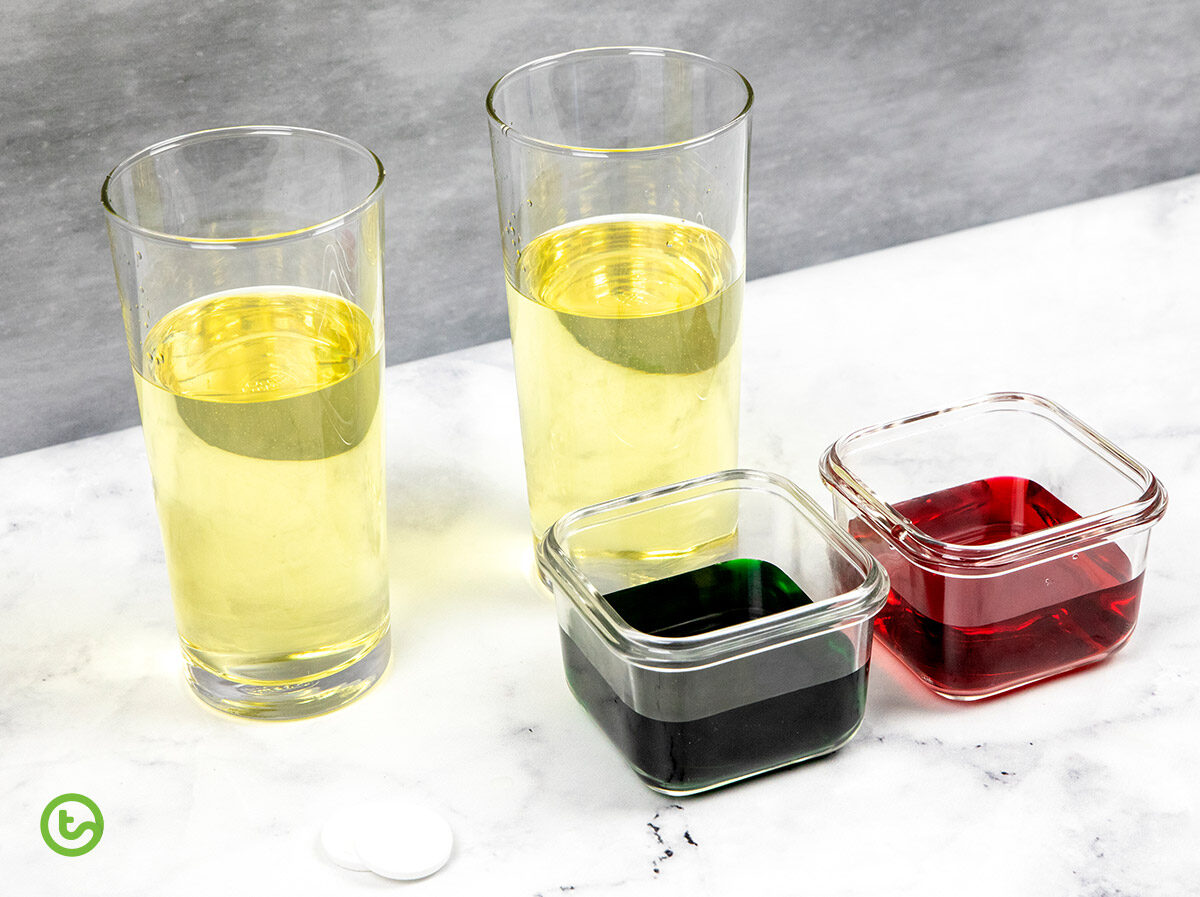
Firstly, mix half a cup of water with some drops of food coloring. You can make two different batches with different colors if you wish to make more than one lava lamp.
Then, fill a glass with vegetable oil (3/4 full). Pour some of the colored mixture into the oil, being careful not to fill the glass too much.
Add one Alka-Seltzer tablet, and watch the chemical reaction…
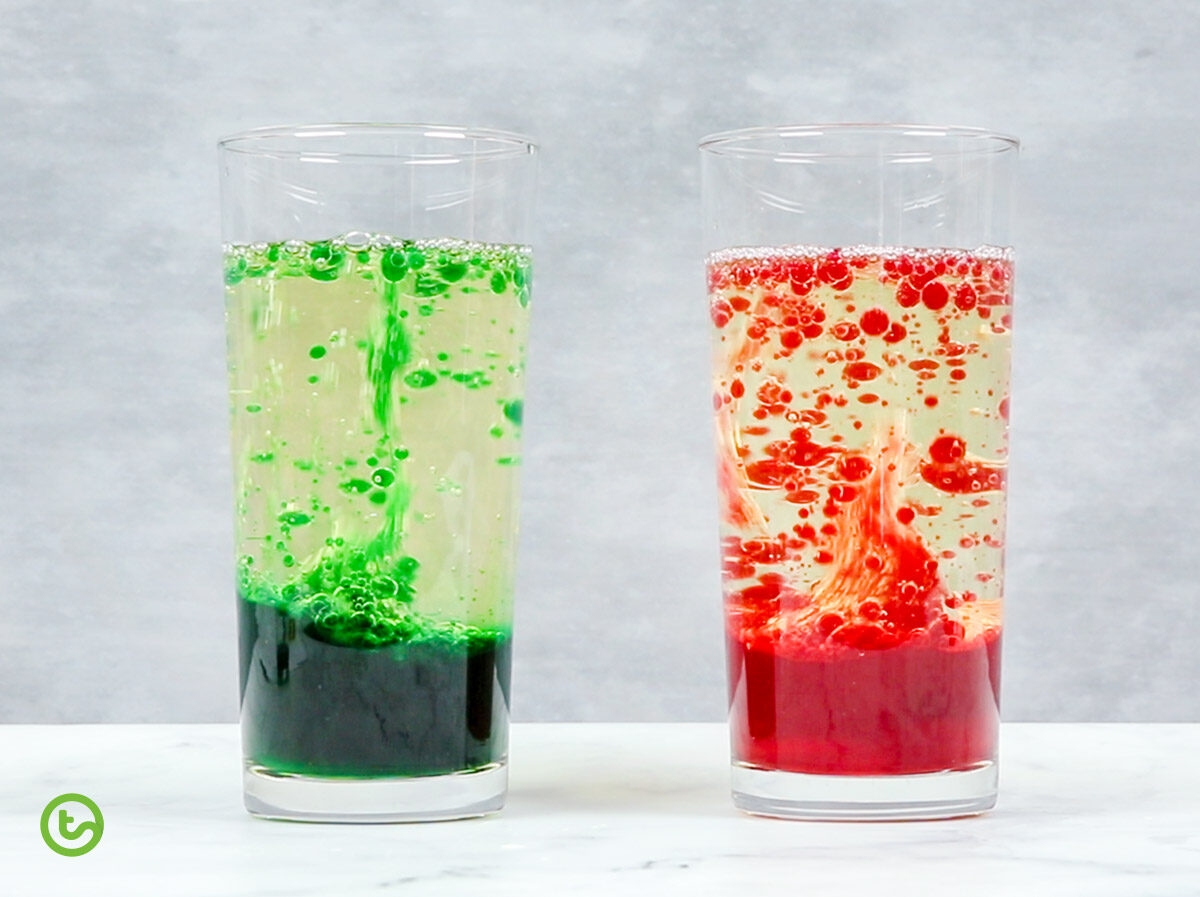
The Alka-seltzer tablets react with the water to produce carbon dioxide gas bubbles in this fun water activity! These stick to the water droplets. The water/gas combo is less dense than the oil, so they rise to the top of the glass!
Make this a fair test by changing the amount of Alka-seltzer added. In one glass you can add one tablet, another can have two tablets, and another can have three. What happens when you change up the water experiment?
For more water density fun, try these resources:
[resource:1872818][resource:640196][resource:4680428]
Moving Water Experiment
This water activity for kids explores water movement and helps kids understand capillary action. It does take a couple of hours for the results to finalize, so it’s best an experiment that you set and forget, checking back in throughout the day with your class. Perhaps take a picture every half hour to monitor your progress!
Aim: To investigate the movement of water when it has paper towel placed in it.
Equipment
- A measuring cup
- 4 pieces of paper towel
- Red, blue and yellow food dye
- 5 clear drinking cups/glasses (jars work well too!)
- water – enough to pour equal amounts into 3 of the cups
- 3 mixing spoons
Method
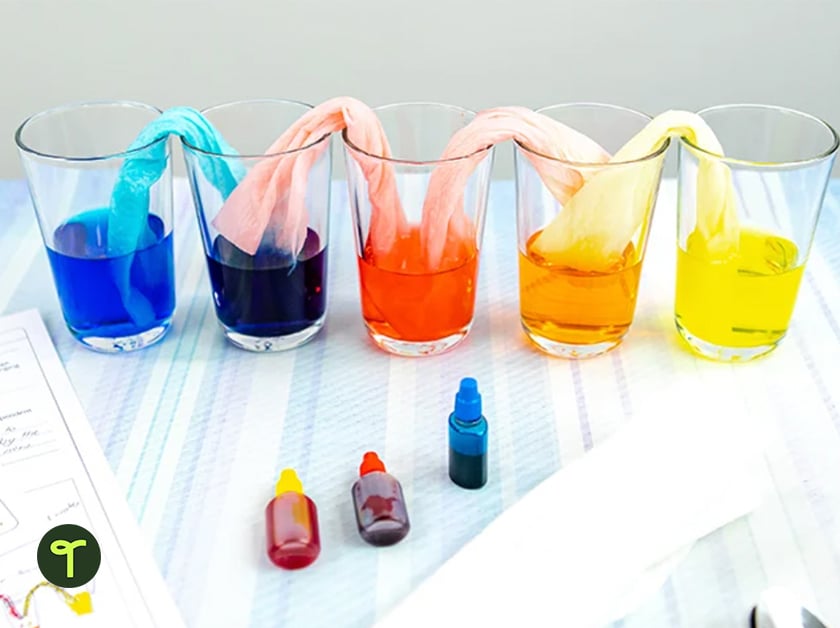
- Line up 5 cups. Fill cups number 1, 3, and 5 with equal amounts of water.
- Place equal drops of food dye into each cup of water – place blue into one cup, red into another, and yellow into the final cup. Mix each cup thoroughly with a new spoon to prevent cross-contamination.
- Place a scrunched piece of paper towel so that it creates a bridge between each cup in the line. The paper towel must be quite deep in the water in each cup.
- Watch what happens over the next few hours and record your results!
This is similar to the way that the roots of a tree pull water up and out of the ground. You can observe the movement and direction of the water by watching the water move up the paper towel, and observing the empty cups filling with a ‘new’ colored water as the two primary colors on either side mix together.
Possible questions to ask:
- What will the food dye from one cup do when it mixes with the dye from another cup?
- Why do you think the water didn’t move backward once the empty cups started to fill up?
- Why do you think the water stopped moving once the cups leveled out?
Check out this fun capillary action water activity for kids using flowers or this one using paper towels and capillary action to make roses that the kids can bring home to gift to someone they love.


Comments