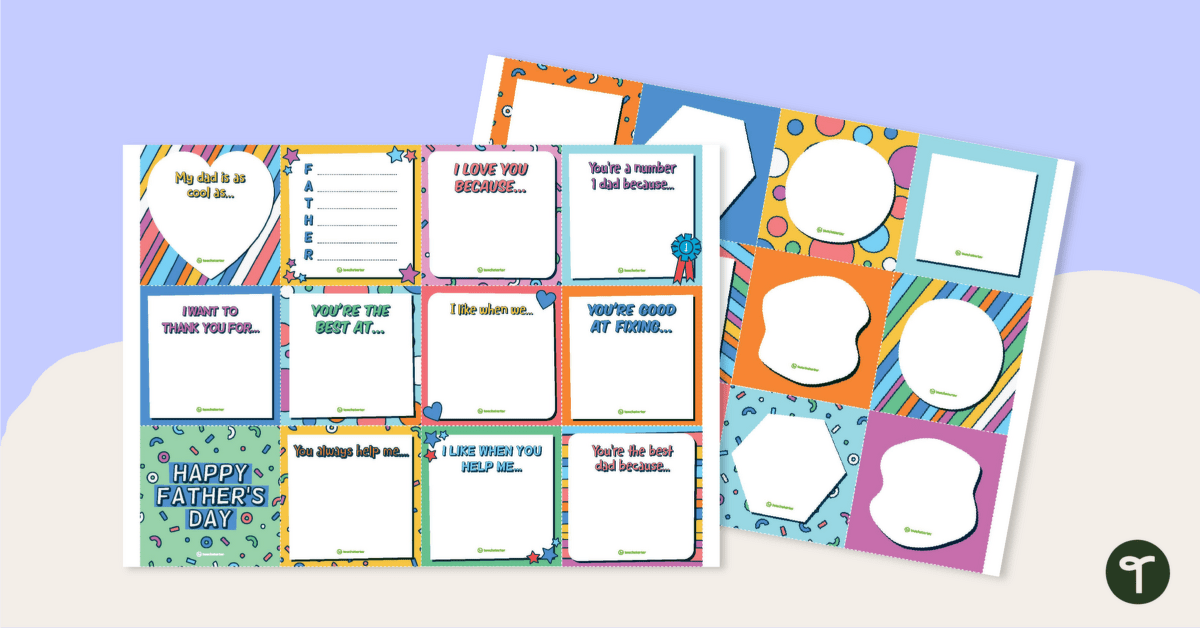
Use these decorative notecard templates and frames to create an exploding gift box for Father's Day.
Looking to make your dad feel extra special on Father’s Day? We’ve got just the craft activity!
💥 Make an Exploding Gift Box for Father’s Day
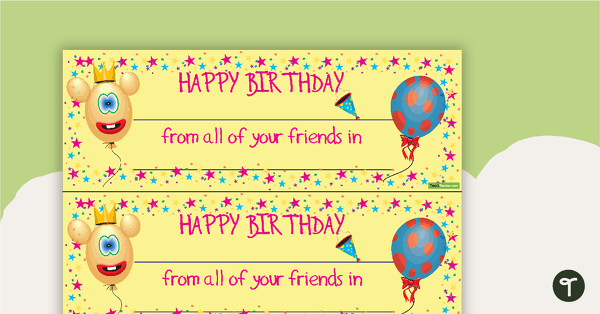
This printable template includes a variety of plain frames and sentence starters. Students can pick and choose which they want, depending on if they are giving this to their dad or another special person in their lives.
To build up this surprise box there are three different levels.
Step 1: The First Layer
To create the first layer:
- Cut out a square that measures 11.8 inches x 11.8 inches
- Using a ruler (put those measuring skills to work!) divide the larger square to create a grid with smaller squares measuring 3.9 inches x 3.9 inches.
- Cut out each corner square to create a plus sign (like the image below)
- Decorate each of the squares — except the middle square.
Step 2: The Second Layer
For the second layer, we have added a bit more detail.
Measurements for the second layer are:
- 10.6 inches x 10.6 inches for the large square
- 3.5 inches x 3.5 inches for the smaller squares.
Step 3: The Third Layer
For the third layer of the exploding gift box, we used two strips of paper rather than a square piece of paper. (This is also an alternative to using large square pieces of card for each layer!)
To create the third layer,
- Cut two strips of paper measuring 3.1 inches x 9.4 inches.
- Use a ruler to divide each strip into three 3.1 inches x 3.1 inches squares
- Glue together the middle square of each strip.
Step 4: Constructing the Box
Now that you have three completed plus sign-shaped layers, it’s time to piece them all together! Make sure the decorative side is facing up. You may like to check out the video below for extra support in explaining this step.
- Place the first (largest) layer face-up on the table and fold up the outside squares.
- Stick strips of double-sided tape around the edges of the center square.
- Place the center square of the second (middle) layer on top of the double-sided tape, ensuring the strips line up (so it still resembles a plus sign).
- Repeat steps 1 to 3 for the next layer until the box has been built!
Step 5: The Exploding Gift Box Lid
To ensure that all the moms or special people get a lovely surprise upon opening this surprise gift, a lid needs to be made. Don’t worry; we’re almost there…
- Cut a square piece of paper that is 8.1 inches x 8.1 inches.
- Using a ruler, divide the square into a grid, with the middle square measuring 4 inches x 4 inches.
- Cut along the ruled lines, from the edges of the paper to the corners of the middle square. You only need to cut one line for each corner. Use the video above as a reference for which lines to cut.
- Fold all of the ruled lines.
- Put glue on the smaller square ‘tabs’ created by the cuts and folds.
- Tuck the tabs into the long, rectangle sides of the lid.
- Decorate!


0 Comments
Write a review to help other teachers and parents like yourself. If you'd like to request a change to this resource, or report an error, select the corresponding tab above.