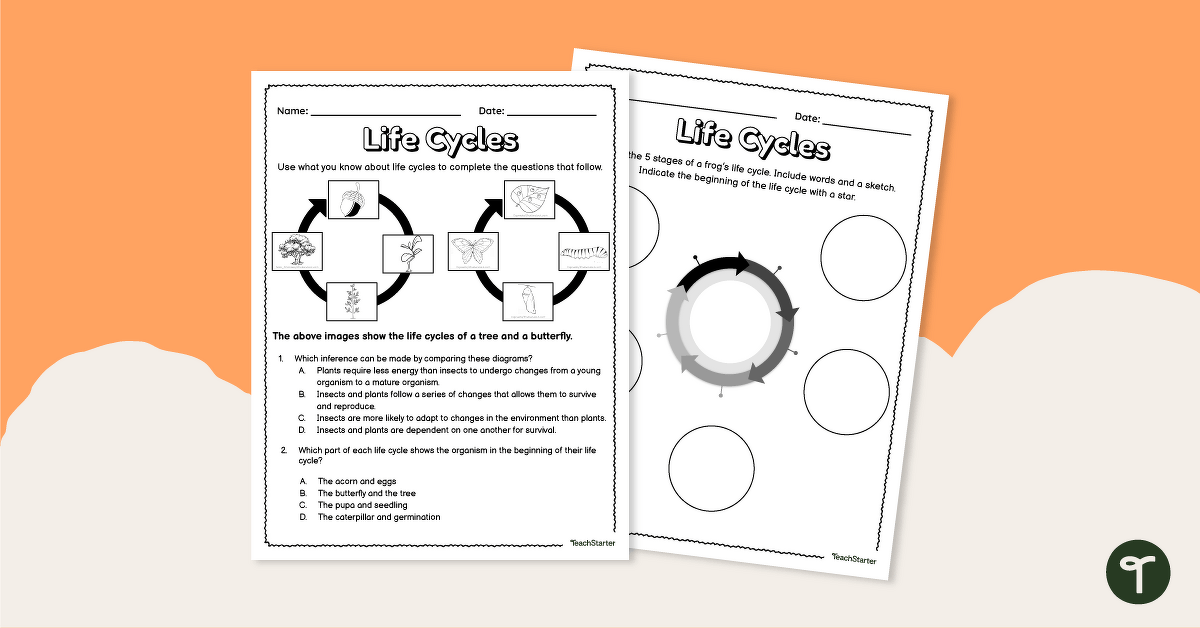
Give your students an opportunity to compare, observe, and draw different life cycles with this worksheet.
What Is a Life Cycle?
What do butterflies, frogs, and plants all have in common? These unique organisms all go through a life cycle, or series of developmental changes. In general, plants and animals go through three basic stages: egg or seed, young plant or animal, and adult. As your students learn about the developmental cycles, this worksheet can help them with different living things.
This science worksheet aims for students to investigate and compare how animals and plants undergo a series of changes in their life cycles. Students will have an opportunity to observe the life cycle of a plant and the life cycle of a butterfly. Additionally, students will have the opportunity to draw the different stages of a frog’s life cycle.
An answer key is included with your download to make grading fast and easy!
Tips for Differentiation + Scaffolding
In addition to independent student work time, use this worksheet as an activity for:
- Guided science groups
- Lesson warm-up
- Lesson wrap-up
- Fast finishers
- Homework assignment
- Whole-class review (via smartboard)
If there are students who need a bit of a challenge, challenge them to create a life cycle drawing for different organisms, such as a ladybug or a tomato plant.
Invite students who need additional support with the concepts to reference previous assignments, lessons, or anchor charts. Additionally, students can complete this worksheet in a 1:1 setting or with a small group.
🖨️ Easily Download & Print
Use the dropdown icon on the Download button to choose between the PDF or editable Google Slides version of this resource.
Because this resource includes an answer sheet, we recommend you print one copy of the entire file. Then, make photocopies of the blank worksheet for students to complete.
To save paper, we suggest printing this 2-page worksheet double-sided.
Turn this teaching resource into a sustainable activity by printing on cardstock and slipping it into a dry-erase sleeve. Students can record their answers with a whiteboard marker, then erase and reuse them.
Additionally, project the worksheet onto a screen and work through it as a class by having students record their answers in their notebooks.
This resource was created by Melissa McLaren, a teacher in Massachusetts and Teach Starter Collaborator.
Don’t stop there! We’ve got more activities to shorten your lesson planning time:
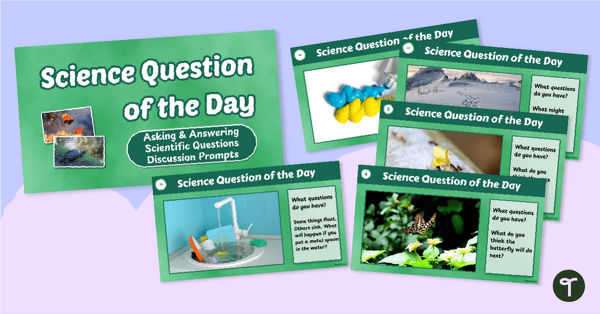
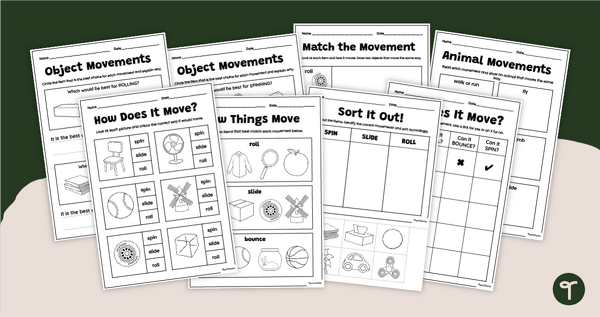
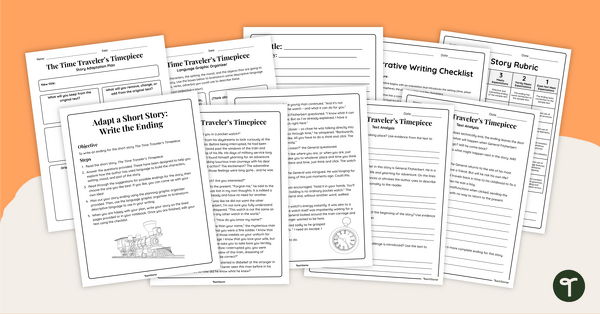
[resource:4240874] [resource:2673634] [resource:2656118]



0 Comments
Write a review to help other teachers and parents like yourself. If you'd like to request a change to this resource, or report an error, select the corresponding tab above.