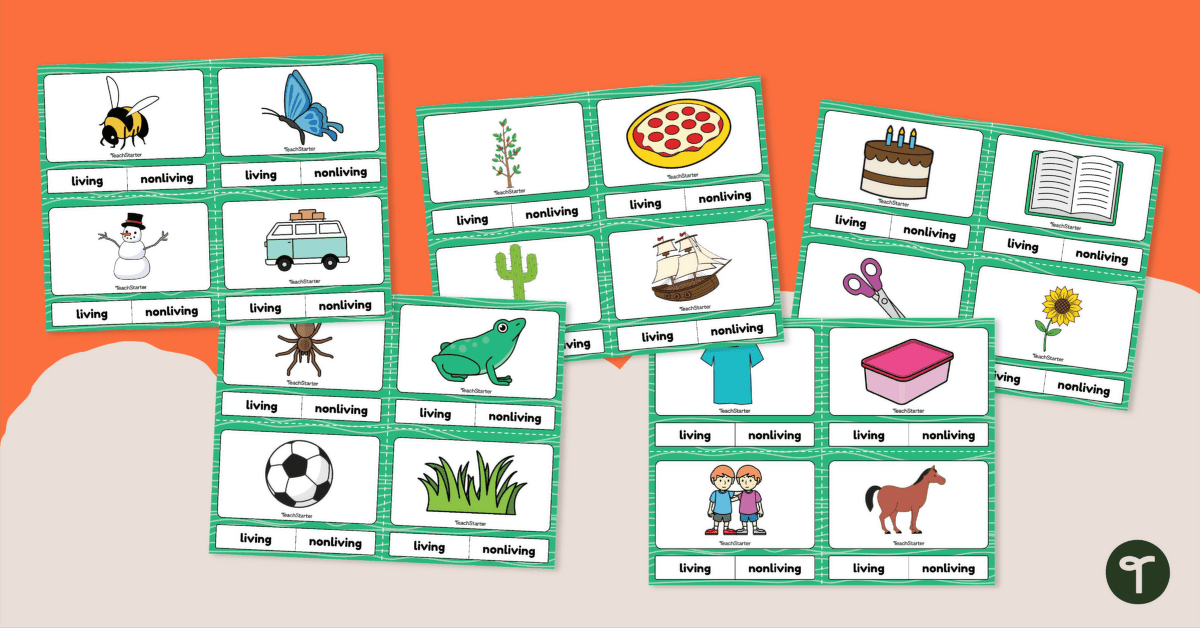
Differentiate between living and nonliving things with this set of 24 clip cards.
Living and Nonliving Things – Review Activity
Are your students learning about living and nonliving things in their science class? This hands-on activity will have students differentiate between living and nonliving things based on whether they have basic needs and produce offspring.
To play, students will look at the picture on each card. They will then clip a clothespin on one of the answer choices. Afterwards, students will flip the card over to see if the clothespin matches up with the correct answer (indicated by a teacher-drawn star on the back of each card).
Through this activity, students will show they can determine if an object is living or nonliving.
Tips for Differentiation + Scaffolding
A team of dedicated, experienced educators created this resource to support your science lessons.
In addition to individual student work time, use this living and nonliving clip card activity to enhance learning through guided science groups or whole class lessons.
If you have a mixture of above and below-level learners, check out these suggestions for keeping students on track with the concepts:
🆘 Support Struggling Students
Help students who need support by inviting them to reference posters or anchor charts from previous lessons. This activity can also be completed in a small group.
➕ Challenge Fast Finishers
For students who need a bit of a challenge, encourage them to create a list or draw a poster showing various living and nonliving things.
🛴 Scoot Activity
Place the cards around the room and give each student a clothespin. Assign students or pairs to a starting point card. Give students time to review the card and place their clothespin on the correct answer. On your mark, students can flip over the card to check their answers. Students will rotate to the next card when you say, “SCOOT!” Remind students to bring their clothespins with them. Continue in this manner until students return to their starting point.
👋 Exit Ticket
Use these cards as a formative assessment after your lesson. Pick a random assortment of cards and project them on the board for the whole class to see. Students can record their answers on a sheet of paper, sticky note, or their notebook.
Plan lessons for all ability levels with our 10 Best Scaffolding Strategies!
Easily Prepare This Resource for Your Students
Use the dropdown icon on the Download button to choose between the color PDF, black and white PDF, or editable Google Slides version of this resource.
Provide each student with a collection of clothespins to use for this activity. On the back of each card, draw a star behind the correct answer.
Print on cardstock for added durability and longevity. Place all pieces in a folder or large envelope for easy access.
To keep the task cards out of pockets or under desks, punch a hole in the corner of each to place them on a binder ring.
Don’t stop there! We’ve got more activities and resources that cut down on lesson planning time:
teaching resource
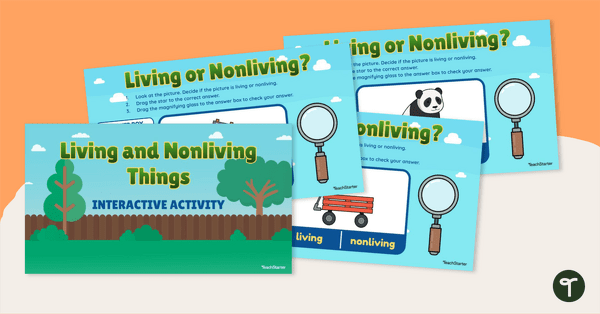
Living or Nonliving Things - Interactive Activity
Identify living and nonliving things with this self-checking interactive activity.
teaching resource
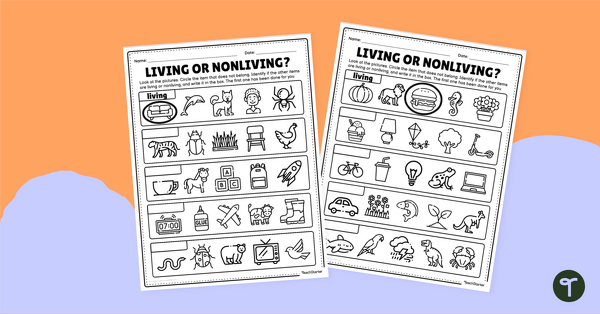
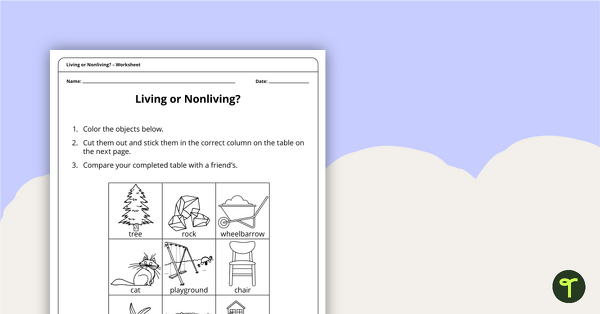
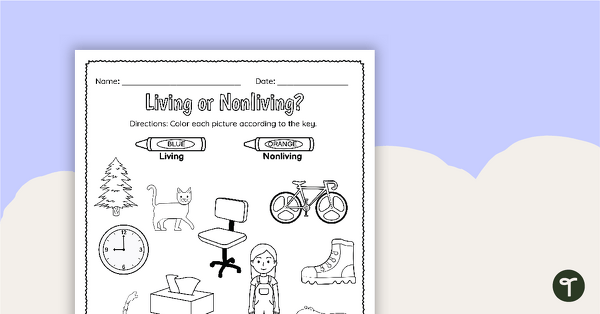
Living or Nonliving? - Worksheet
A worksheet that explores living and nonliving things.
teaching resource
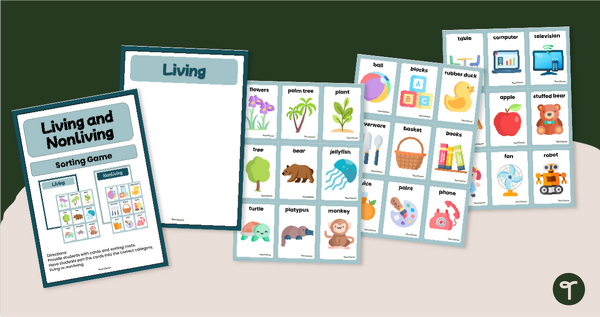
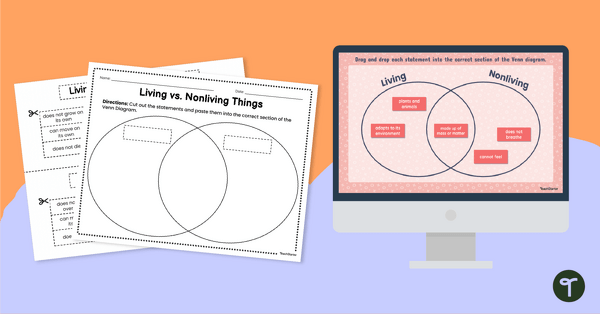
Living vs Nonliving Things - Sorting Activity
Sort biotic vs. abiotic things and discuss their characteristics with a hands-on living and nonliving things picture sort.

0 Comments
Write a review to help other teachers and parents like yourself. If you'd like to request a change to this resource, or report an error, select the corresponding tab above.