Put mapping skills into practice by creating a map of a treasure island!
Buried Treasure Awaits with This Map Skills Worksheet!
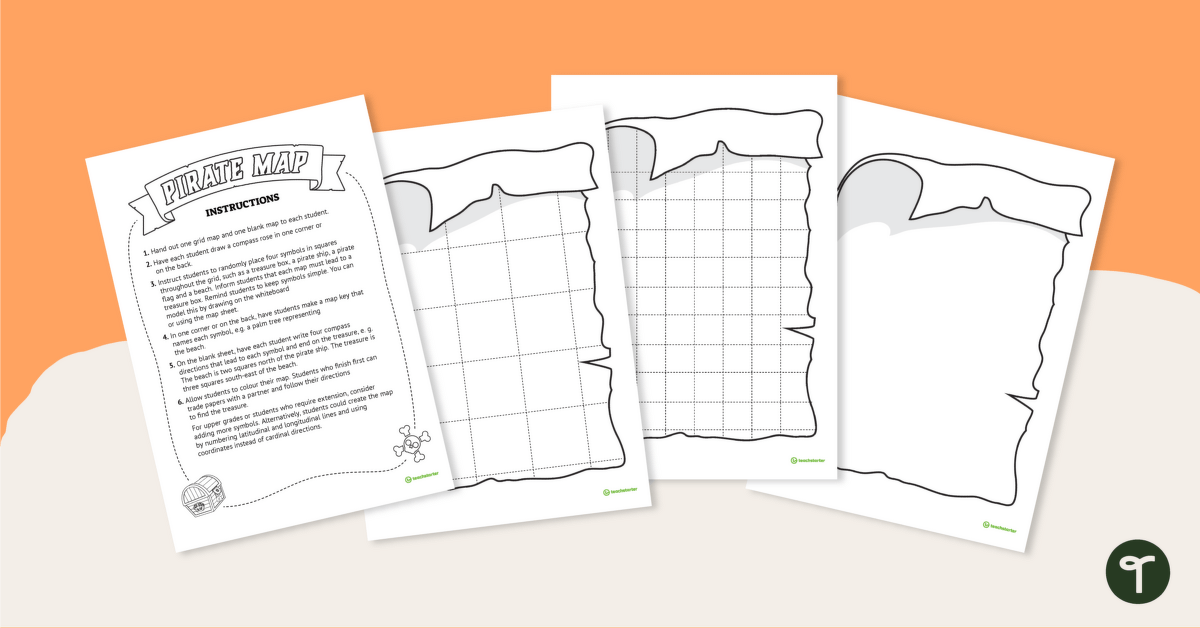
If your students are familiar with key mapping skills such as cardinal directions, symbols, legends, and grids, it’s time for them to practice these skills by creating their own treasure map!
Through this social studies activity, students will create symbols, a map key, and a compass rose. They will also use cardinal directions to explain how to locate the buried treasure!
How to Create a Buried Treasure Map
1. Hand out one grid map and one blank map to each student. There are two grid sizes available in the download.
2. Have each student draw a compass rose in one corner of their map.
3. Instruct students to randomly place four symbols in squares throughout the grid, such as a treasure box, a pirate ship, a pirate flag, and a beach. Inform the students that each map must lead to a treasure box. Remind them to keep symbols simple. (You could model how to do this by drawing an example on the whiteboard.)
4. Have students create a map key that names each symbol, e.g., a palm tree representing the beach.
5. On the blank sheet, have each student write at least four compass directions that lead to each symbol and end on the treasure, e. g. The beach is two squares north of the pirate ship. The treasure is three squares southeast of the beach.
6. Allow the students to color their maps. Students who finish first can trade papers with a partner and follow their directions to find the treasure.
Differentiate This Mapping Activity
If you have a mixture of learner abilities in your class (and we know that you do!), try these tips to make the task more accessible for both above- and below-level learners:
- Simply the number of directions: The last thing we want is to confuse and muddle those less-confident students! Instead of expecting them to write four directions between each location on the map, simply this to one or two. Better for these students to feel successful completing a simplified version of the task than to feel overwhelmed trying to do too much!
- Ramp up the locations: On the flip side. more-capable students will most likely jump at the opportunity to add more than four locations to their treasure maps. Ask them to add additional map features (such as grid coordinates) and write questions for a partner about what is located at each reference point.
Easily Prepare This Resource for Your Student
Access the easy-print PDF via the Download button above. To save paper, we recommend printing one copy of the resource, then selecting the pages you need to duplicate for your students.

0 Comments
Write a review to help other teachers and parents like yourself. If you'd like to request a change to this resource, or report an error, select the corresponding tab above.